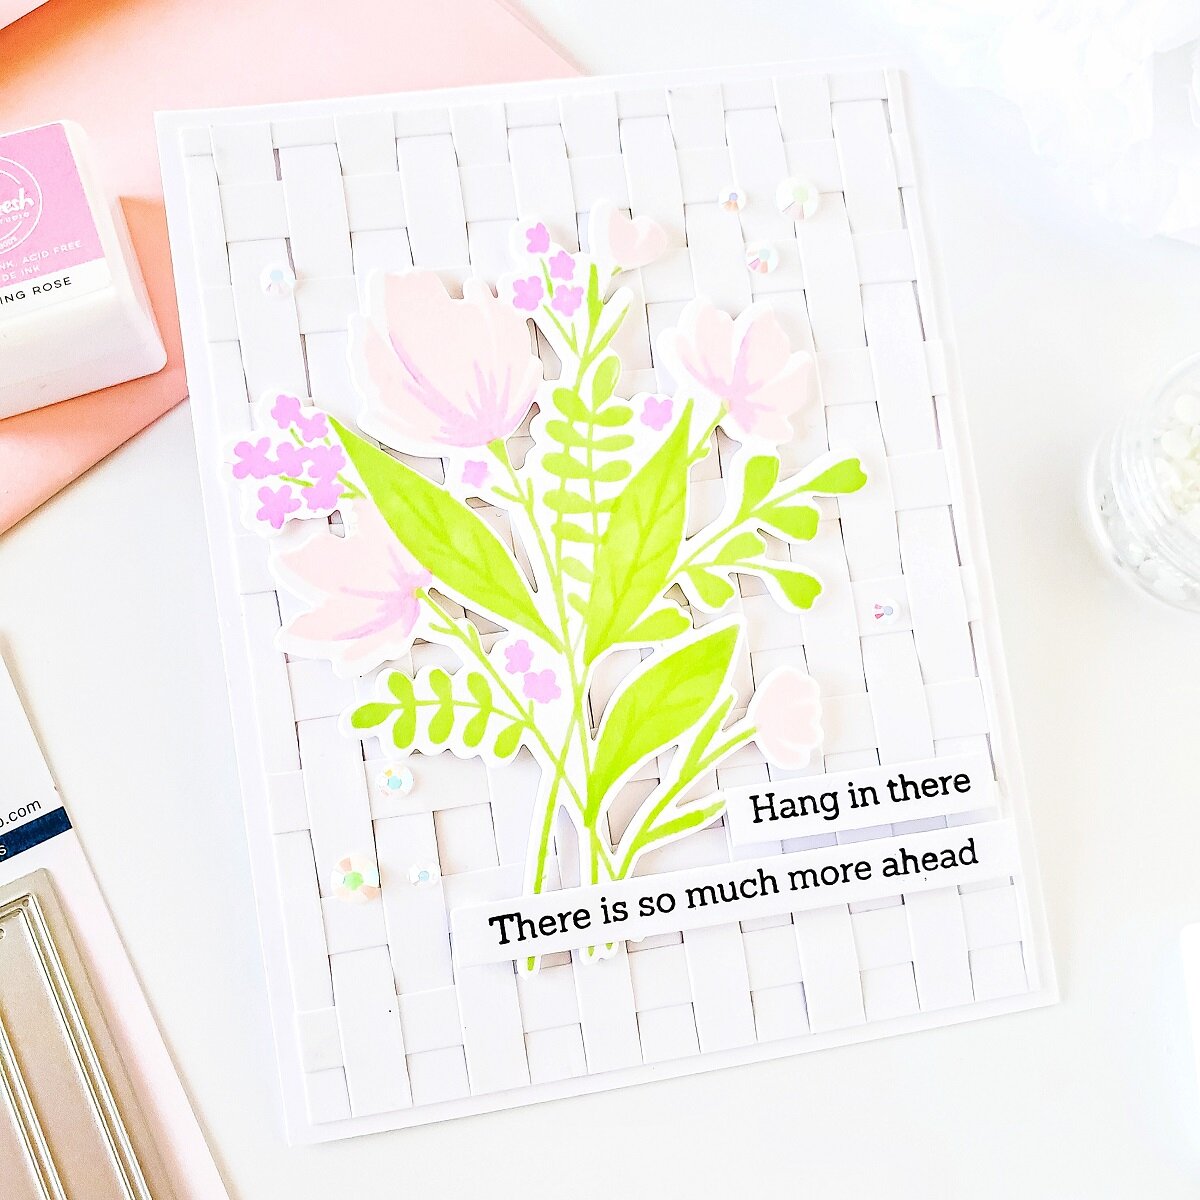
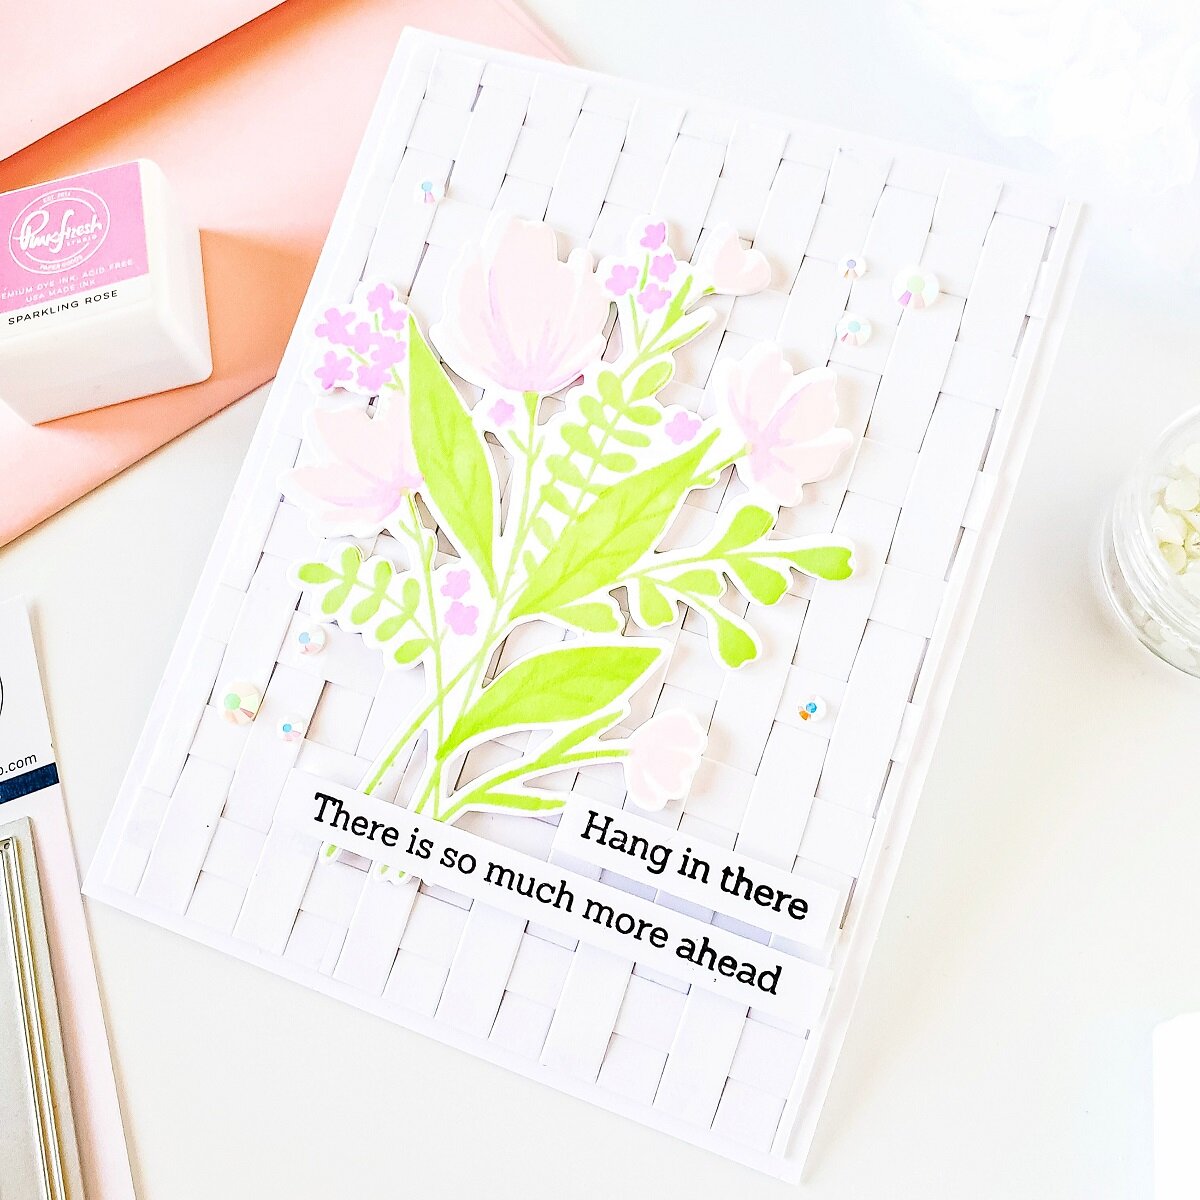
Happy Saturday, Friends! Today, I’d like to share with you these 2 “Modern Floral and Woven Patterns” cards made using the Modern Layered Floral Stamp Set, Modern Layered Floral Die and Color Block Stripes Die. So, without further ado let’s jump into the step by step on how I made them ↓
To begin with, I started by placing inside my stamping tool a large piece of white cardstock, then I placed over one side of the cardstock the first layer for the Floral image from the Modern Layered Floral Stamp Set and I went ahead to get it stamped on both sides of the cardstock with Mint Ink. Right after, I removed the first layer, and I went ahead to lined up the second layer, and so on and so forth I continued the stamping for each of the floral layers using Ballet Pink, Sparkling Rose and Fresh Pear for the second layer on the leaves.
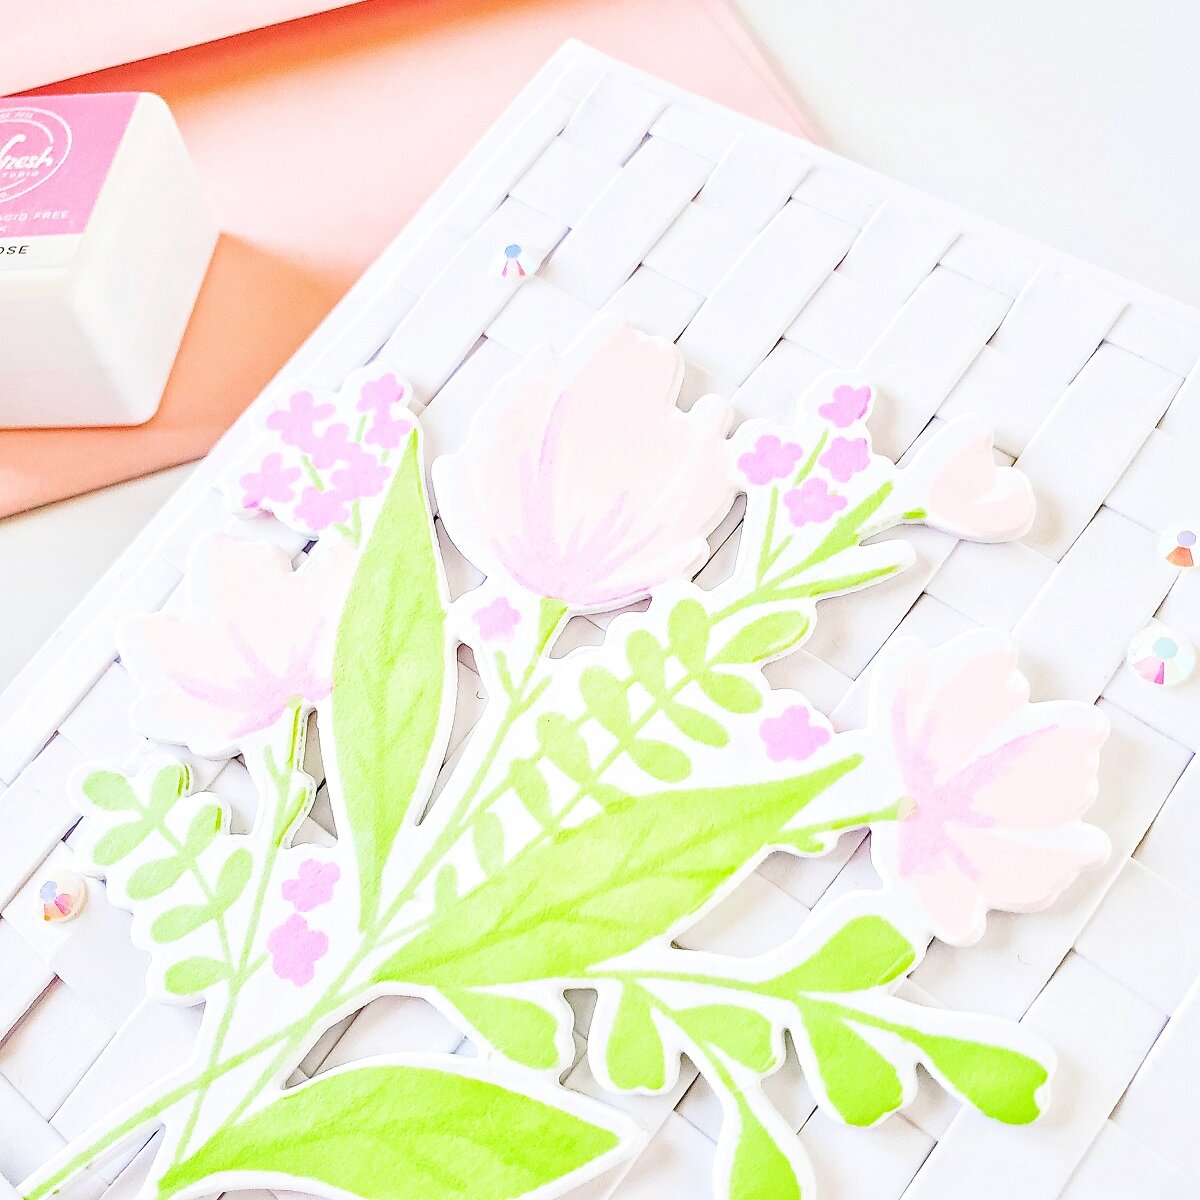
Therefore, after I was done with the stamping, I lined up over one of the floral images the Modern Layered Floral Die and I went ahead to run them through my Platinum 6 Die Cutting and Embossing Machine to die-cut each of the floral images from the cardstock. Once, I had the floral die-cutting done, I set them aside and I started the die-cutting for the card panels.
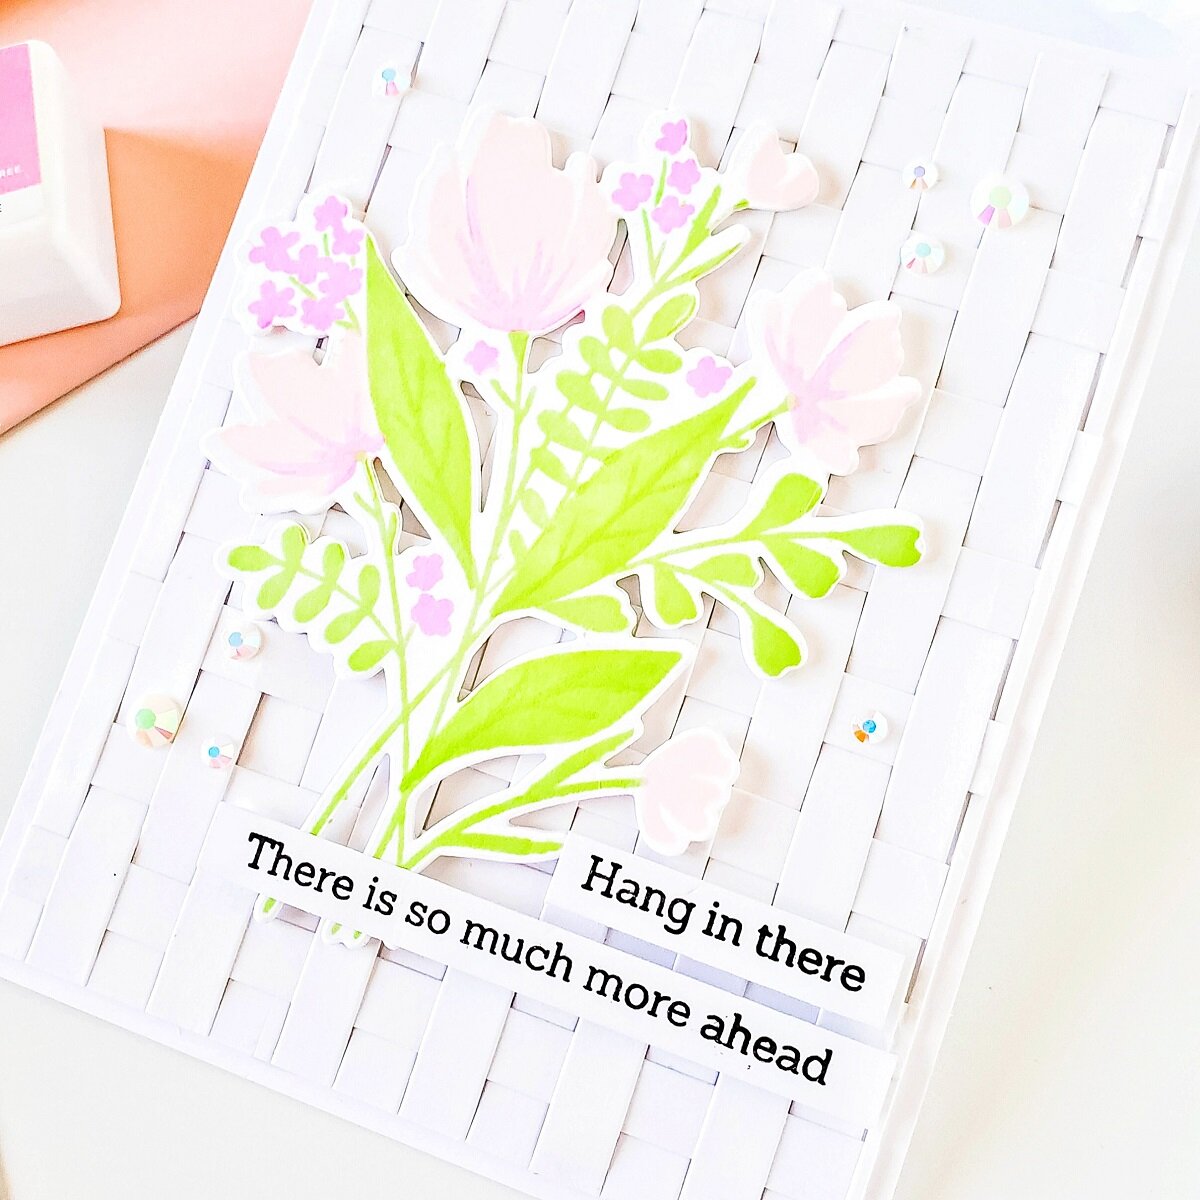
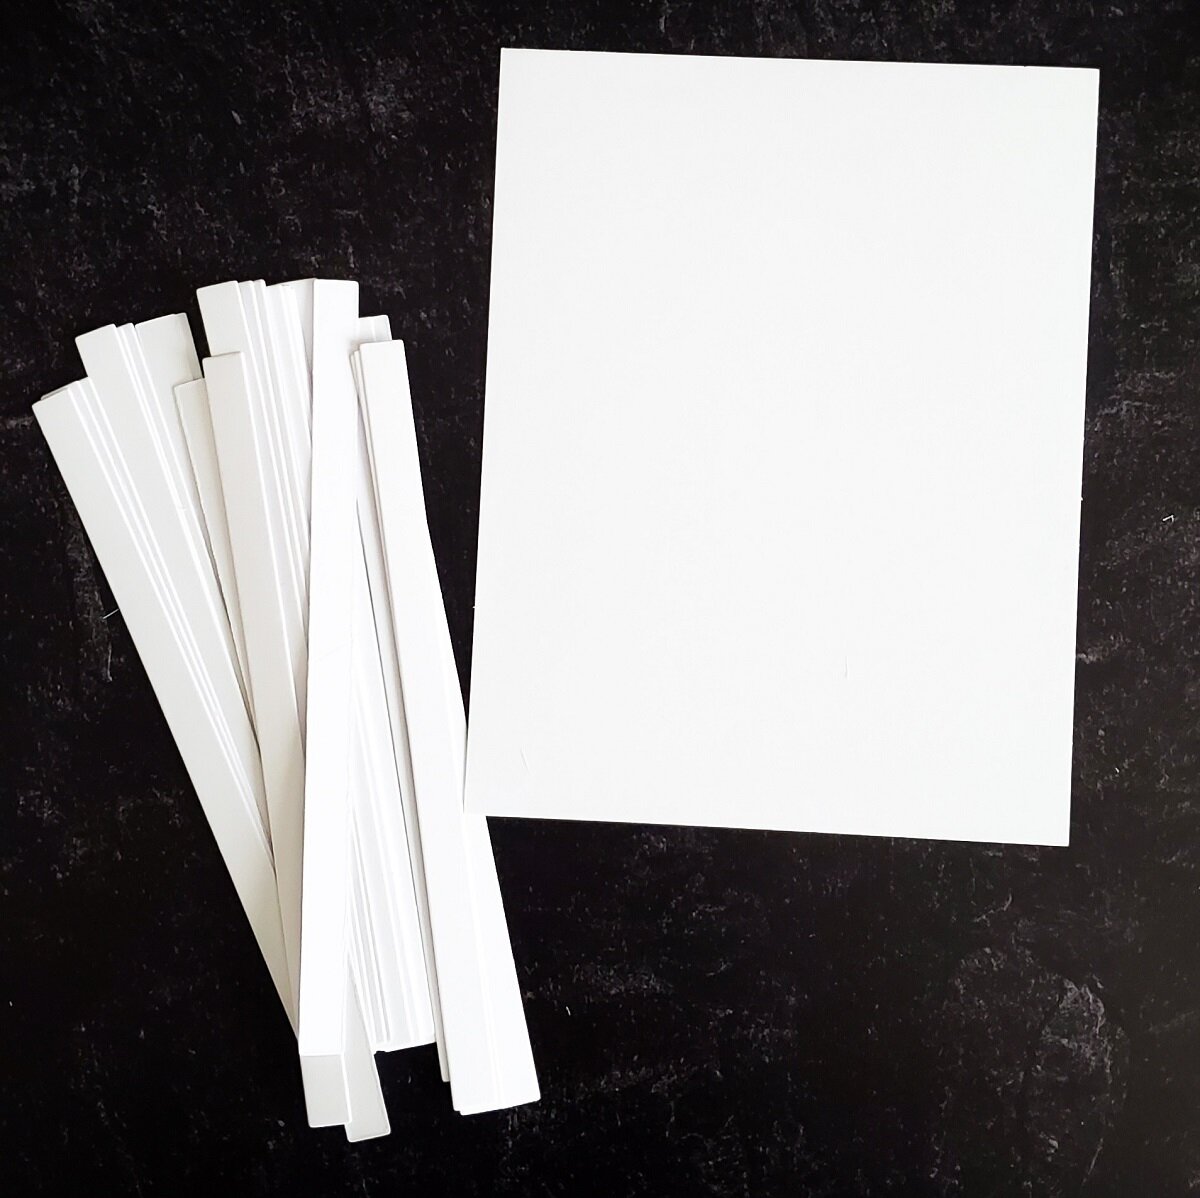
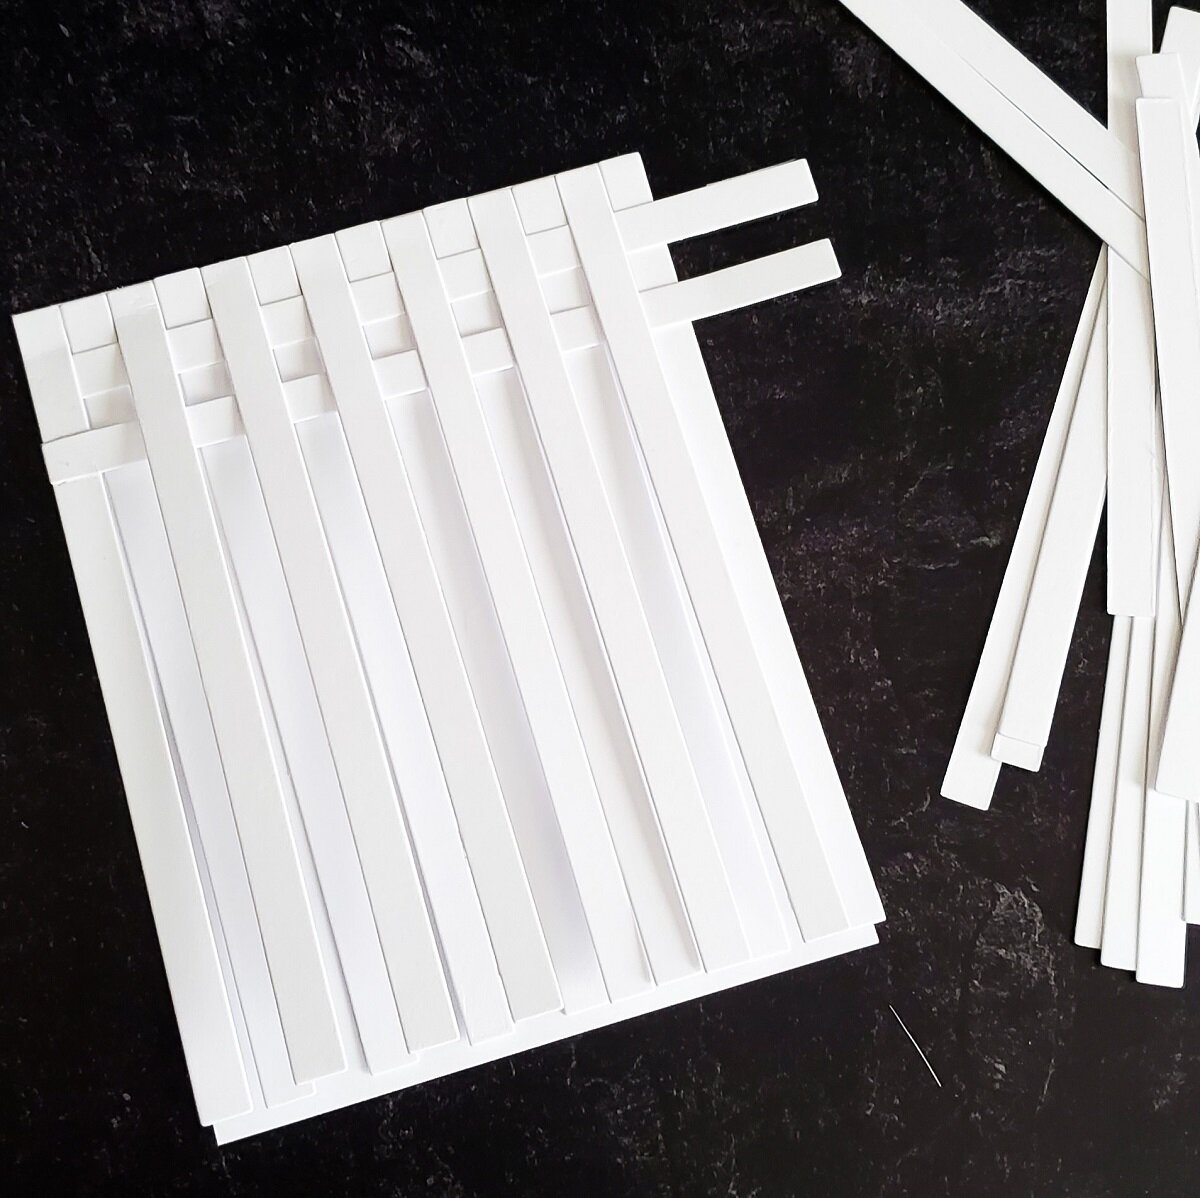
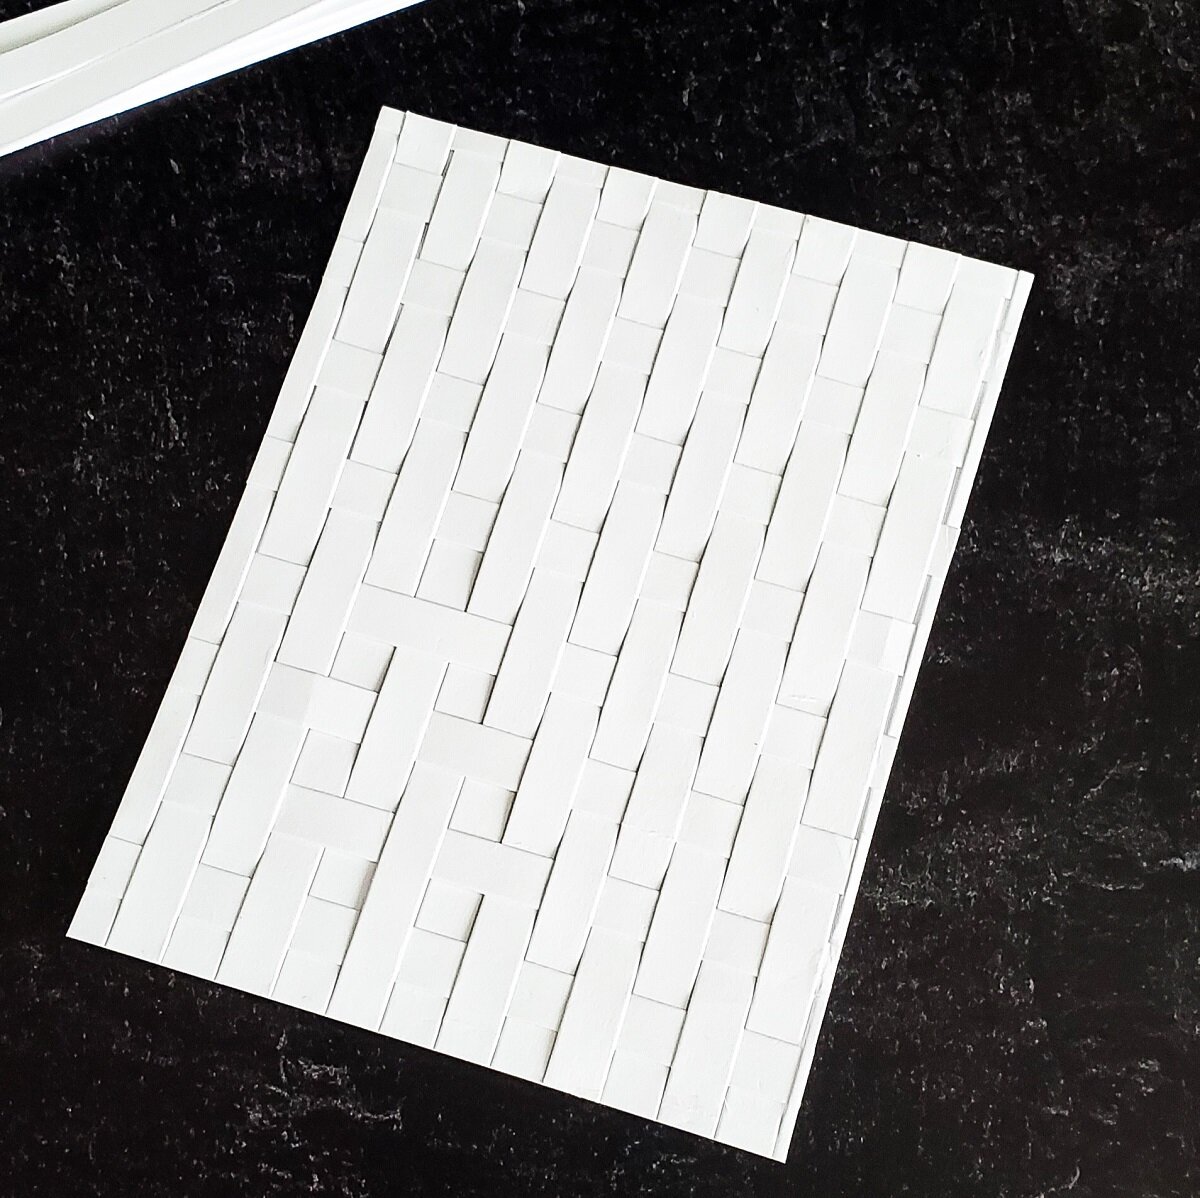
For the first card panel, I lined up the Color Block Stripes Die over an A2 size white card panel and I ran them through the die-cutting machine, then I repeated the same step to die-cut stripes out of 2 more white card panels. So, once I had the die-cutting stripes done, I carefully adhered on the very top edge with liquid glue 14 stripes and on the left side edge 9 stripes to create a woven paper pattern.
NOTE: I’ll be adding images below to give you a better idea on how I did it.
So, after I had created the woven pattern for the first card panel, I trimmed the edges off from it for a cleaner look and I adhered the backing of it to an A2 top folding white card base.
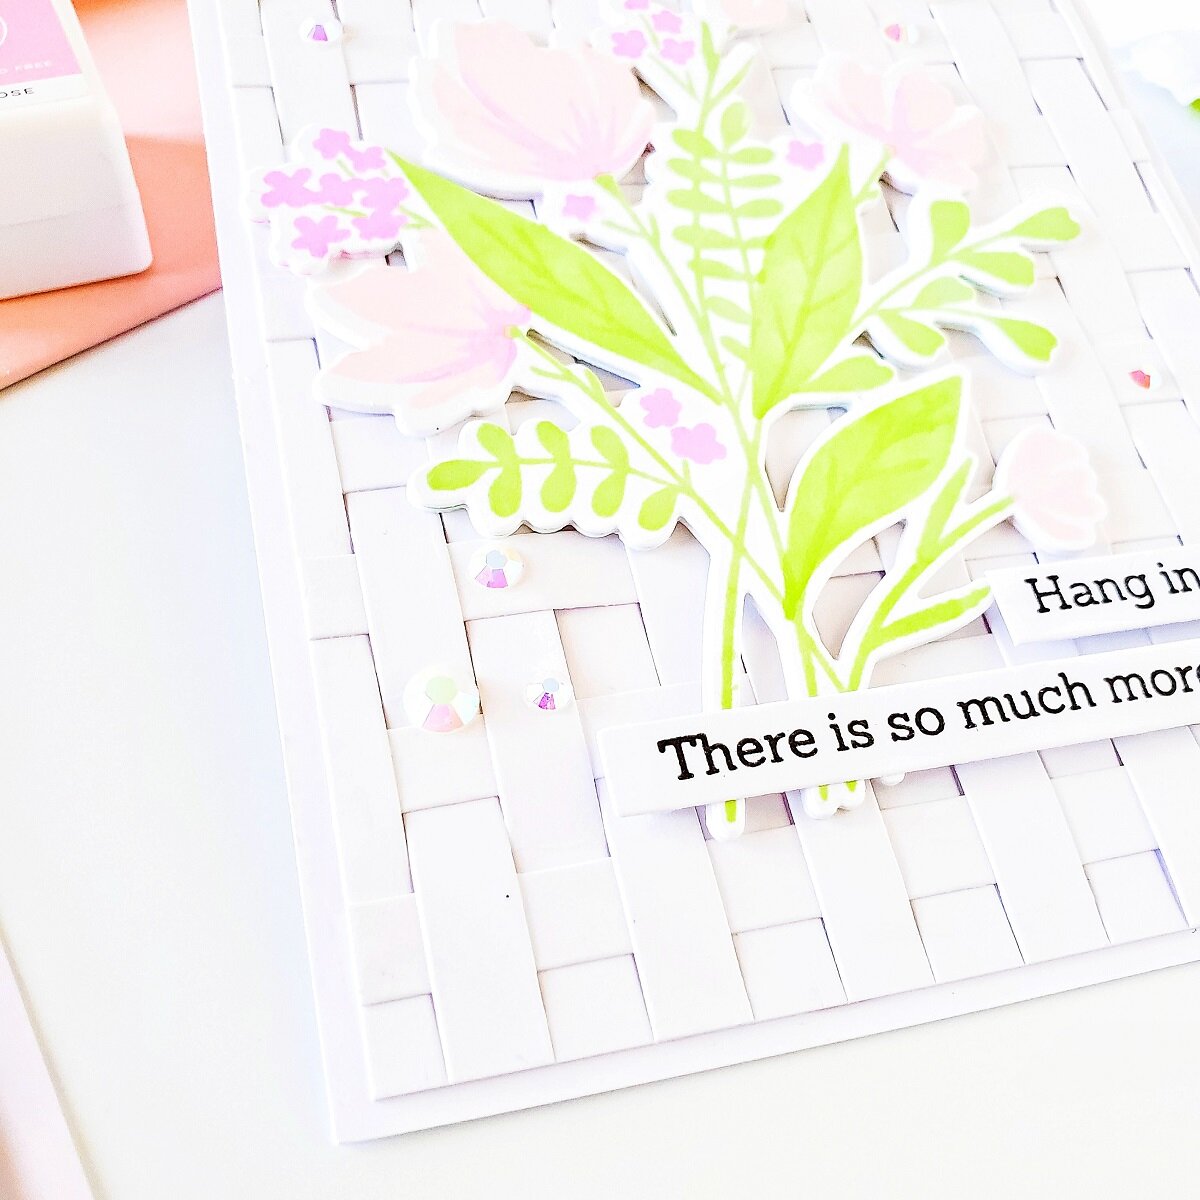
And then, to finish the card off, I mounted with dimensional square adhesives one of the die-cutting floral and 2 sentiments which, I’ve had gotten stamp with black ink over one of the white stripes. Isn’t that cool!!? The size of the stripes is perfect to get the stamping done for any small sentiment. That said, as a finishing touch, I glued down here and there with liquid glue a few jewels for a sparkly touch.
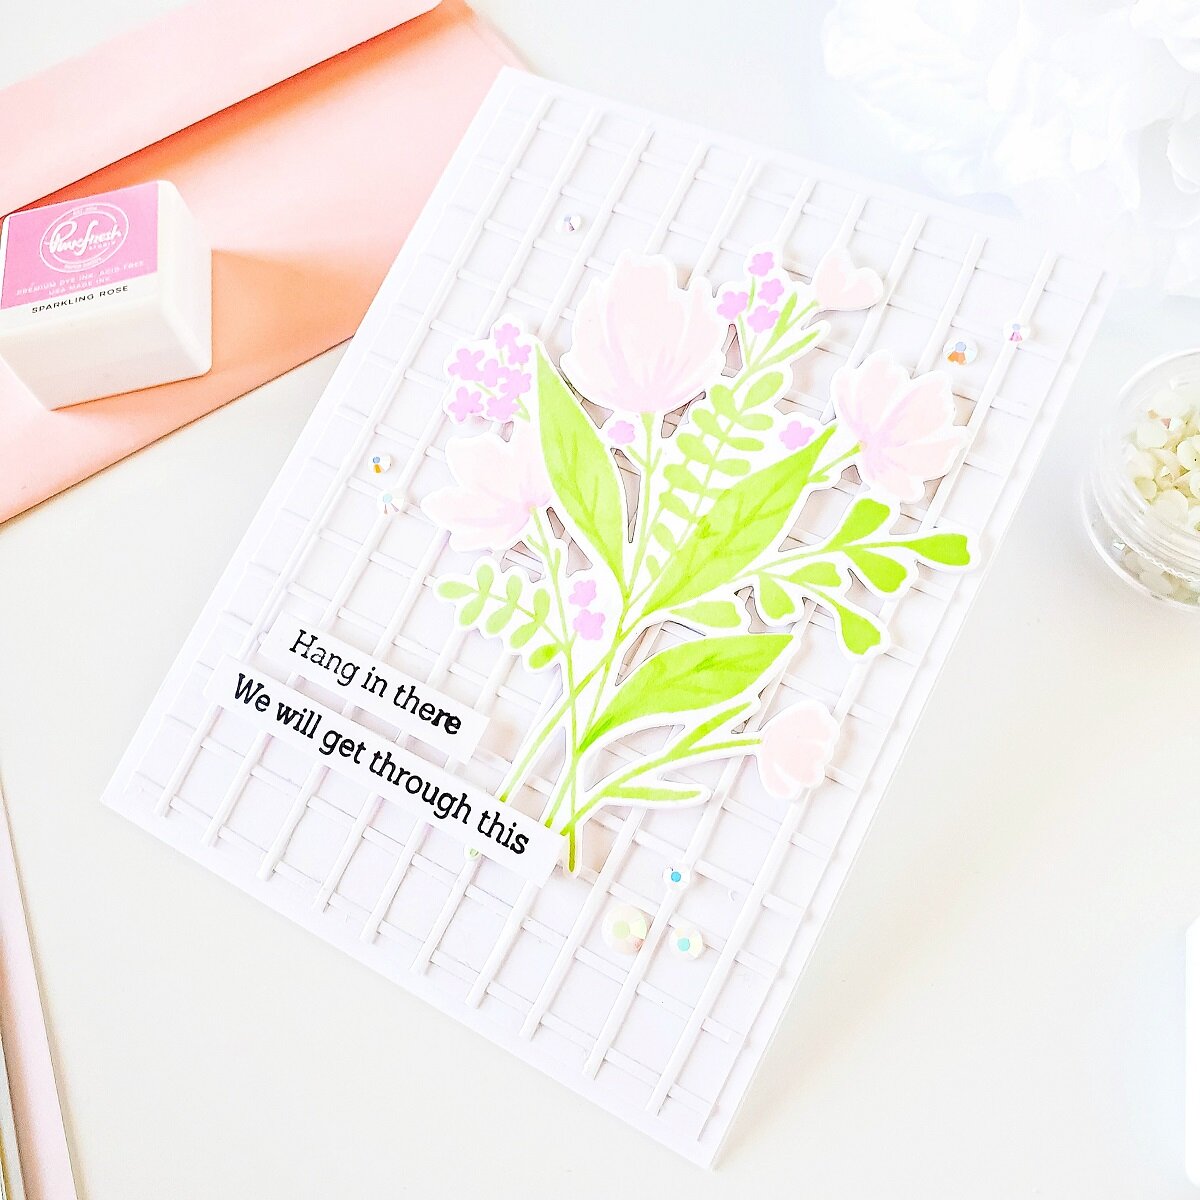
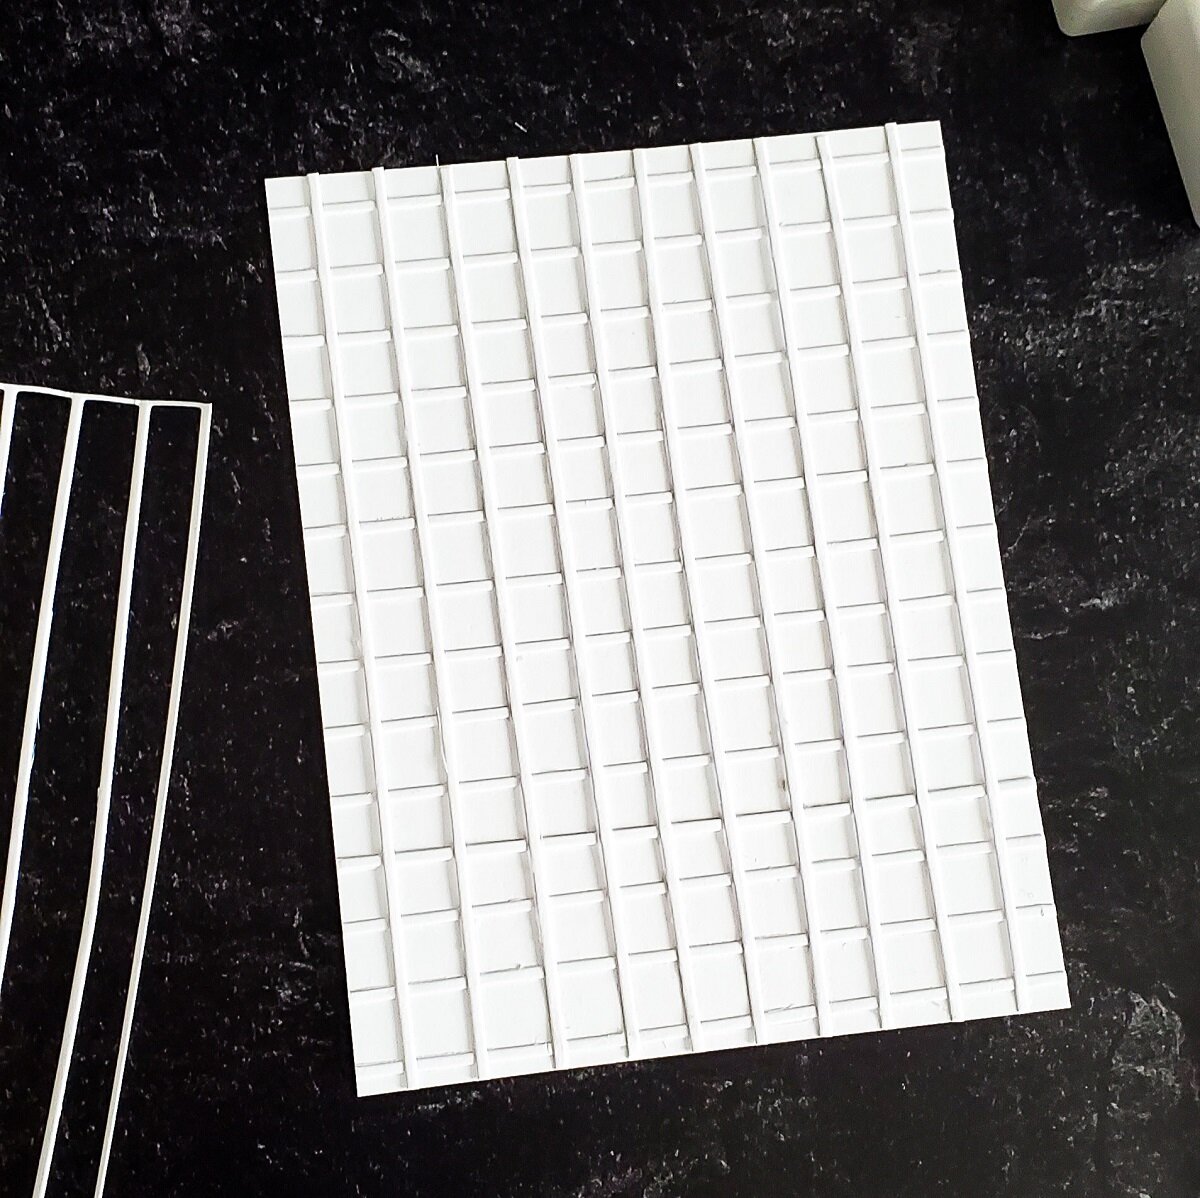
For the second example, I kept it simple by using the negative die-cutting frames that I had left over from the die-cutting stripes. So therefore, I glued down with liquid glue 2 of the die-cutting frames in a horizontal way over an A2 size white card panel, and the last one in vertical way.
Once, I had the pattern over the white card panel, I went ahead to trim the edges off with my paper trimmer, and once they were trimmed off I adhered the backing of it to an A2 top folding white card base.
Finally, to finish the second card off I mounted the second floral with square dimensional adhesives and to keep the same encouragement vibe, I also went ahead and mounted 2 sentiments in the same way as I did for the first example with the only difference that I changed their placement. Other than that, I glued down with liquid glue jewels to add a touch of shine.
Well friends, as I mentioned earlier here you can see in the images above the easy process on how I created the woven pattern and the second pattern using the negative frames.
So, that’s about it I hope you’ve enjoyed reading the step by step on how I’ve created these 2 “Modern Floral and Woven Patterns” cards. As always, I appreciate the time that takes you to read my blog posts. Below, you’ll find the supply list for the products used on today’s blog post. If, you get inspired by today’s project be sure to tag me on Instagram➝@cardsandcraftsbyyaz I’d love to see what you’re creating.
Thank you and happy crafting, your time is valuable.
Don't forget to keep spreading kindness
Today and Always
Love,
Yasmin
Your imagination is Your limit.
All photography provided by Yasmin Diaz
Creativity is contagious, pass it on.
–Albert Einstein
Disclosure
I am creating this blog with the purpose of sharing how I design my cards, the information provided here is base in my own opinion and creativity. I am not an expert by any means, and I only share the way that I design my cards. Most of the products used for my blog posts are personally purchased by me. However, I did receive the products by Pinkfresh Studio. Other than that, all referral links were added for you to know from where I purchase or receive the items from as, all of products shared and mentioned in each of my blog posts are simply because I use, and truly love them.

