
HBS Hexagon Birthday┃Inspiration Card
Happy Saturday, Friends! Today, I’d love to share with you how I’ve created this “Hexagon Birthday Card” using some of the birthday bash goodies that I won from one of the recent giveaways from Honey Bee Stamp. So, without further ado let’s jump into the step by step on how I made them ↓
To begin with, I started by creating the hexagon shaped card so to that, I placed an A2 standard size side folding white card base over the plates of my Platinum 6 Die Cutting and Embossing Machine, thus once the card panel was placed onto place, I lined up over the card base the fourth-to-last hexagon die from the Hexagon Solid Stack Die set, but making sure that the edge of the die was hanging outside the fold of the card, as I was going to create a partial die-cutting to keep the fold without die-cutting it out with the die.
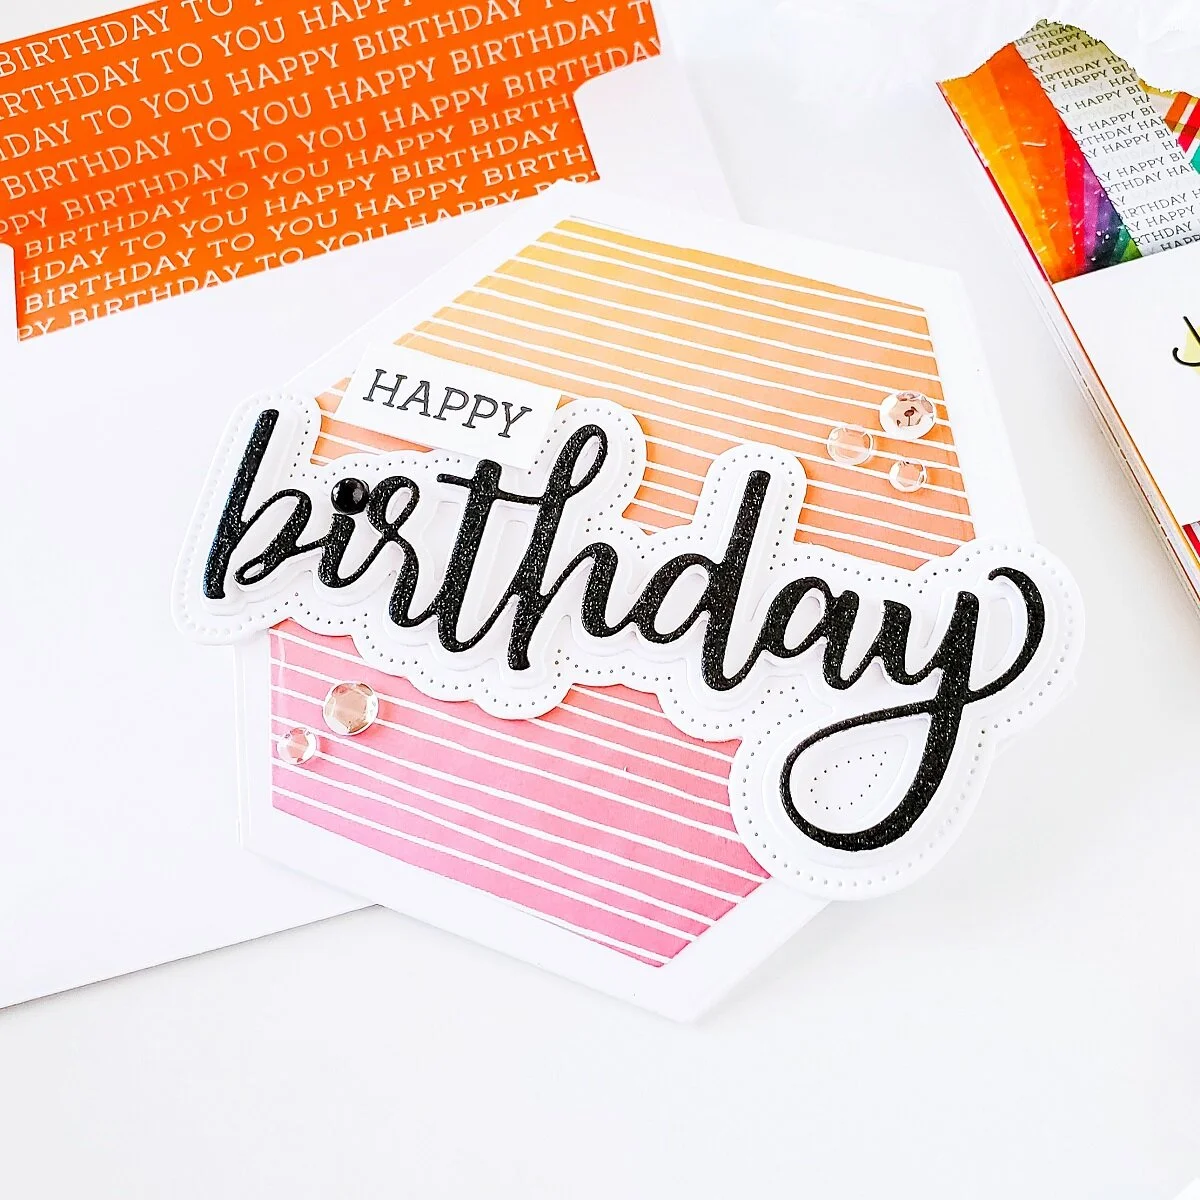
That said, after I was done creating the card base I set it aside, and then I ran through the die-cutting machine the next smaller hexagon die from the set along with one of the patterned paper from the Birthday Bash Paper Pad to die-cut a patterned hexagon panel. So, after I was done die-cutting the patterned hexagon panel, I adhered it done with double-sided tape to the card base.
Therefore, after I’ve had done adhering the patterned panel to the card base, I moved on to create the dimensional birthday die-cutting sentiments. So, to do that first, I ran through the die-cutting machine the shadow layer and middle layer of the Birthday Die to die-cut them out from White cardstock. Second, I ran through the die-cutting machine the top layer to die-cut it 3X out of White cardstock and 1X out of Glittery Black cardstock.
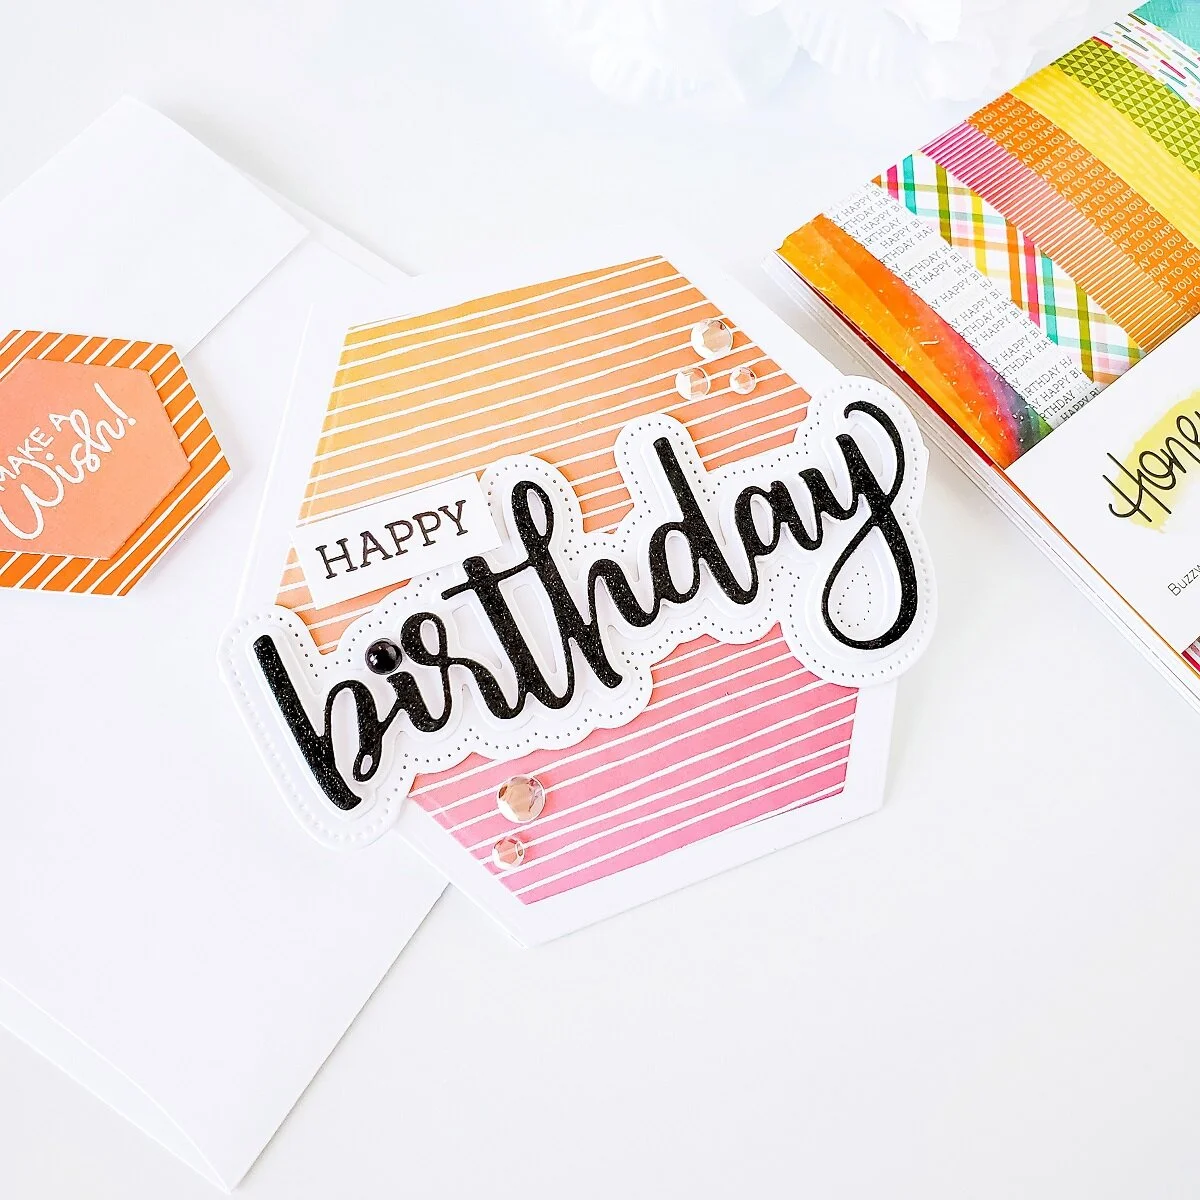
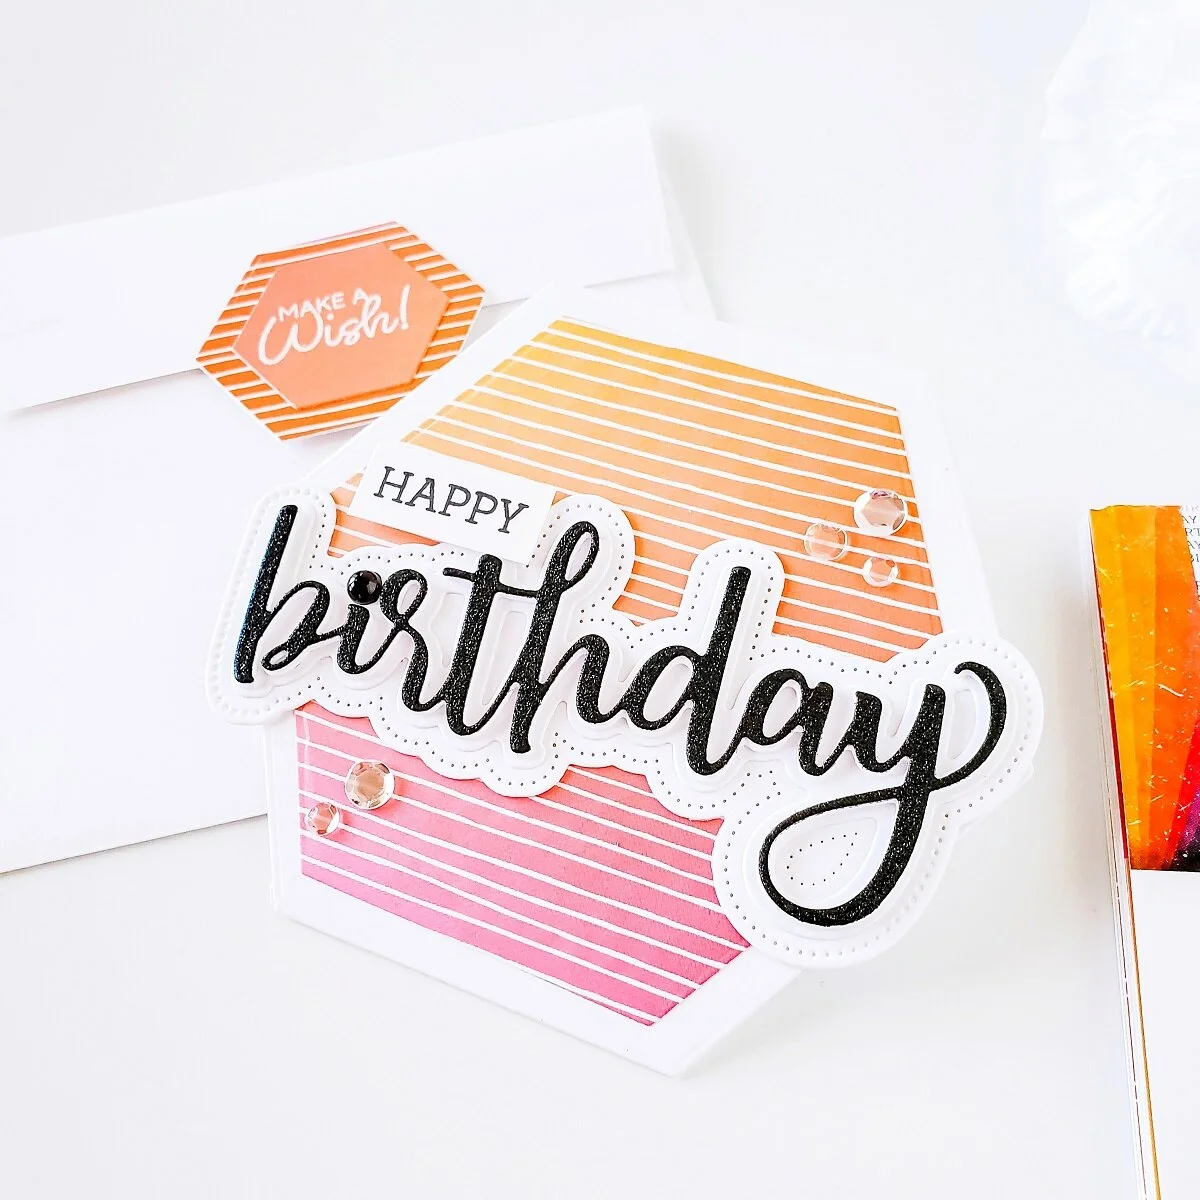
So, after I was done die-cutting the layer I glued with liquid glue the middle layer to the shadow, and then I stacked the white top layer pieces and last but not least I finishing the layering off for the Birthday die-cutting word by adhering with liquid glue the Glittery Black die-cutting layer. Lastly, after I was done with the layering, I glued down with liquid glue the dimensional die-cutting word to the card (as shown in the image above) and to finish the card off, I mounted a sentiment which I’d gotten stamp on a piece of white cardstock with Detail Black Ink. By the way the sentiment is from the Birthday Stamp Set.
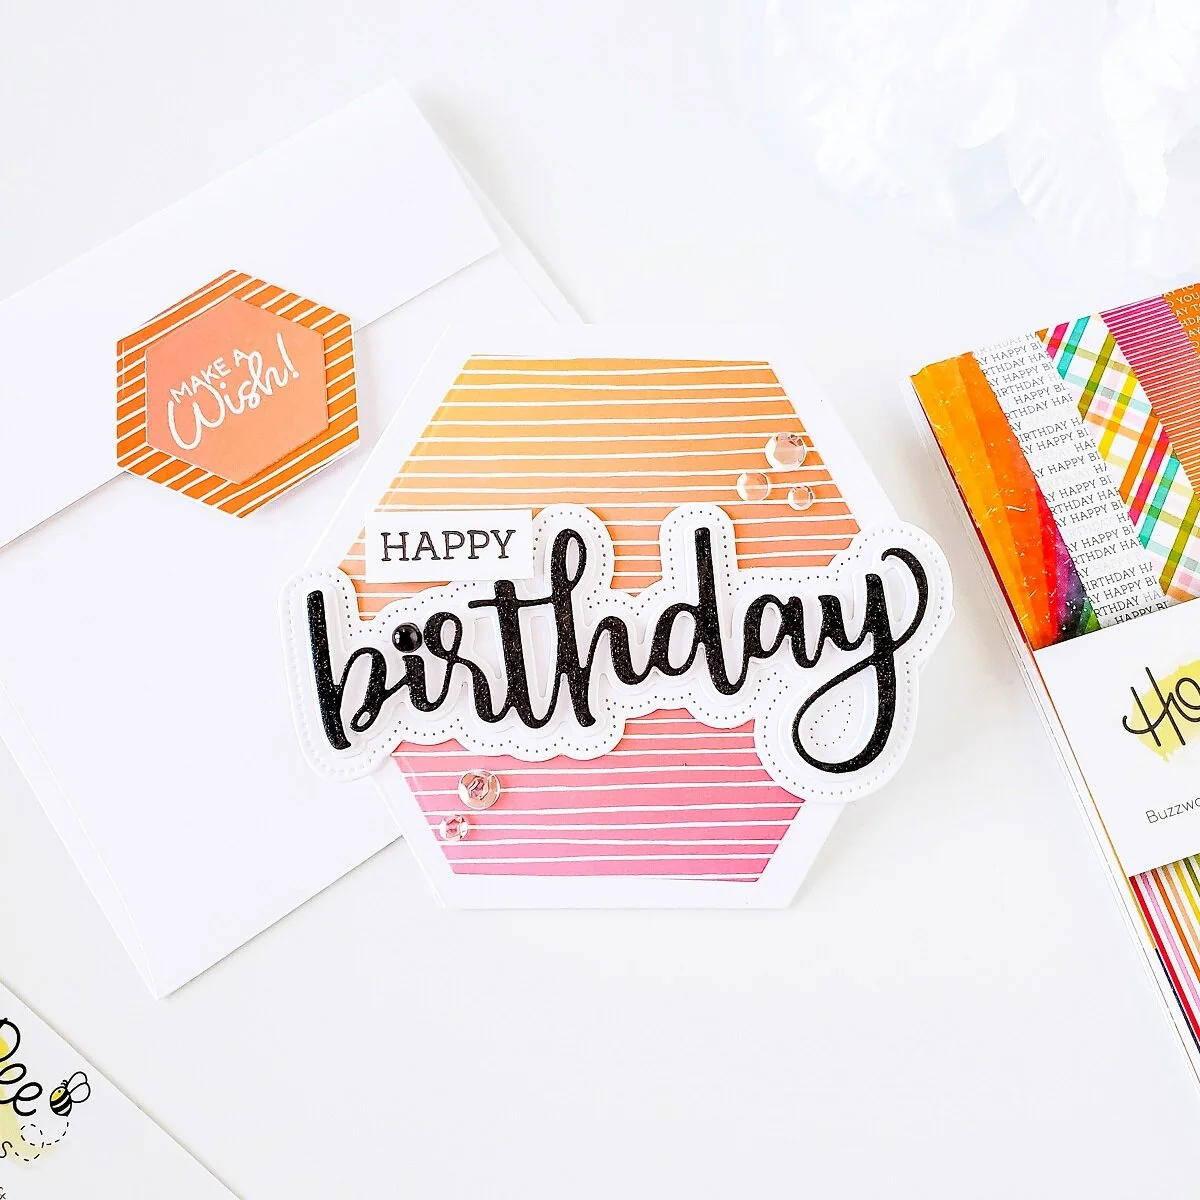
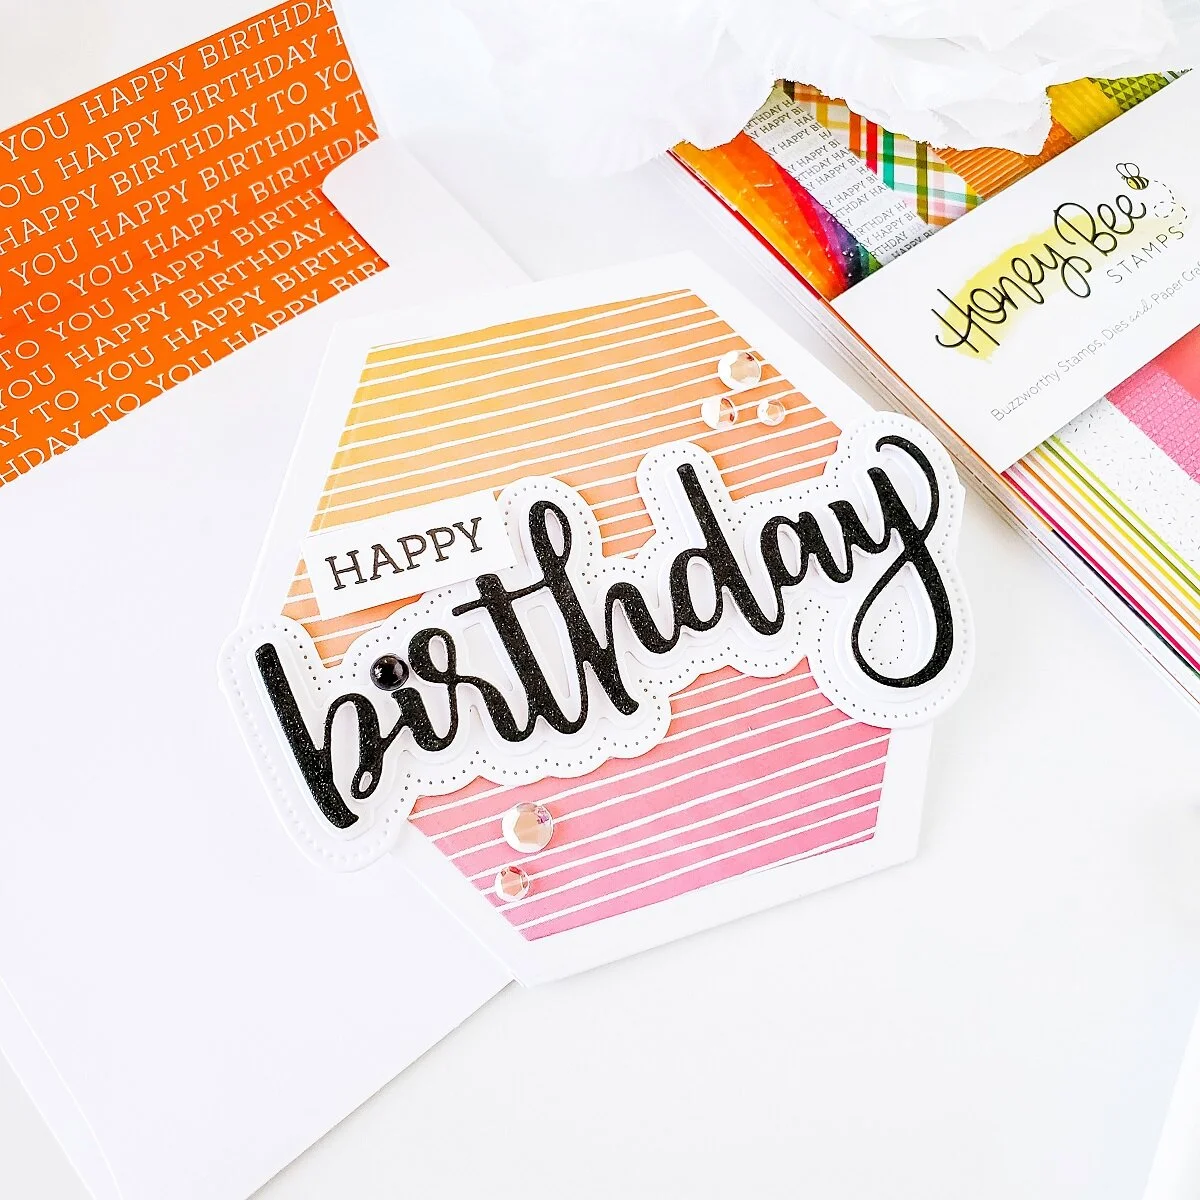
Finally to finish the card off, I’ve glued down clear sequins with liquid glue for a touch of shine, and then I created an envelope liner with another patterned sheet from the same paper pad, as well as an envelope seal which I created with a left over piece of patterned paper and 2 of the smaller hexagon dies. With that said, I hope you’ve enjoyed reading the step by step on how I’ve created today’s “Hexagon Birthday Card” As always, I appreciate the time that takes you to read my blog posts. Below, you’ll find the supply list for the products used on today’s blog post. If, you get inspired by today’s project be sure to tag me on Instagram➝@cardsandcraftsbyyaz I’d love to see what you’re creating.
Thank you and happy crafting, your time is valuable.
Don't forget to keep spreading kindness
Today and Always
Best,
Yasmin
Your imagination is Your limit.
All photography provided by Yasmin Diaz


Creativity is contagious, pass it on.
–Albert Einstein
Disclosure
I am creating this blog with the purpose of sharing how I design my cards, the information provided here is base in my own opinion and creativity. I am not an expert by any means, and I only share the way that I design my cards. Most of the products used for my blog posts are personally purchased by me. However, I did receive some of the products by Honey Bee Stamp as a gift from one of their recent giveaways. Other than that, all referral links were added for you to know from where I purchase or receive the items from as, all of products shared and mentioned in each of my blog posts are simply because I use, and truly love them.