
Card Bases 101 with Yasmin
Happy New Year Crafters! I hope you started off the new 2020 with lots of happiness, love, positive energy and new ideas. Speaking of new ideas! On today’s blog post, I’d like to share with you something that, I’ve been trying to share with you for a long time. Even though, it’s something quick and simple here’s my card bases 101 for you. So, without further ado, let’s jump into the blog ↓

To begin with, here’s the super thick/heavy duty card stock that I use brand name Cougar 298gsm/110lbs Digital Smooth Cover 8.5” x 11” White 98-Bright 200/pkg

Once, I open the ream I sort the paper sheets out and, I cut in half using my Tonic Studios Comfort Paper Trimmer some of the sheets depending on how many side folding card bases I want to have on hand.

Right after cutting the sheets in half, I place each of the half sheets on the Scor-Pal Board to score them in half at the 4 1/4’’ mark. Lastly, after making the scoring line, I fold in half the card stock creating that way a side-folding white card base.
NOTE: The scor-pal comes with a tool to create the lines however, I rather use my Teflon Bone Folder for clean and smooth folds.
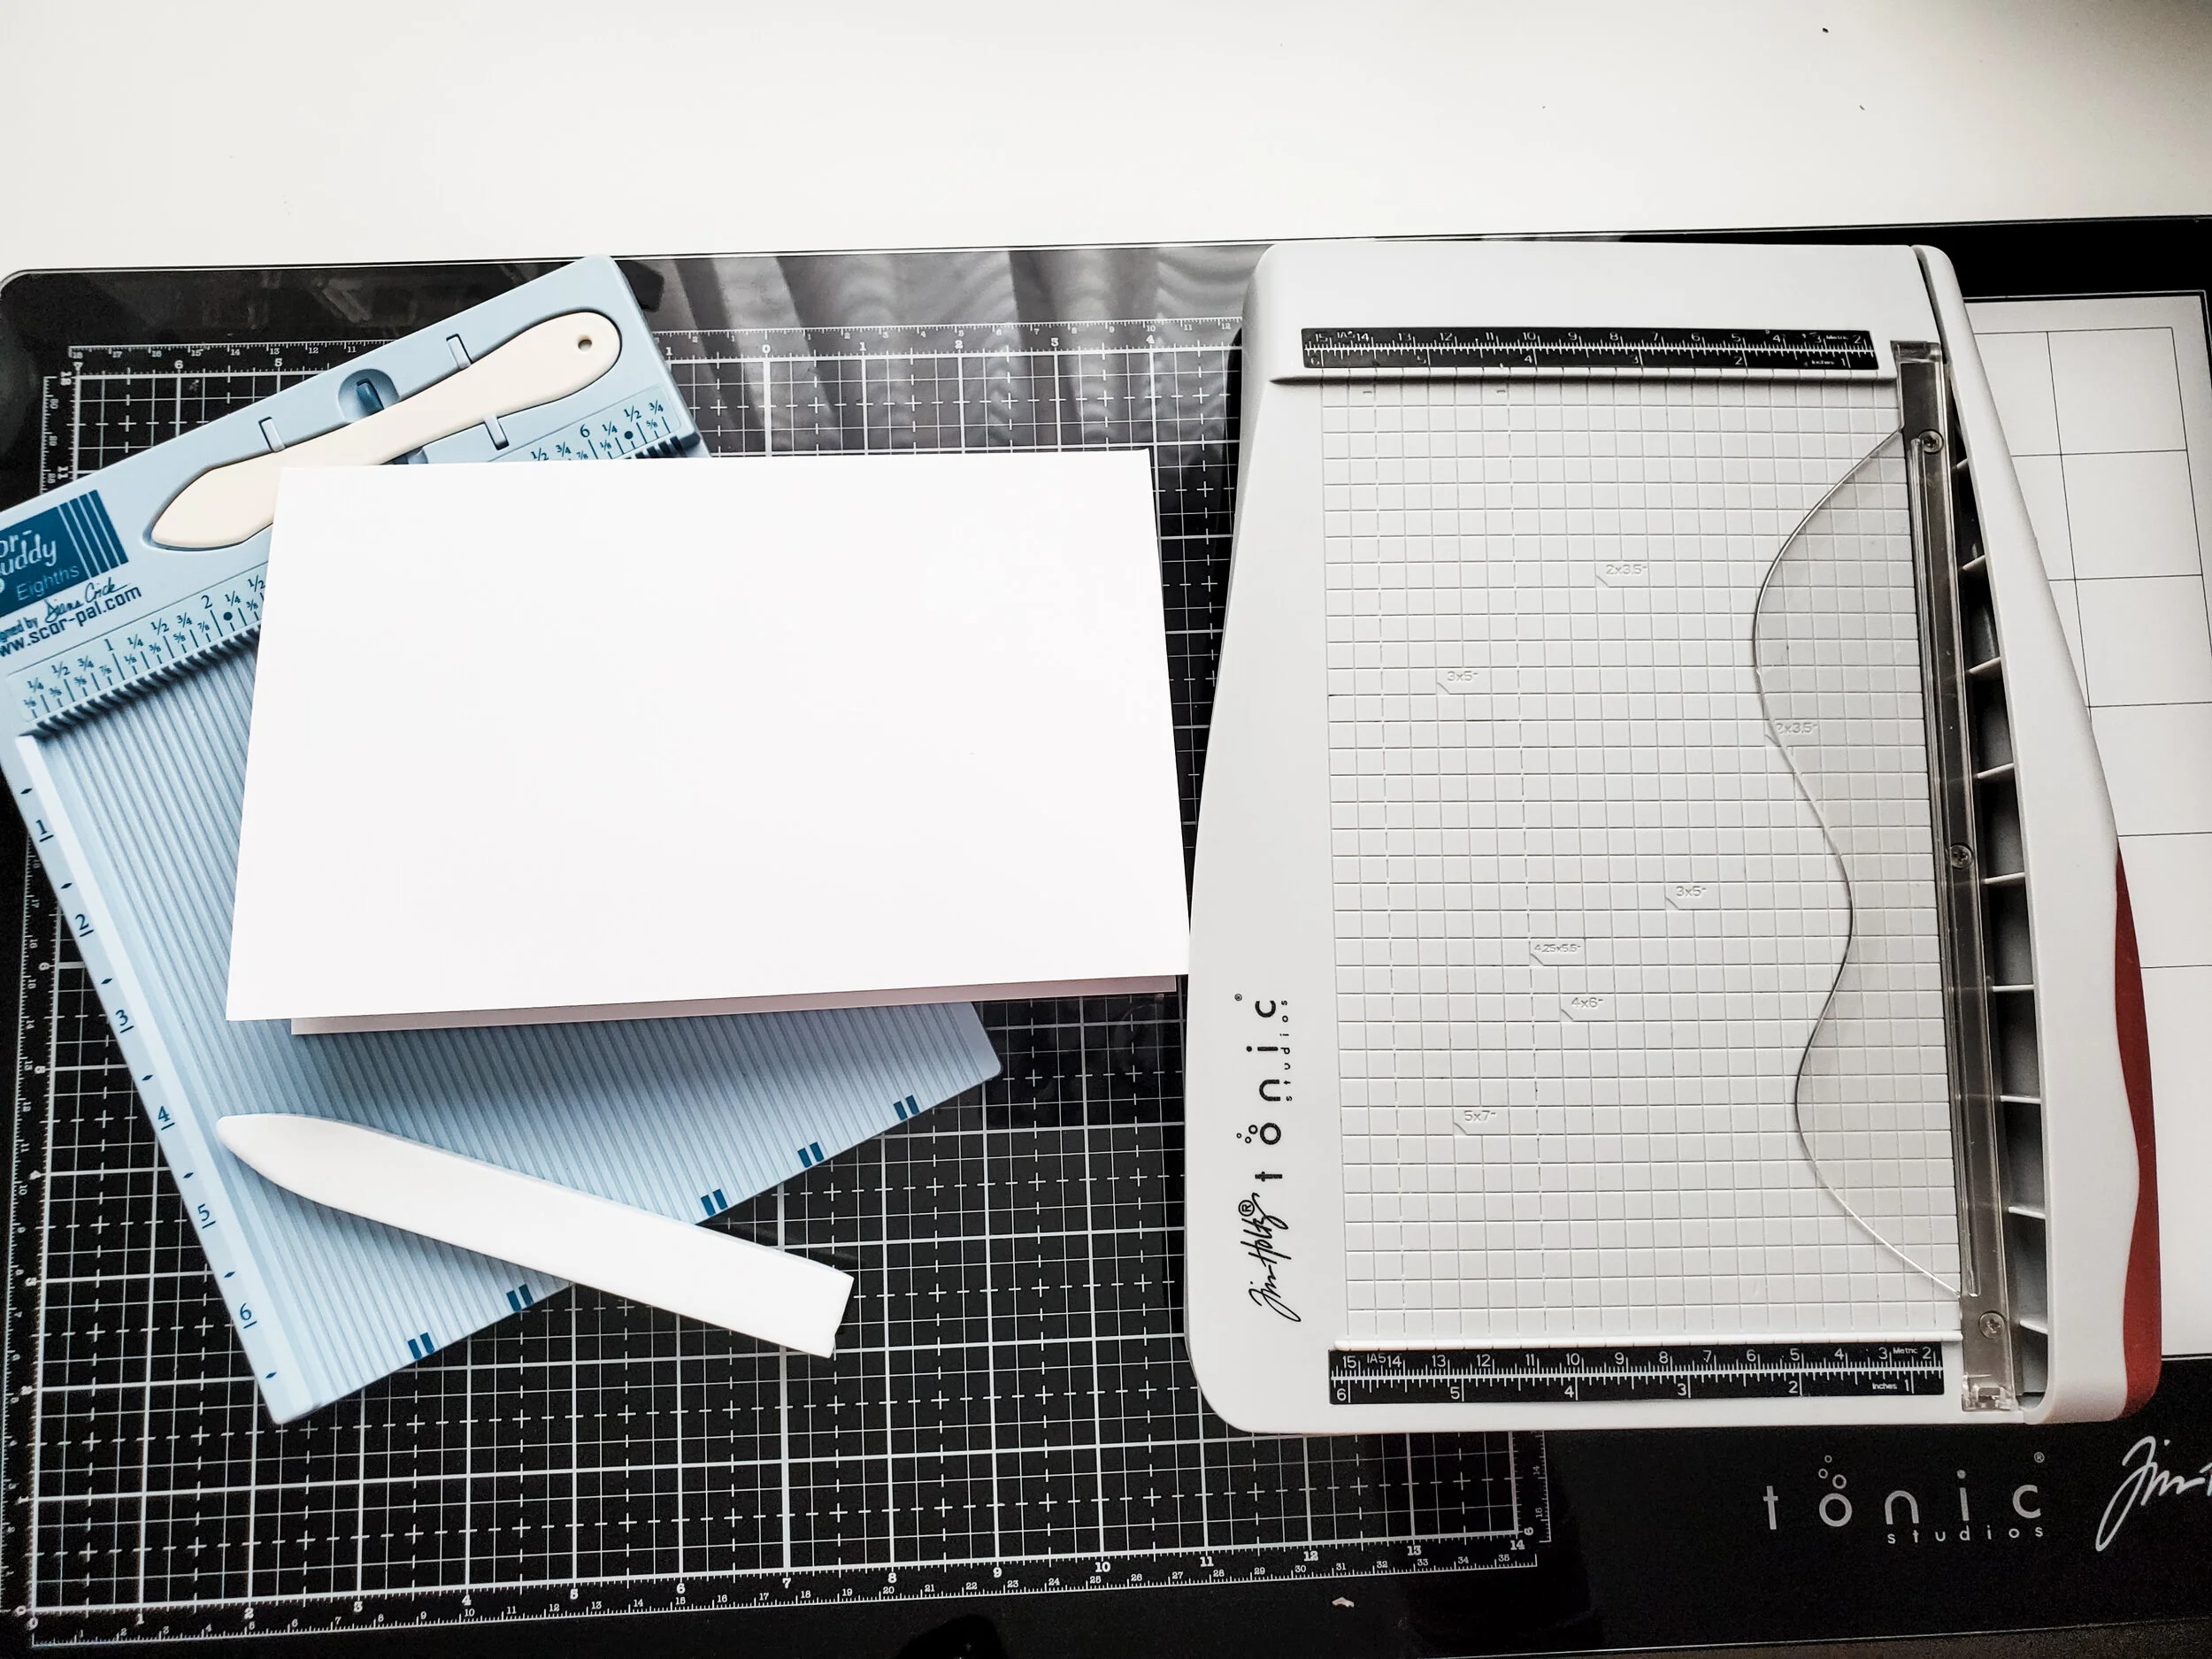
As, for the top-folding card bases, I place the entire sheet on the Scor-Pal Board but, because the entire sheet is larger than the board first, I score at the 4 1/4’’ mark on one side then, I turn the sheet over and, I continue the scoring on the other side. Once, both scoring lines are joined, I fold the sheet in half and, I reinforce the fold once again using my Teflon Bone Folder for a clean and smooth fold. Lastly, I cut the folded sheet in half creating that way 2 top-folding card bases at once.

So, that’s all for today’s blog post friends, I hope these tips were helpful as, you can use them by using any craft tools that you already own and, with any kind of paper of your choice. As always, I appreciate the time you take to read my blog posts. Below; you’ll find the supply list for the products used on today’s blog post.
Thank you and happy crafting, your time is valuable
Don't forget to keep spreading kindness, Today and Always.
Hugs,
Yasmin

PLEASE NOTE
As part of the WOW! Designer Team, WOW! has provided me a code for all my lovely Subscribers to use. So, don’t forget to take the advantage of a crafty 10% off all purchase for both WOW!
US and UK by simply using my code: WOWDTYD
Here are the links for both websites weather you’re a US or UK user.
WOW! Embossing Powder US
WOW! Embossing Powder UK
Your imagination is Your limit.
All photography provided by Yasmin Diaz


Creativity is contagious, pass it on.
–Albert Einstein
Disclosure
I am creating this blog with the purpose of sharing how I create my card bases, the information provided here is base in my own opinion and creativity. I am not an expert by any means, and I only share tips that work for me and, the way that I design my cards. All the products used on today’s blog post were personally purchased by me. Please, keep in mind that, all referral links were added for you to know from where I purchased them as, all of products shared and mentioned in each of my blog posts are simply because I use, and truly love them.