
Whimsy Stamps + WOW! Embossing Powder Blog Hop
Hi there! Today I’m so pleased to be joining Whimsy Stamps + WOW! Embossing Powder design teams for this amazing blog hop collaboration. If you’ve arrived here from Bev’s Blog you’re in the right track, but if happens that you’ve missed any stop along the way! No worries, you can always start over from the beginning as you’ll find down below the full lineup.
Now let’s get to the good part, as no blog is complete without a prize! So, here are the prizes:
— WOW! Embossing Powder will be giving away 6 powders of your choice along with a WOW! carry case to store your powders safely in.
— Whimsy Stamps will be giving away a $25 gift certificate to their online store.
The WINNERS will be chosen at random on April 22nd from the comments left on ALL THE POSTS. To join this GIVEAWAY you must LEAVE a comment on each blog post to have a chance at getting your hands on the prize. This hop is open internationally, and will be running from today’s date April 12th to April 18th.
BLOG HOP LINE UP
WOW! Embossing Powder
Whimsy Stamps
Jo Herbert
Alanna Moses
Jennifer Dove
Zsoka Marko
Jenny Colacicco
Verity Biddlecombe
Ashlee McGregor
Jeanette Comerford
Bev Rochester
Yasmin Diaz ( YOU ARE HERE)
YOUR NEXT STOP IS ➝ Jamie Martin
Deb Davis
Dorinda Kaduchak Sue Hastead
Joanne Soukup
Nicolette Marie
Michele Kovack
Karen Reategui
Dana Gong
That being said, keep on reading the blog as I’d love to share with you the cards that I’ve created featuring products from both companies.

For the first example I inked it up a piece Bristol Smooth card stock with Cracked Pistachio, and Peacock Feathers Distress Oxides. Once, the inks were blended, and dried I stamped on top of it using the Spiral Roses Background, and clear embossing ink because I was going to do some heat embossing. Then, I applied on top of the stamping Under the Sea glitter embossing powder, and I heat set it.
After the heat setting I trimmed all the edges of card panel, and as soon as all the edges were cut I adhered the backed of it with double sided tape to an A2 size white side folding card base. To finish the card off I white heat embossed one of the sentiments from the Beaucoup Bouquet Sentiments stamp set with Opaque Bright White embossing powder over a piece of velum which I trimmed down, and adhered on the lower part of the card. As a finishing touch I adhered a big piece of Metallic Gold thread which I had wrapped a round a few times underneath the sentiments along with a few clear sequins.

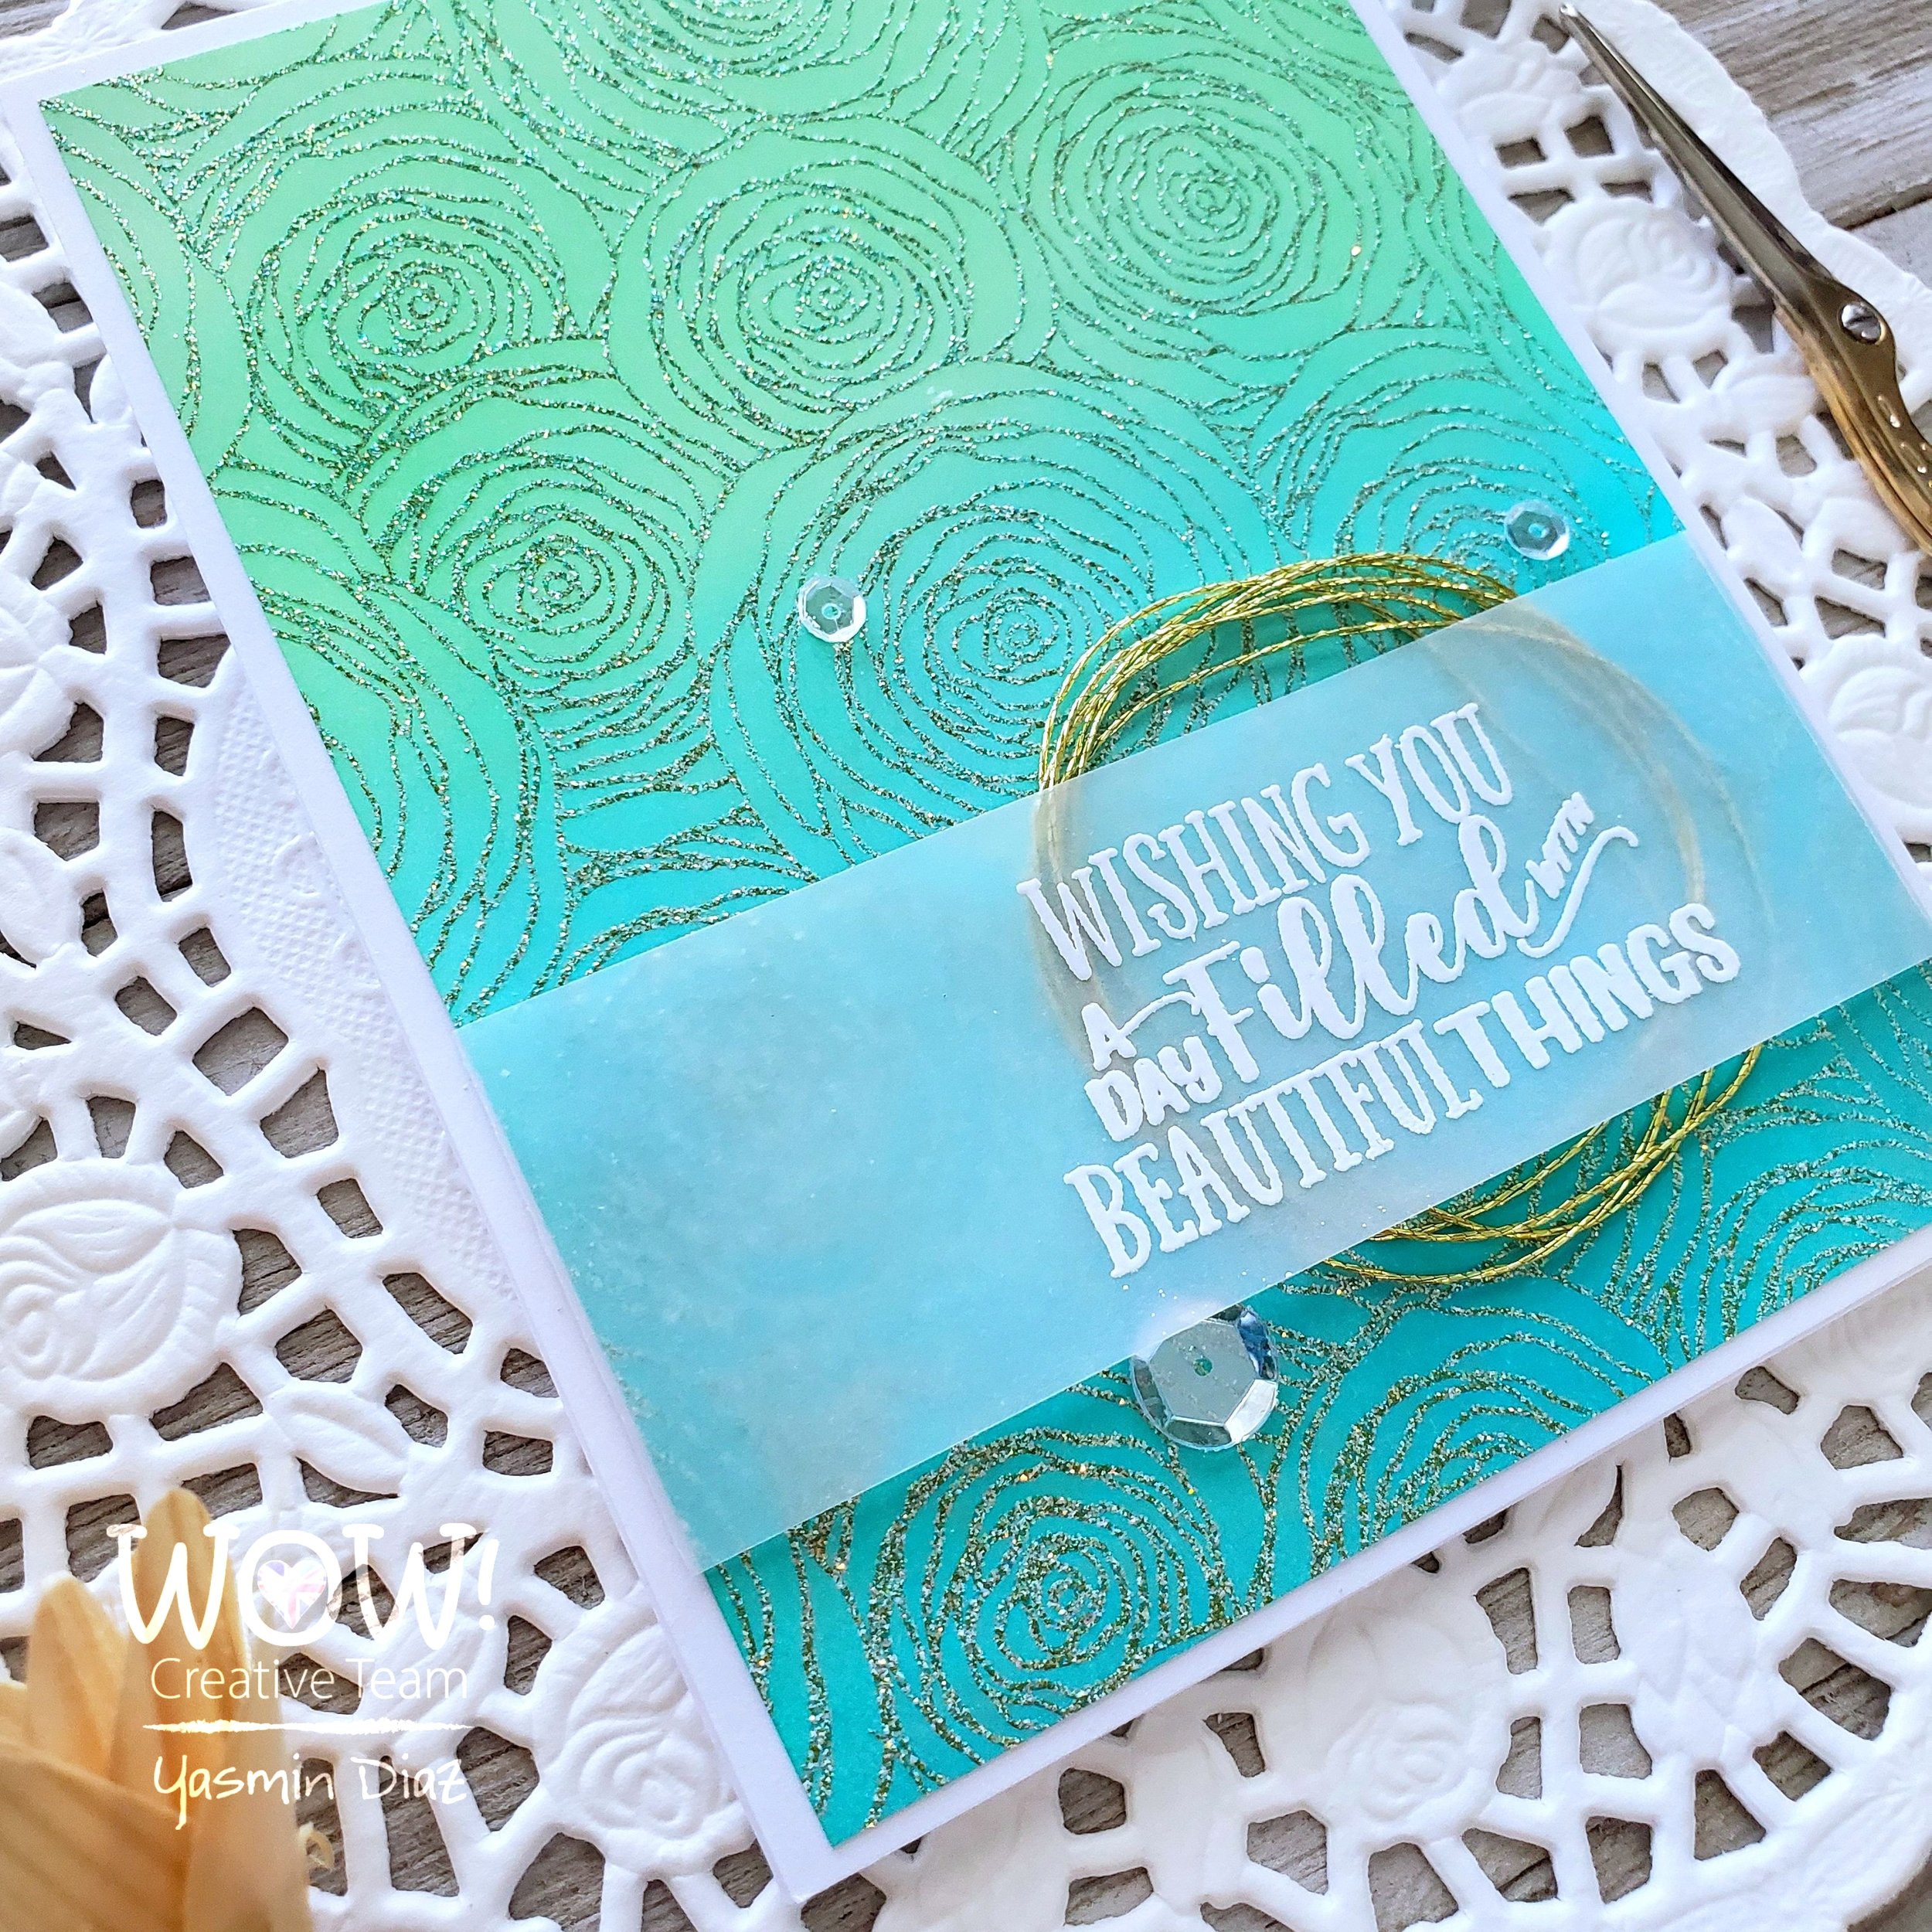
For the second card I gradually ink blended the card panel with Cracked Pistachio Distress Oxide Ink, as you can see I started from the bottom to the top creating an Ombre effect. Once, the ink blending was dry I used the same stamp bacground to stamp the whole card panel with clear embossing ink. Then I applied Bounding Powder on top of it, and heat seat it with the heat tool.

Soon after the heat setting was done, I used the foiling machine to foil the card panel with WOW Fab Foil Gold, and as soon as the card panel was foiled I trimmed all the edges. As you can see I repeated the same step as the first example by white embossing a sentiment from the same stamp set in a piece of vellum. However, for this example I decided to adhere the sentiment vertically right in the center of the card panel. And to finish the card off I wrapped around metallic gold thread which I finished with a bow. Finally, I adhered the card panel to the white card base with foam mounting tape.

For the last example I kept the same idea as the previous example by foiling the card panel. However, I used Peacock Feather instead of Cracked Pistachio..

As for the sentiment, I decided to white heat embossing one of the sentiment from the same stamp set on a piece of Teal color card stock to complement the ink color as you can see in the picture above.

Yay, you made it to the end! I hope you’ve had a great time here with me, as well as I hope that you continue hopping along with us. Don’t forget to comment at each stop along the way, down below you’ll find the supply list for all the products used in this blog.
Thank you and happy crafting, your time is valuable.
Don't forget to keep spreading kindness, Today and Always.
Best,
Yasmin
Supply List
Beaucoup Bouquet Sentiments Clear Stamps
Spiral Roses Background Rubber Cling Stamp
Moonshine Crystal Clear Sequins
Opaque Bright White Embossing Powder
Fab Foil Gold
Bonding Powder
Embossing Ink Pad
WOW! Heat Embossing Gun Tool
Metallic Embroidery Thread
Mini Minc Machine
Neenah Classic Crest #110
Neenah Smooth Solar White #80
PLEASE NOTE
As WOW! Designer Team Member, WOW! has provided me a special code for all my lovely Subscribers to use. So, please don’t forget to take the advantage of a 10% off all purchase for both WOW! US & UK online stores by simply using my code: WOWDTYD
Here are the links for both websites weather you’re a US or UK user.
WOW! US
WOW! UK

Your imagination is Your limit.
All photography provided by Yasmin Diaz


Creativity is contagious, pass it on.
–Albert Einstein
Disclosure
I am creating this blog with the purpose of sharing how I design my cards, the information provided here is base in my own opinion and creativity. I am not an expert by any means, and I only share the way that I design my cards. All of the products used for this blog post were personally purchased by me. However, I did receive the Stamp sets from Whimsy Stamp, and the products from WOW! Embossing Powder. Keep in mind the all of the referral links were added for you to know from where I received or purchased the items from. The products shared, and mentioned in my blog posts are simply because I use, and truly love them.