
Technique Tuesday March Release Day
Hi friends, and welcome to the Technique Tuesday’s March release blog hop! I’m your last stop on the hop list, and on today’s blog I’m sharing how I created these two friendship cards featuring the new Fresh Peonies Stamp & Coordinating Crafting Die set. Down below you’ll find the full line up list in case you missed any stop, you can start from the Technique Tuesday’s blog but… if you’re in the right track you should have arrived here from Kymona’s Blog. So without further ado, let’s jump into the blog!

For today’s cards I started by scoring two A2 standard size white side folding card bases, and I set them aside while I started working on the card panels. For the first card I started by stamping the Peony cluster with a copic friendly black ink, then I let it dried a few minutes before I started the coloring with the following alcohol markers:
‒ R11
‒ R22
‒ R24
‒ YG03
‒ YG13
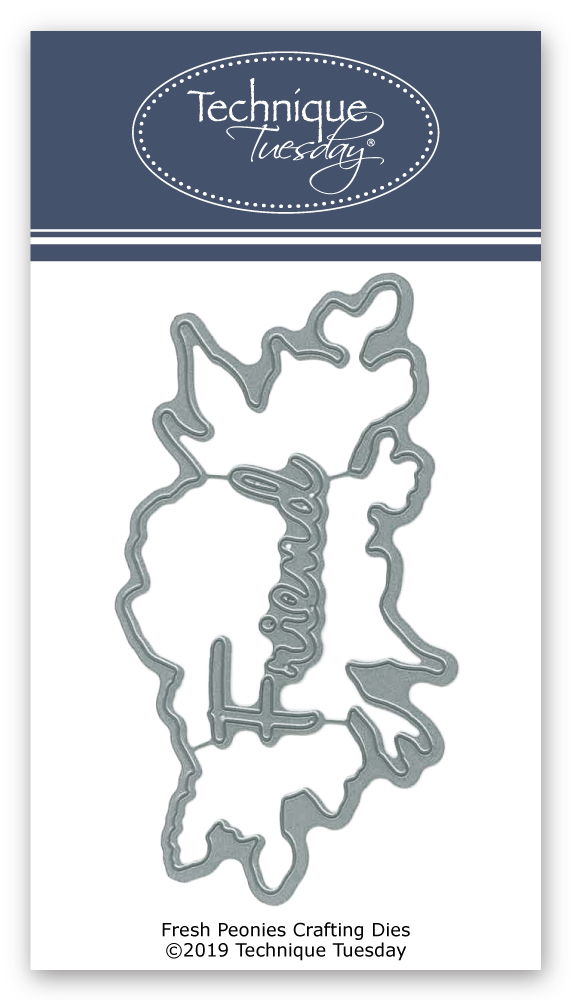
Once I was done coloring, I ran through the die cutting machine both the card panel and the Peony crafting die to die cut the Peony cluster as I wanted to add dimension to it, and for that I ran once again the crafting die along with a piece of fun foam.

In the meanwhile I also ran through the die cutting machine a piece of black card stock and the Friend crafting die from the same set. Then I adhered the backed of the card panel to the white card base and I inlaid the Peony cluster to it along with the fun foam. To finish it off, I created a sentiment for the card by combining the die cutting Friend and stamping with black ink one of the sentiments from the same stamp set on one of the lower sides of the cards, as you can see in the picture above.

For the second card I basically did the same thing, as you can see I colored, die cut the cluster and the Friend word as I did for the previous card. Although for this card I skipped the R24 marker in my coloring, as I wanted a softer looking for the Peonies. And as far for the card layout I changed a bit by I stamping another sentiment and by placing the sentiments on one of the top sides of the card. To finish this card off, I adhered the card panel to the card base along with the fun foam and the Peony cluster. However for this card I decided to add two strip of black card stock that I adhered on the lower side of the card.

Now that you are seeing both cards side by side, you can see the difference between them, also you can see that I adhered some clear sequins here and there to them.
I hope you had a great time here with me, and I hope you get inspire by the cards that I shared today. Down below you’ll find the supply list along with the blog hop list for you to go and get inspire for the amazing talented ladies from this list.

PLEASE NOTE
As WOW! Designer Team member, WOW! has provided me a code for all you my lovely Subscribers to use. So, please don’t forget to take the advantage of a 10% off all purchase for both WOW! US and UK by simply by using my code: WOWDTYD
‒ Here are the links for both websites weather you’re a US or UK user.
WOW! US
WOW! UK

Thank you and happy crafting, your time is valuable.
Don't forget to keep spreading kindness, Today and Always.
Best,
Yasmin
Your imagination is Your limit.
All photography provided by Yasmin Diaz


Creativity is contagious, pass it on.
–Albert Einstein
Disclosure
I am creating this blog with the purpose of sharing how I design my cards, the information provided here is base in my own opinion and creativity. I am not an expert by any means, and I only share the way that I design my cards. The products shared and mentioned in my blogs are simply because… I use and truly love them. Most of the products used for my blogs are personally purchased by me. However, I did receive the Stamp and the Crafting die set as I’m part of this blog hop.