
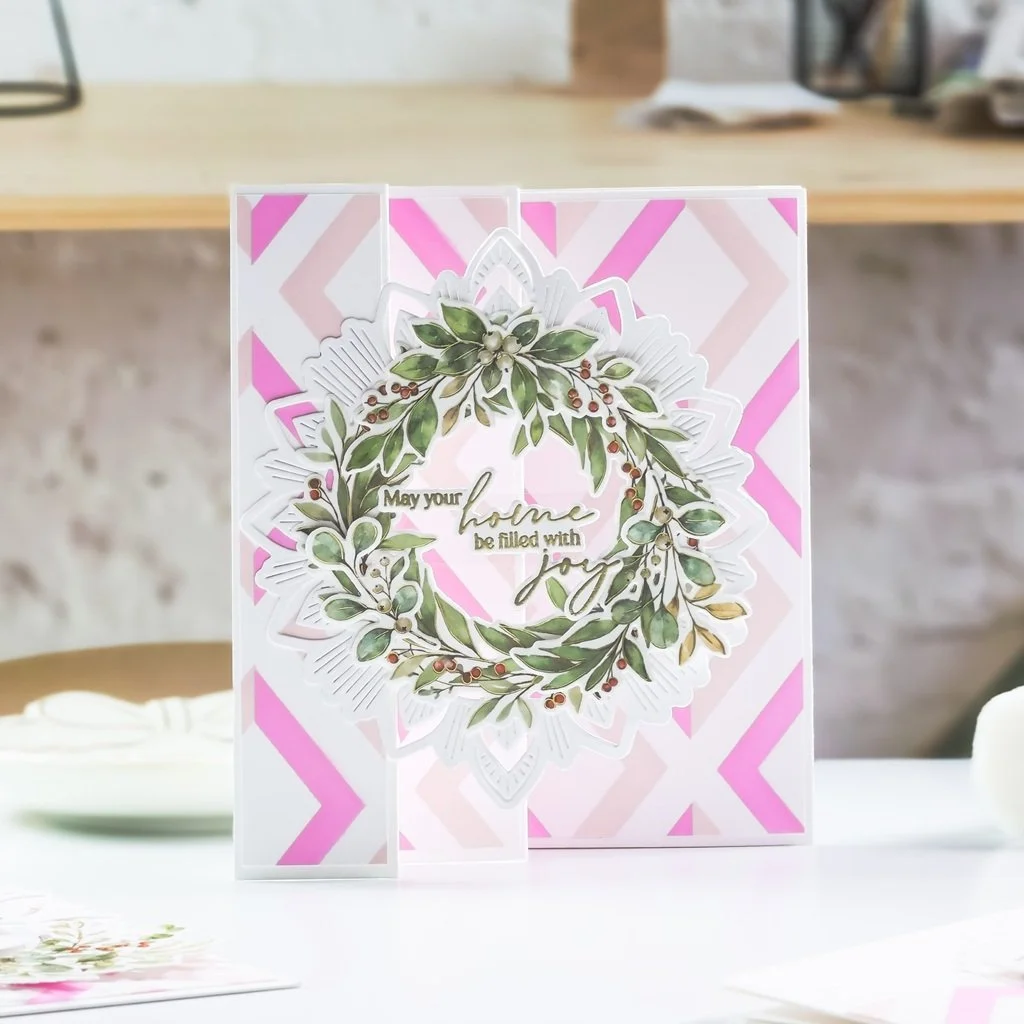
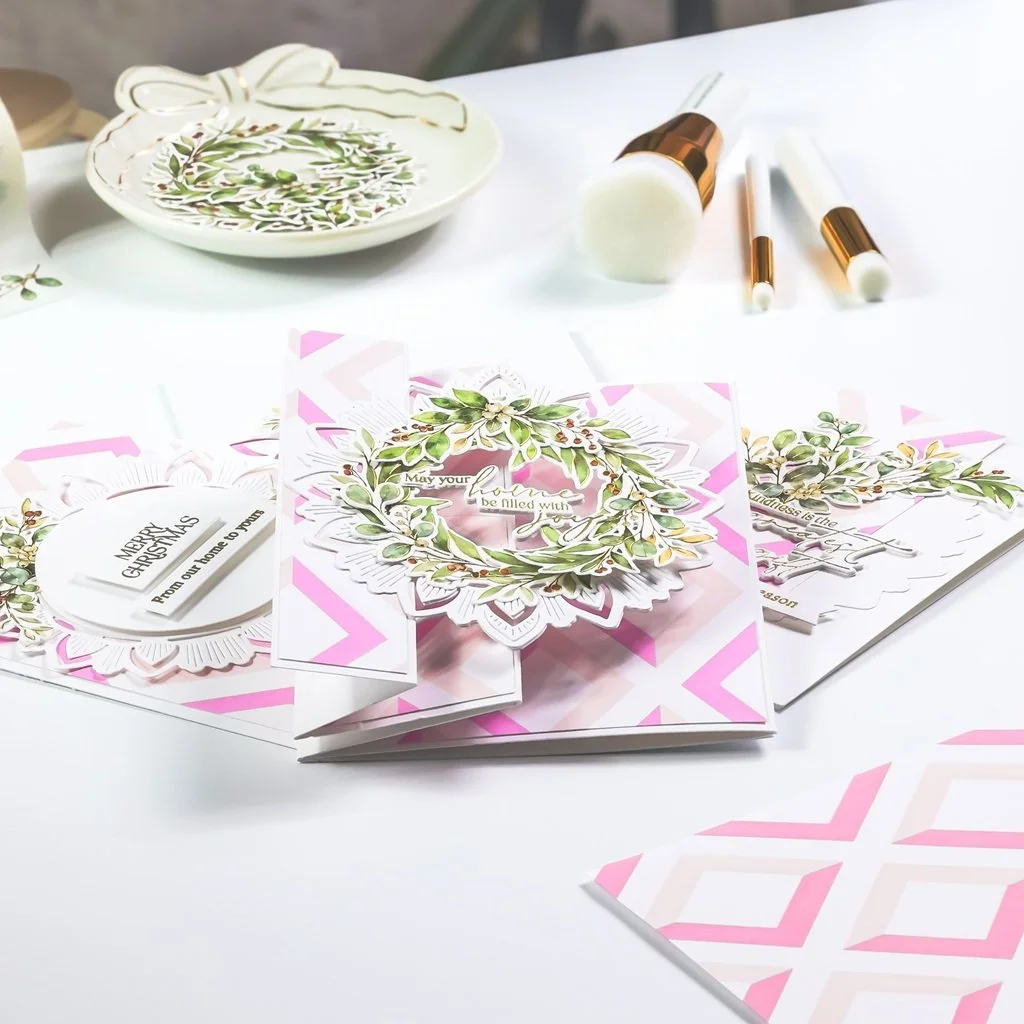
Happy Wednesday crafty friends! On today’s blog I’d like to share with you the step-by-step for these pretty in pink four holiday handmade cards I made with a chevron and botanical greenery + a touch of gold with some heat embossing powder. That being said, let’s jump right into the step-by-step.
To start with, these 4 cards were made in not time as for the greenery, I used the Seasonal Sprigs Washi and its coordinating Seasonal Sprigs Die. Therefore, I went ahead and unroll the washi, placed on top of a large piece of heavy weight cardstock, and then I used the coordinating dies and ran them through the Empress Die Cutting Machine. I repeated this step more than once to get a enough die-cutting pieces for all four cards.
Next, as soon as I got the die-cutting process started, I set them aside to start the process for the first card base, so I went ahead and got it done in two steps as it is a fun-fold card base.
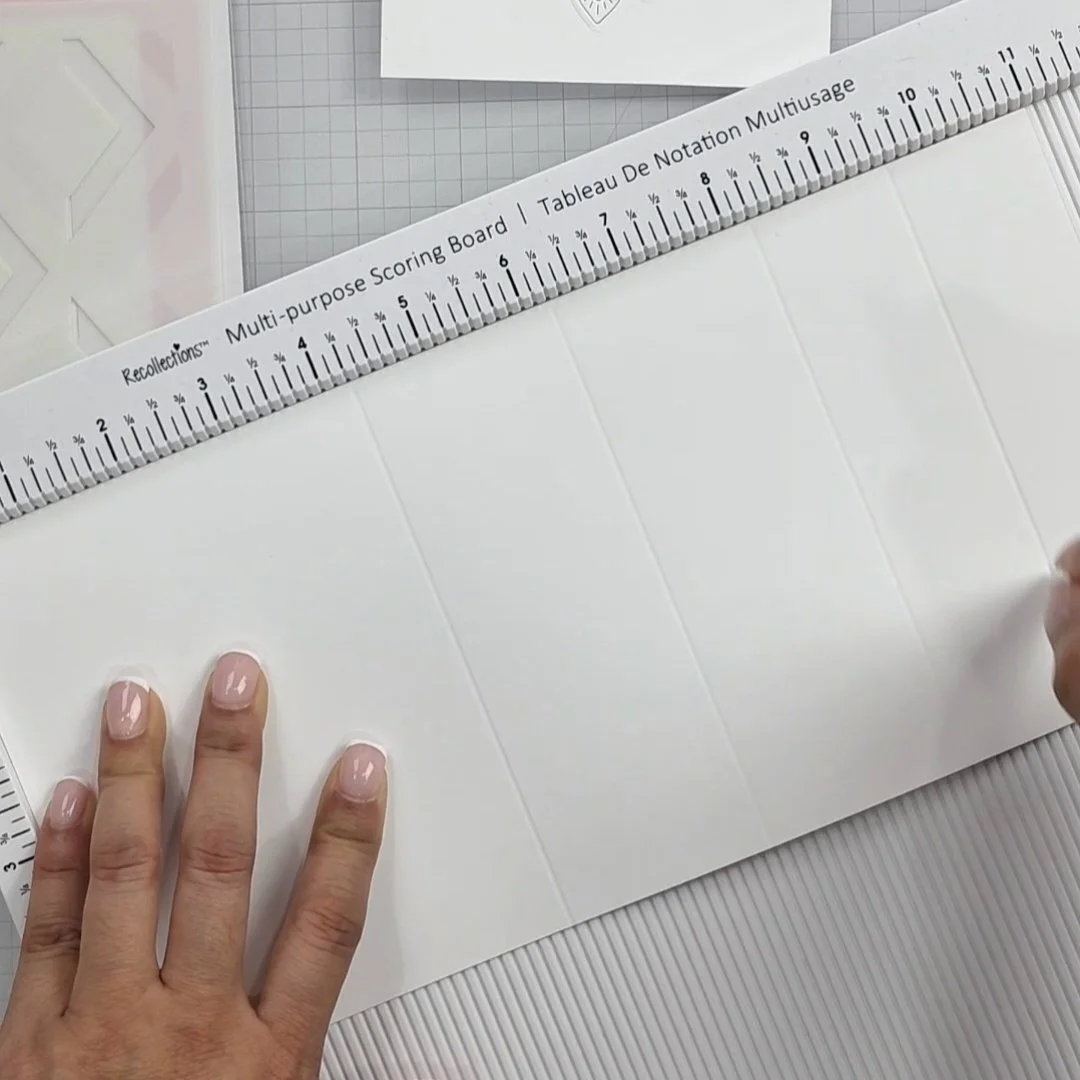
Therefore, for the first step: I placed a large piece of white cardstock over my scoring board. As for the cardstock piece it was W 11.0ʺ X H 5.5ʺ, scored at 4-1/4ʺ, 6-1/4ʺ, 8-1/4ʺ, and 9-5/8ʺ point marks as you can see in the image above. For the second step: I placed over the scoring board a piece of white cardstock with the following measurements: H 5.5ʺ X W 8-1/2ʺ and got that piece scored at 4-1/4ʺ point mark to create a side-folding card base.
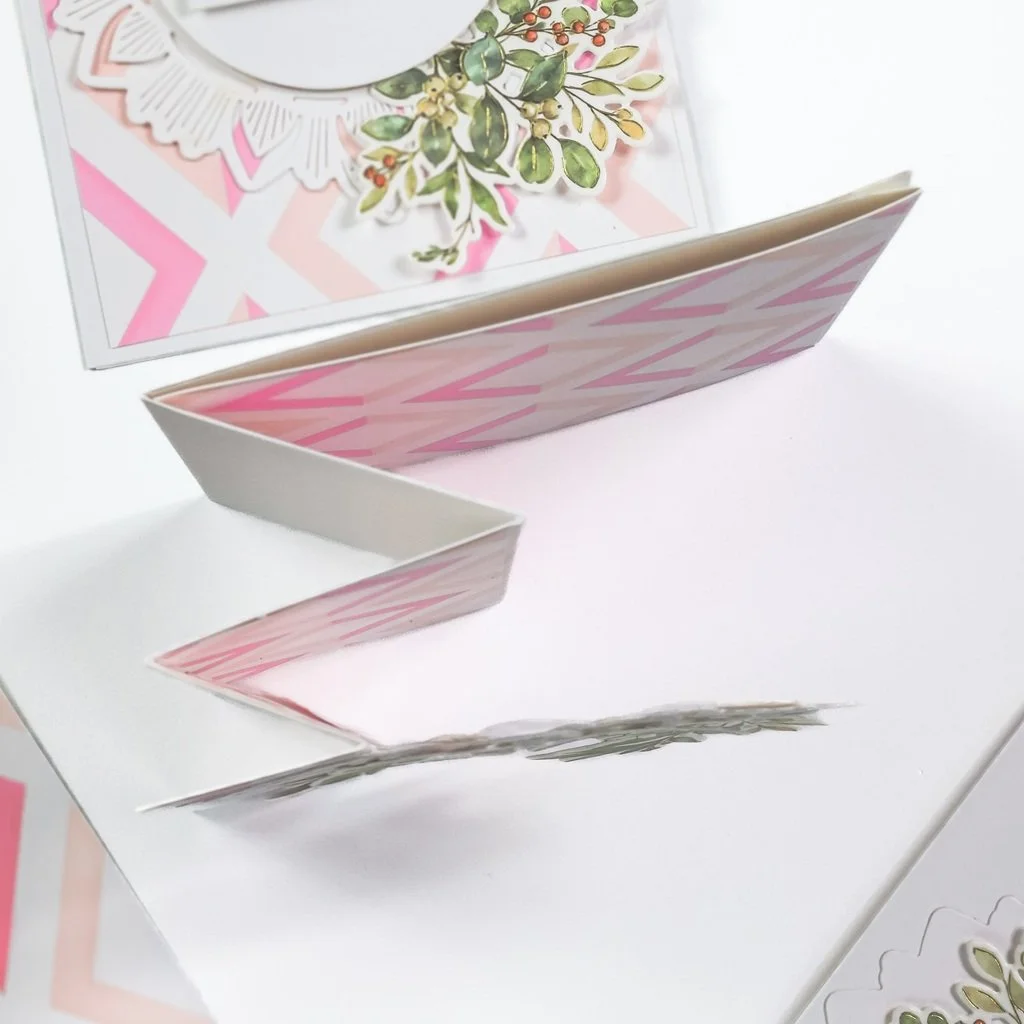
Once I got the scoring lines traced over the white cardstock pieces, I went ahead to reinforce the fold with my bone folder. As for the folds, I created a mount-valley-mount starting with the smaller fold from left-to-right to the center of the first piece.
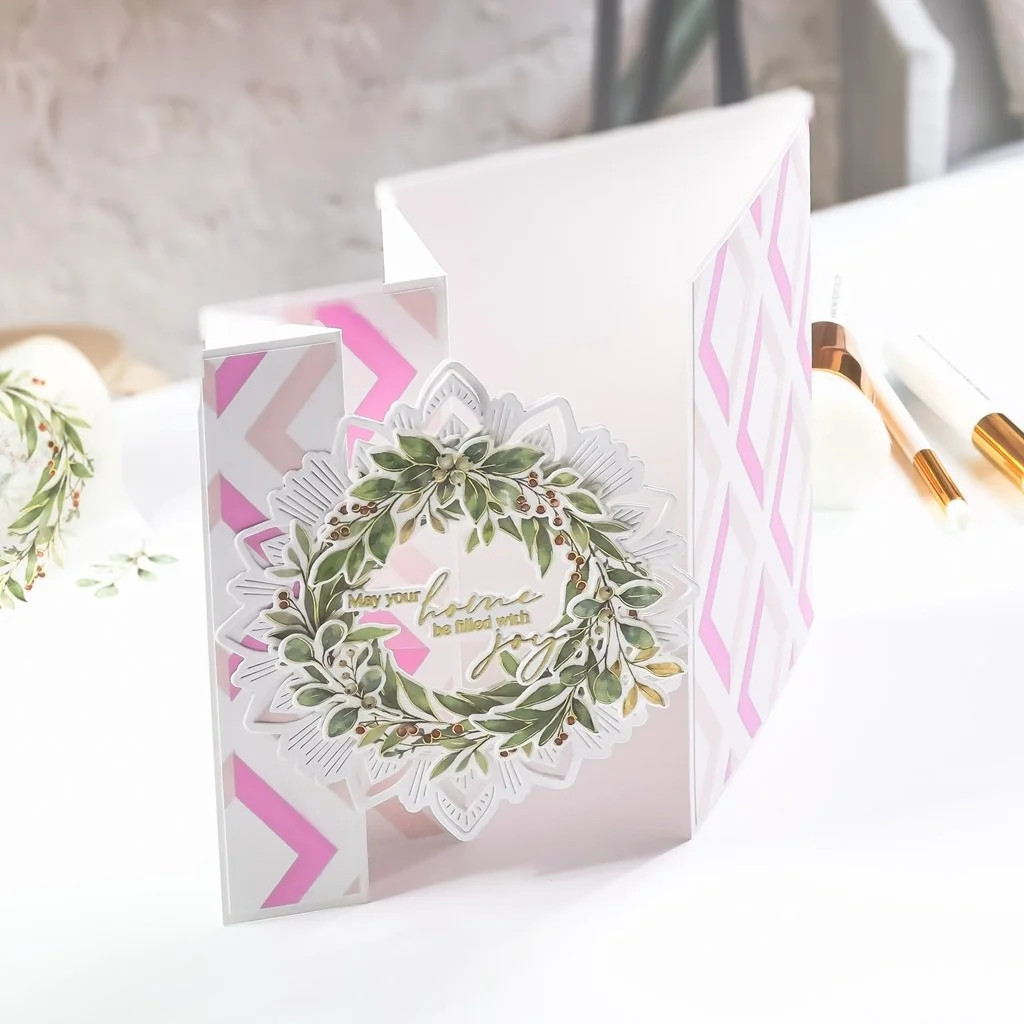
As soon as, I finished the first step for the card base, I set it aside and I continued for the second step; for the second step, I reinforced the fold and as soon as I got that done, I trimmed off and 1/8ʺ from the edge. Once that step was completed, I turned the card base upside-down, so the fold was facing to the right, and the opening was from left to right. Therefore, I went ahead to glued together the center of both card base pieces with double-sided adhesive to create the fun-fold as shown in the image above.
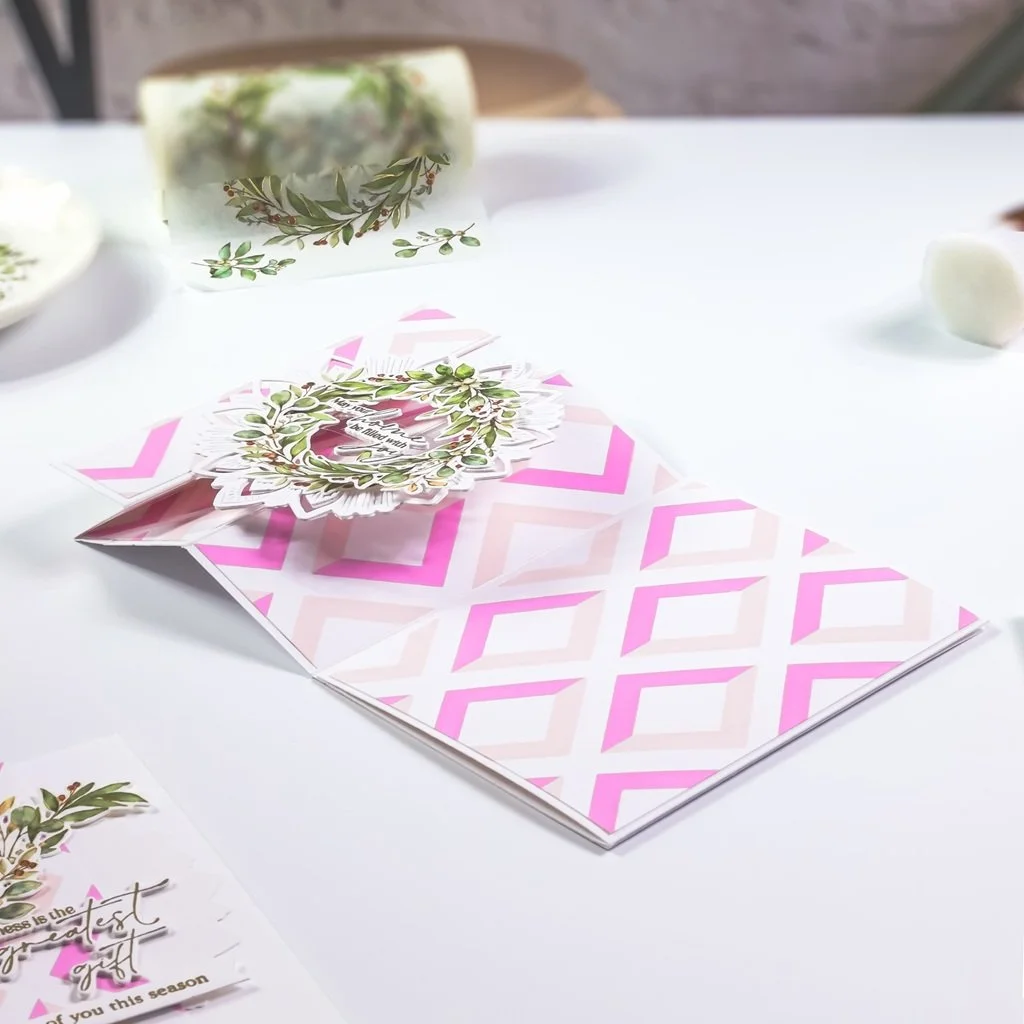
Right after I’ve got finished the process for the card base, I set it aside to create the inked background, so to do that, I placed an A2 size white card panel over my EasyBlend Grip Mat 8.5" x 11", and then I went ahead and use the Diamond Framework Stencil Set along with Ballet Slipper and Sparkling Rose inks. To make it easier to get the panel inked up, I used 1” blending Brushes.
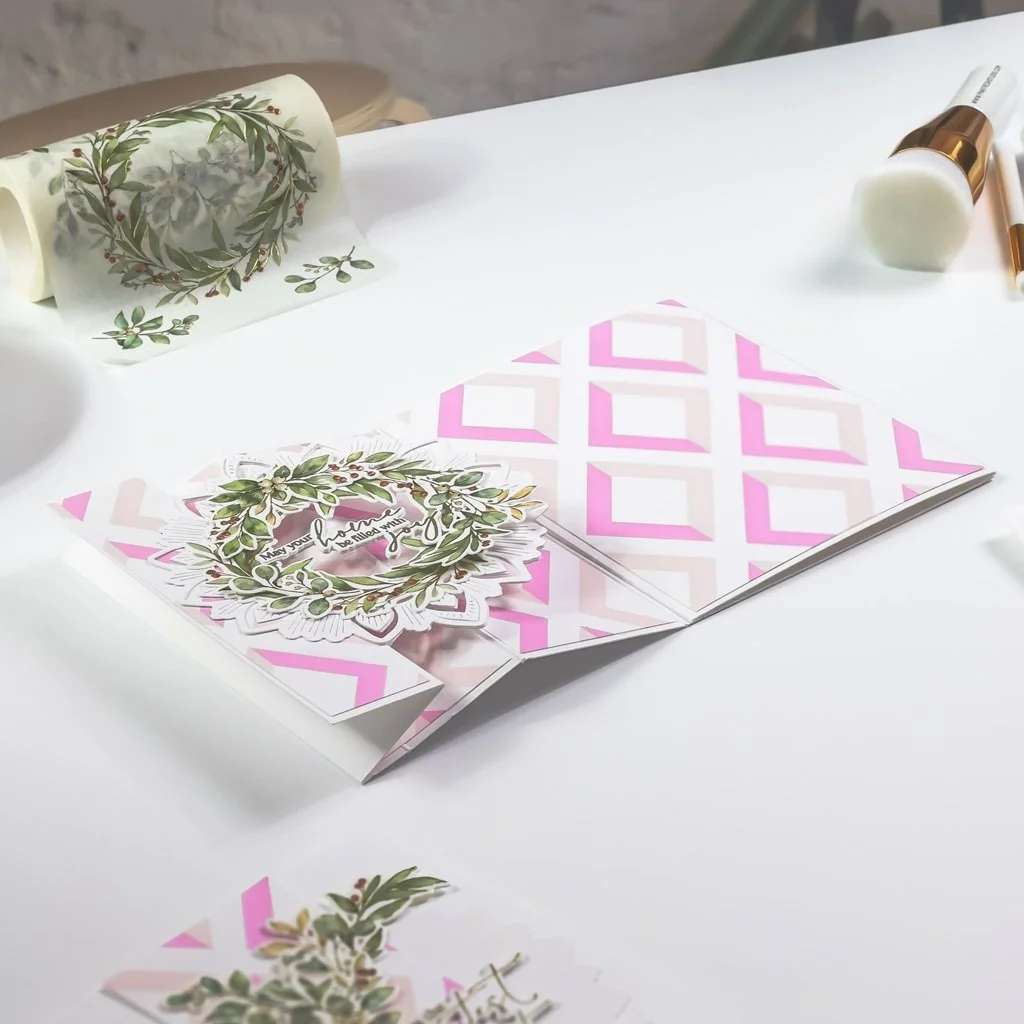
Since I created a fun fold card base, I needed additional card background pieces to add to the interactive folds, so I went ahead and created four background panels in total.
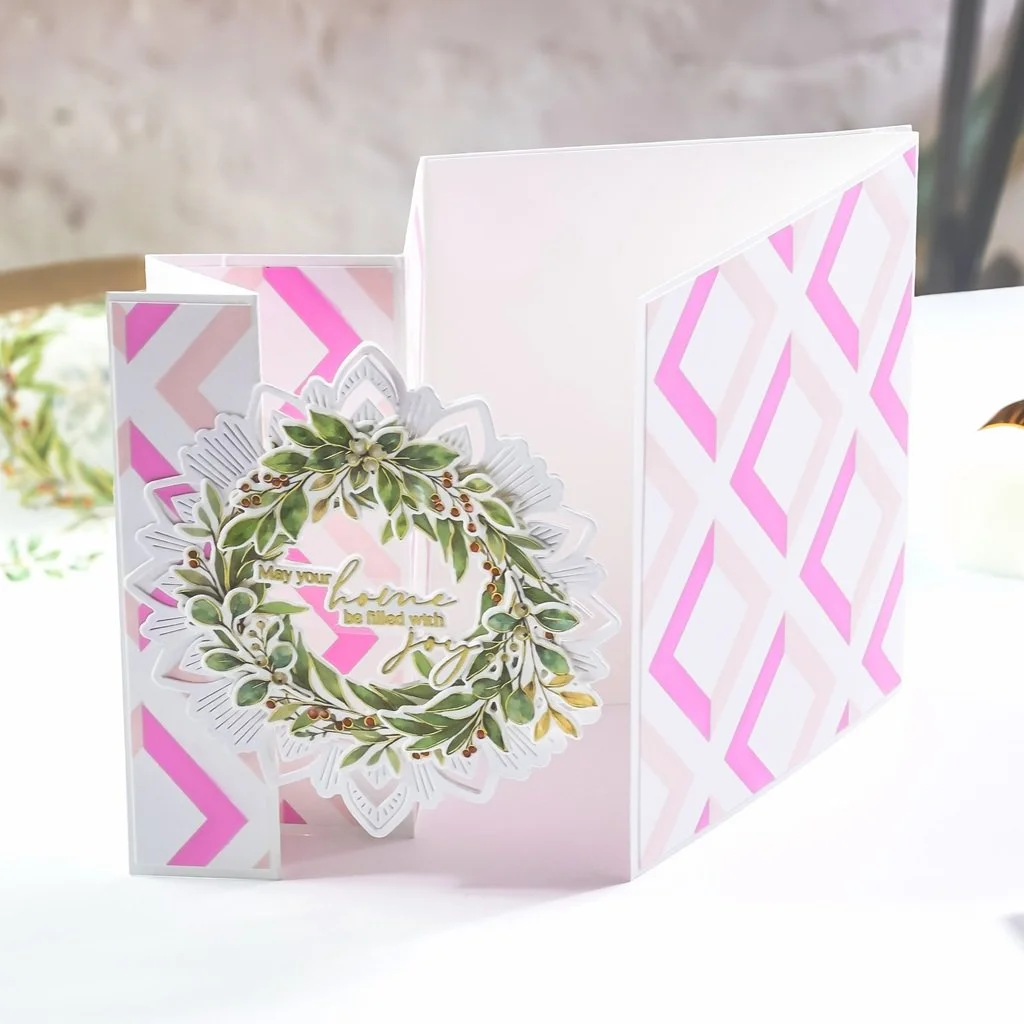
To get the card assembling, I went ahead and get and 1/8ʺ from each side of one of the card backgrounds, and then, I got it glued together to the large fold. Next, I repeated the same step of the second card background, and then I got it trimmed down in half. Followed by that, I glued together the smaller panels to the next medium folds. Lastly, I repeated the trimming in the second step, but this time I used only one half, and I got trimmed down in half again to create 2 smaller pieces which followed by that, I got them glued together to the smaller folds.
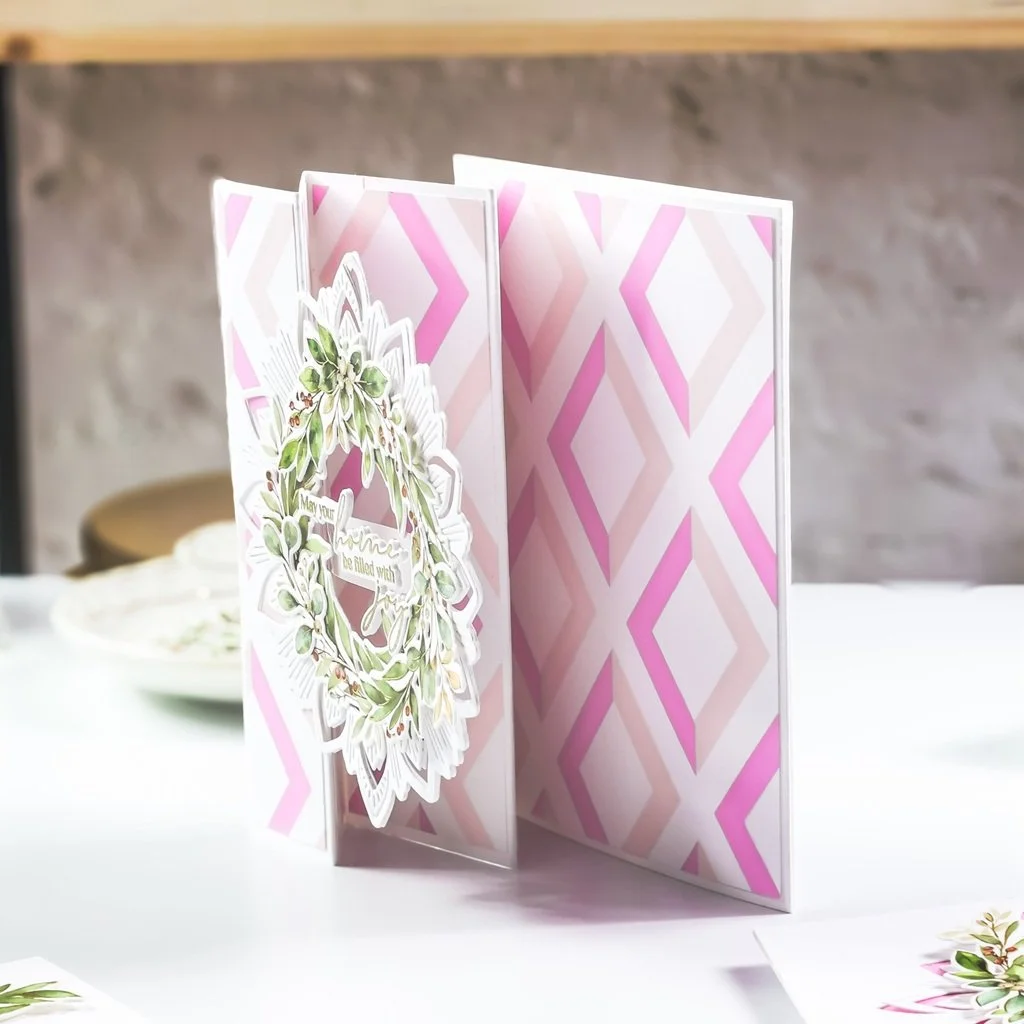
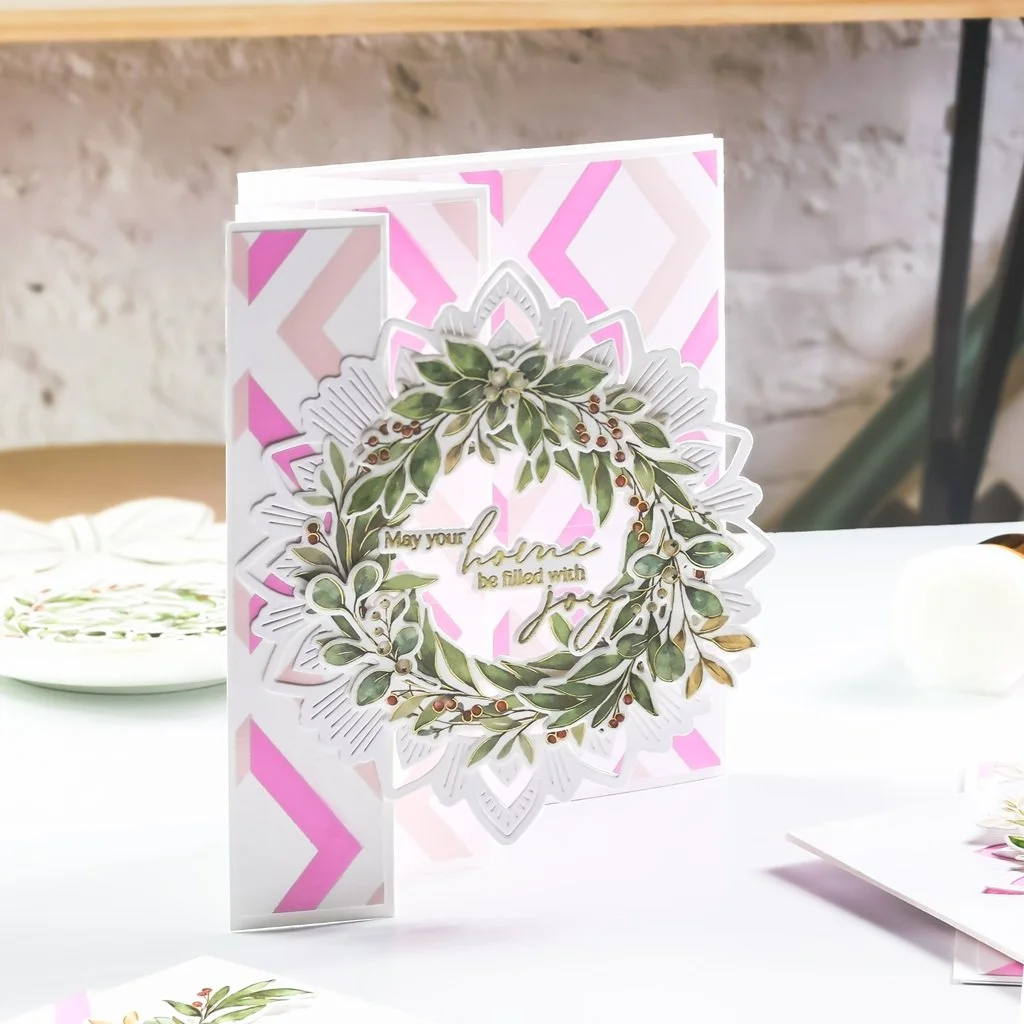
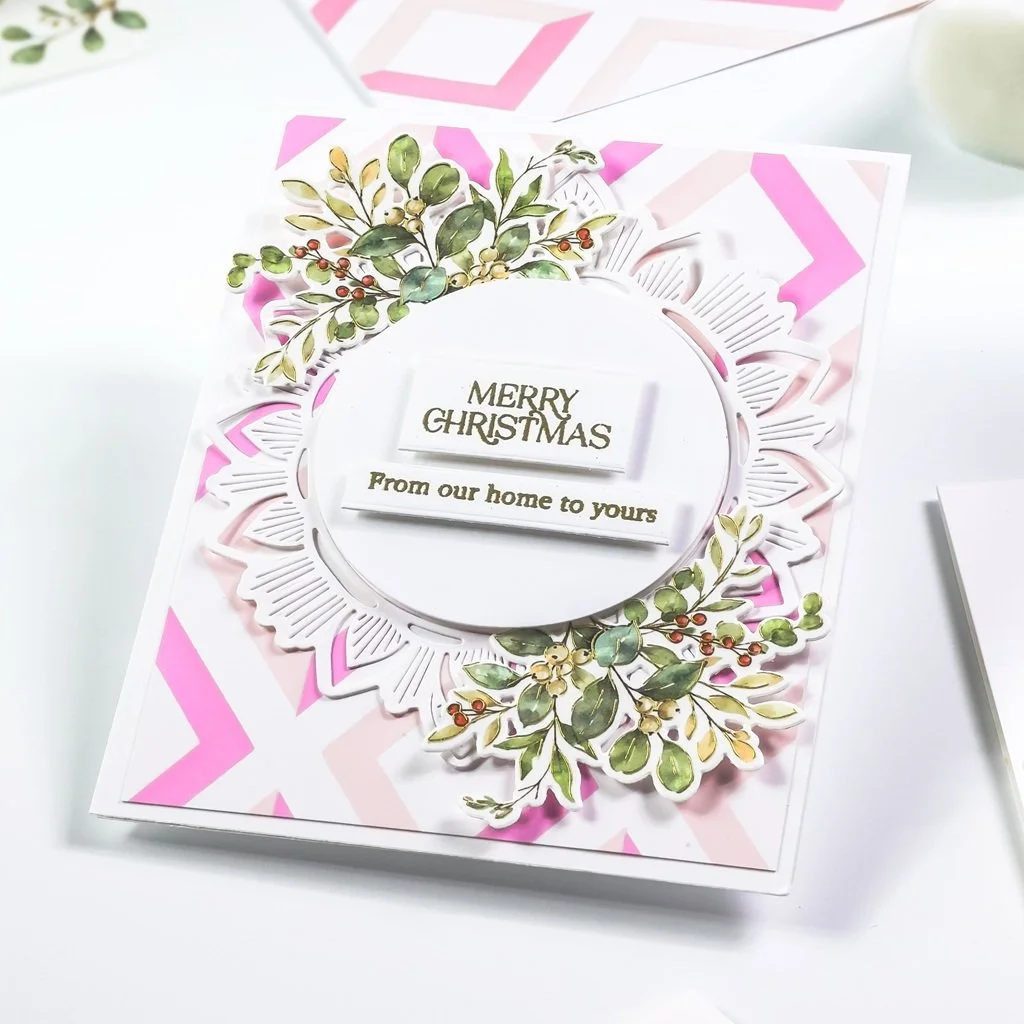
I was a little careful when getting the trimming on the card backgrounds as I wanted to create a continues pattern for the full card. You can see what I meant by that, as you can appreciate the pattern from the side view in the image above
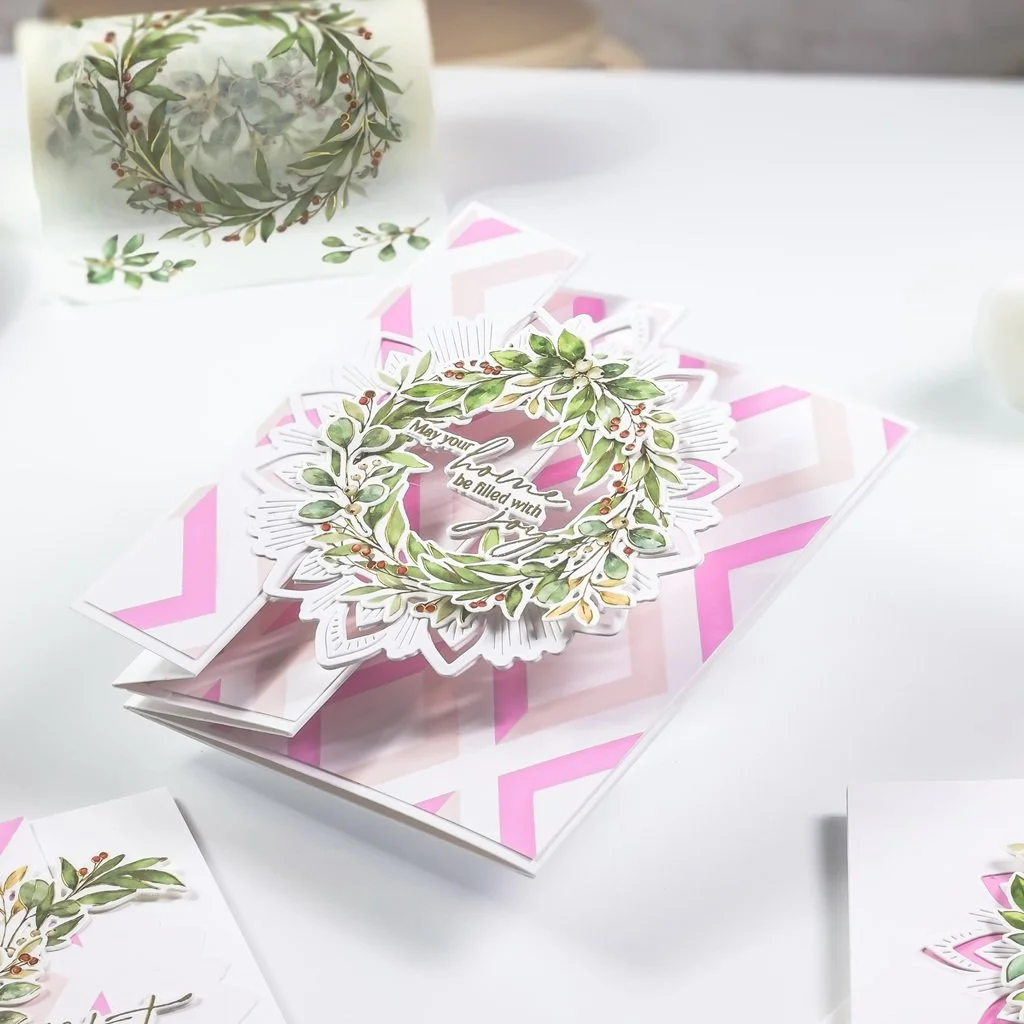
Nevertheless, for the focal point on the card, I added extra dimension by adding a decorative die-cutting white image, so to do that, I used the dies included in the Essentials: Ornate Circle Die set along with white cardstock. I created to die-cutting pieces, so once I got that done, I glued down the left edge of one of the decorative die-cutting pieces to the top fold; making sure the decorative was centered also with the second fold.
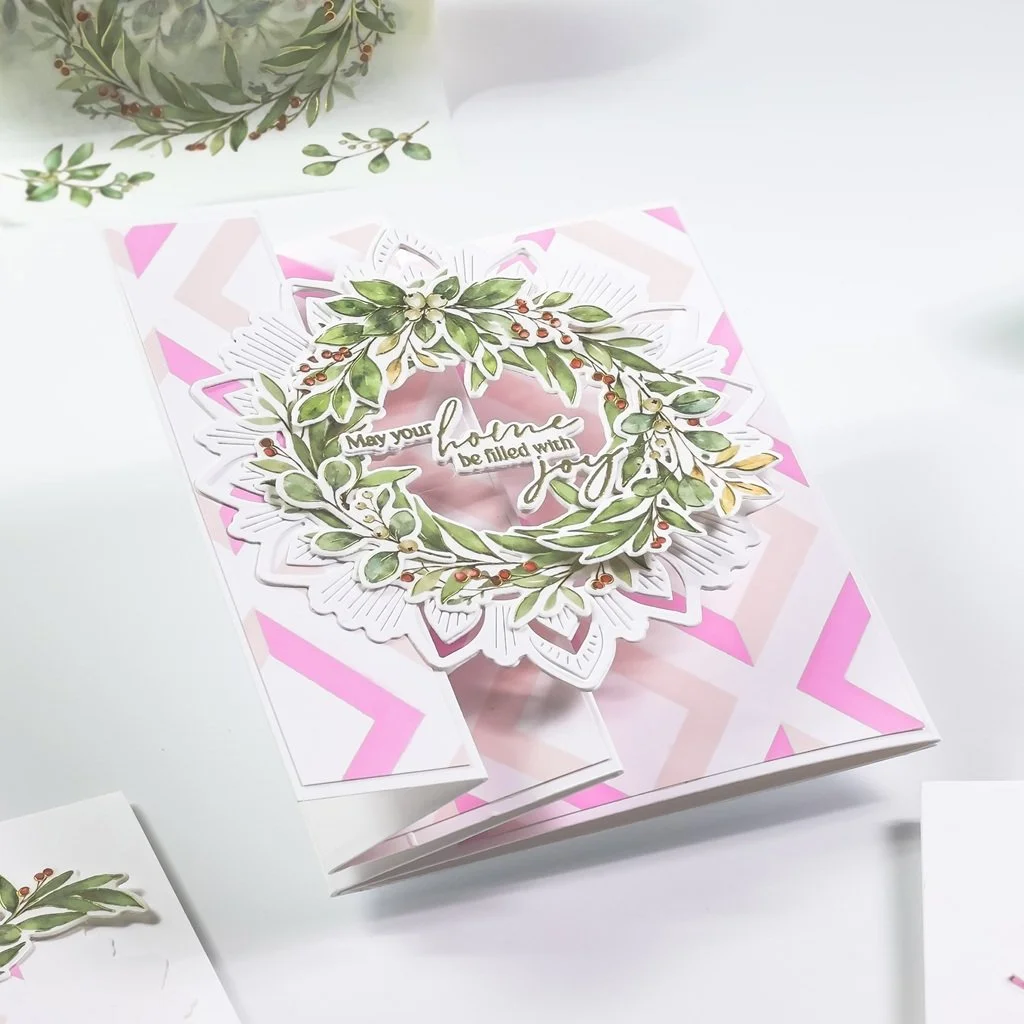
Then once the decorative piece was adhered to the fold, I added the die-cutting wreath and also another three die-cutting pieces to add even more dimension. Then I glued to the back of the wreath a small piece of clear acetate.
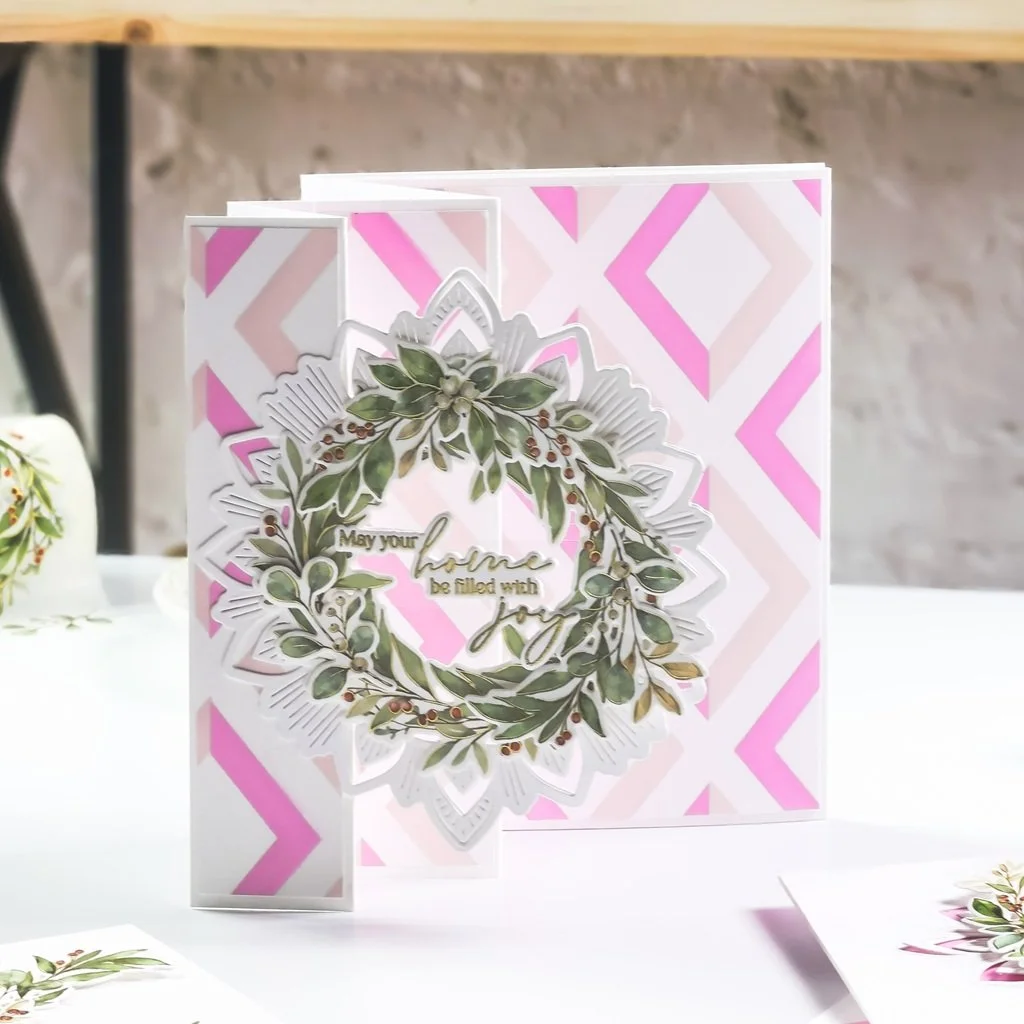
To finish the card off, I glued the sentiment over the acetate, and then I glued the other decorative die-cutting piece, but this time I did it to the backing of the previous decorative piece to cover the acetate glue and also did the same for the sentiment, as I glued another blank layer to it to cover the glue as well. By the way, I used the Seasonal Sprigs Stamp to stamp, and gold emboss each sentiment use in this and all of the cards. And with that said, first card was completed.
For the second card, I went ahead and die-cut out the center of the panel as it wasn’t going to be visible, so to do that I used a circle die and the die-cut machine. Then, after that step was completed, I got trimmed off 1/8ʺ from each side of the card background, and then I got the backing of it glued together to an A2-size top folding white card base.
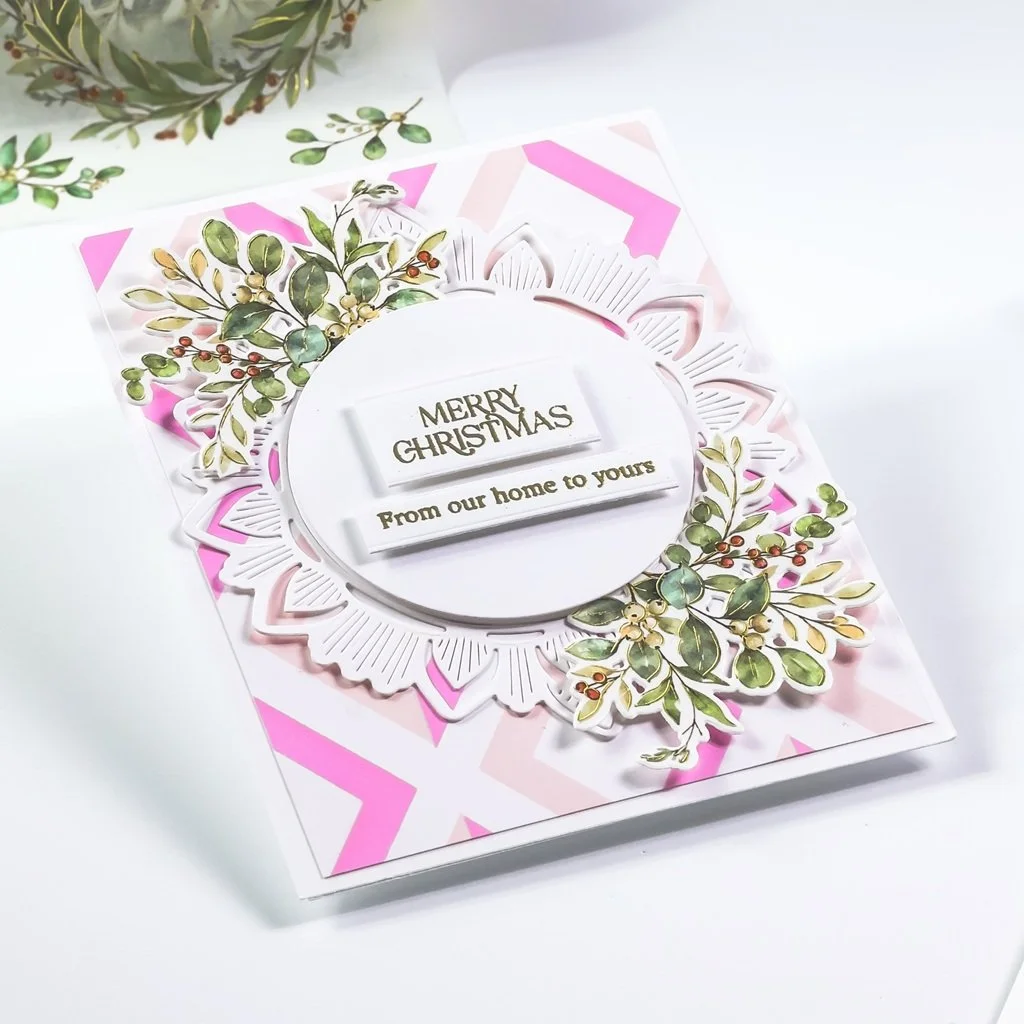
To create a continuous design going forward for the second card, I added a second decorative die-cutting piece, and I added dimension by adding craft foam adhesive to the back of the white die-cutting circle before I got it glued down to the center of the decorative focal point.
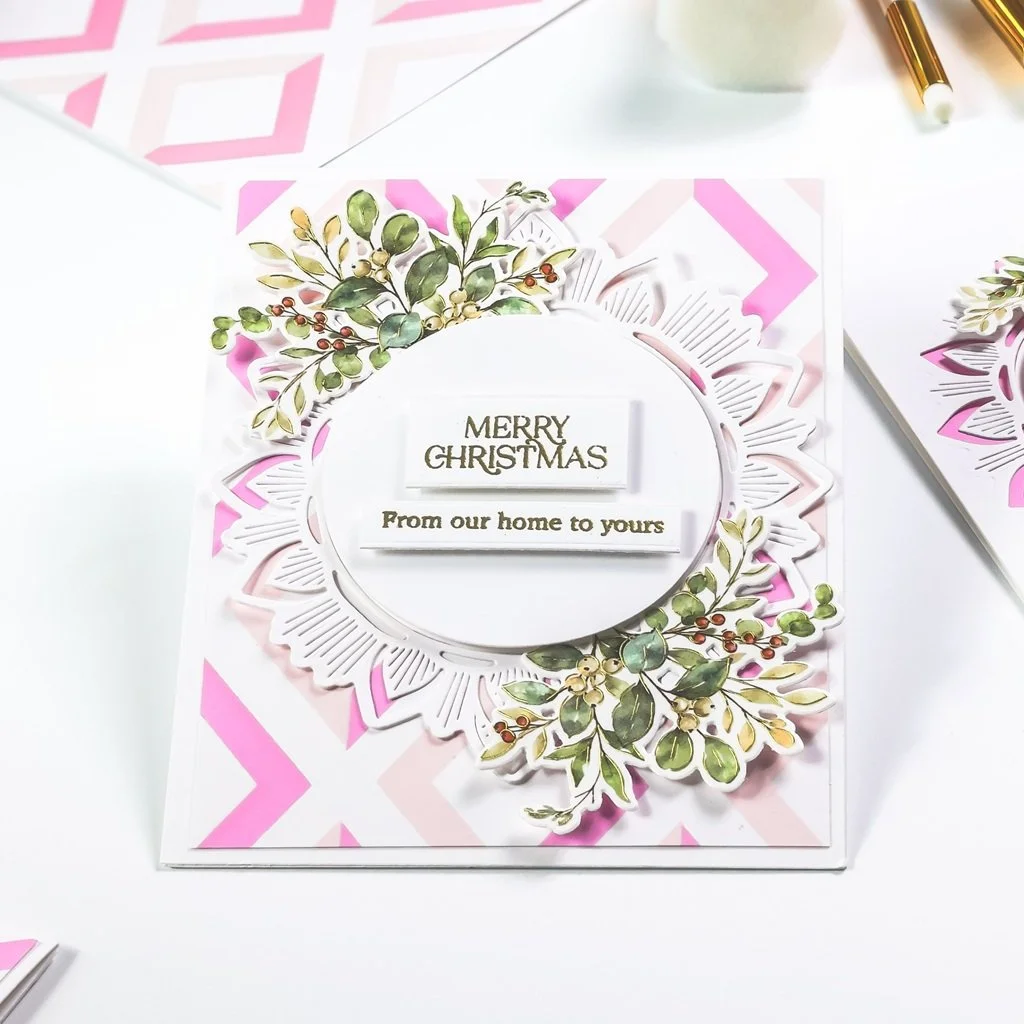
To finish the card off, I added the greenery to the upper left corner and to the lower right corner as shown in the image above, and then I added the sentiment to the center of the card. As you can see, for the sentiment I used two of them to create the whole “Merry Christmas from Our Home to Yours.” And once the card background was completed, I got it glued together to an A2-size top folding white card base.
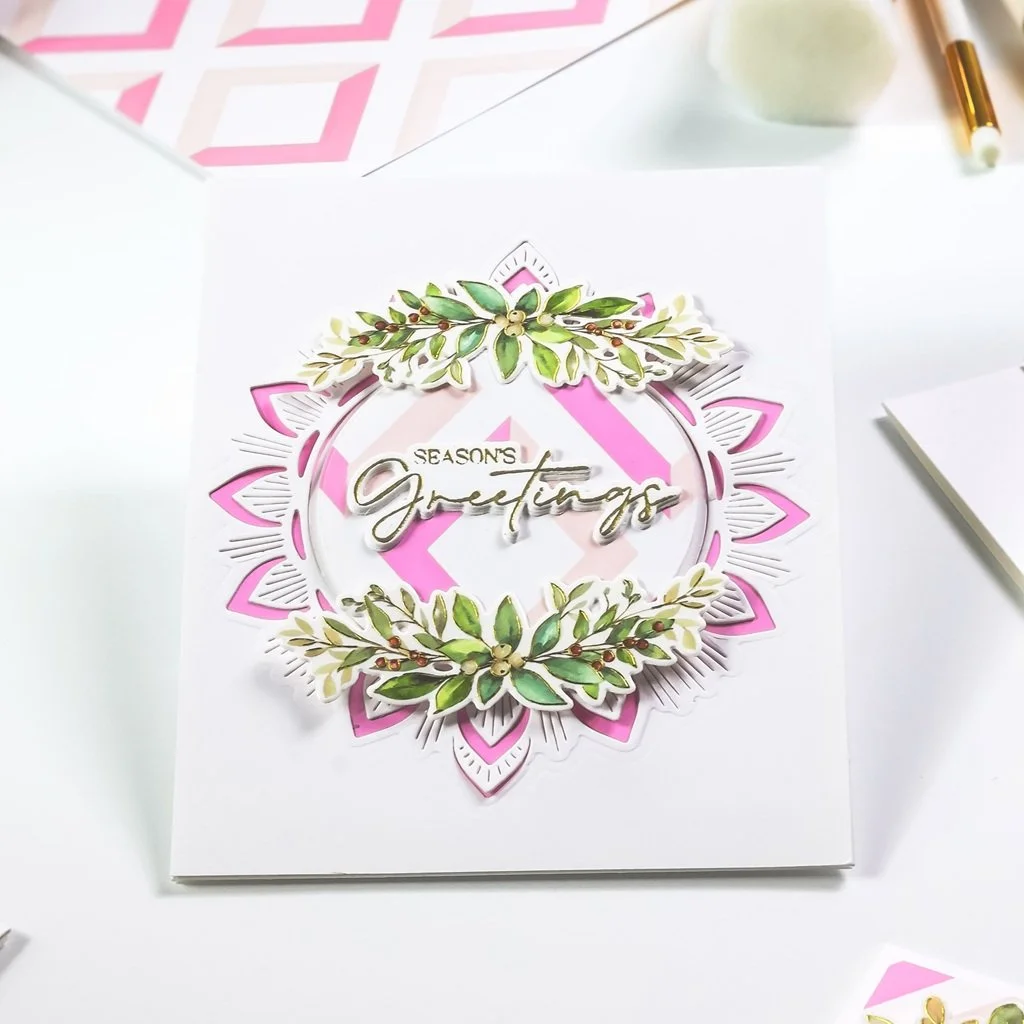
For the third card, I first got inked up a whole white card panel using Sparkling Rose ink, as I wanted to keep the flow with the same hues. So, I went ahead and while the ink was soaking up to the panel, I went ahead and used the same decorative die but this time I did not use the outer layer die, so I could only add the intricate decorative layer to an A2-size white card panel.
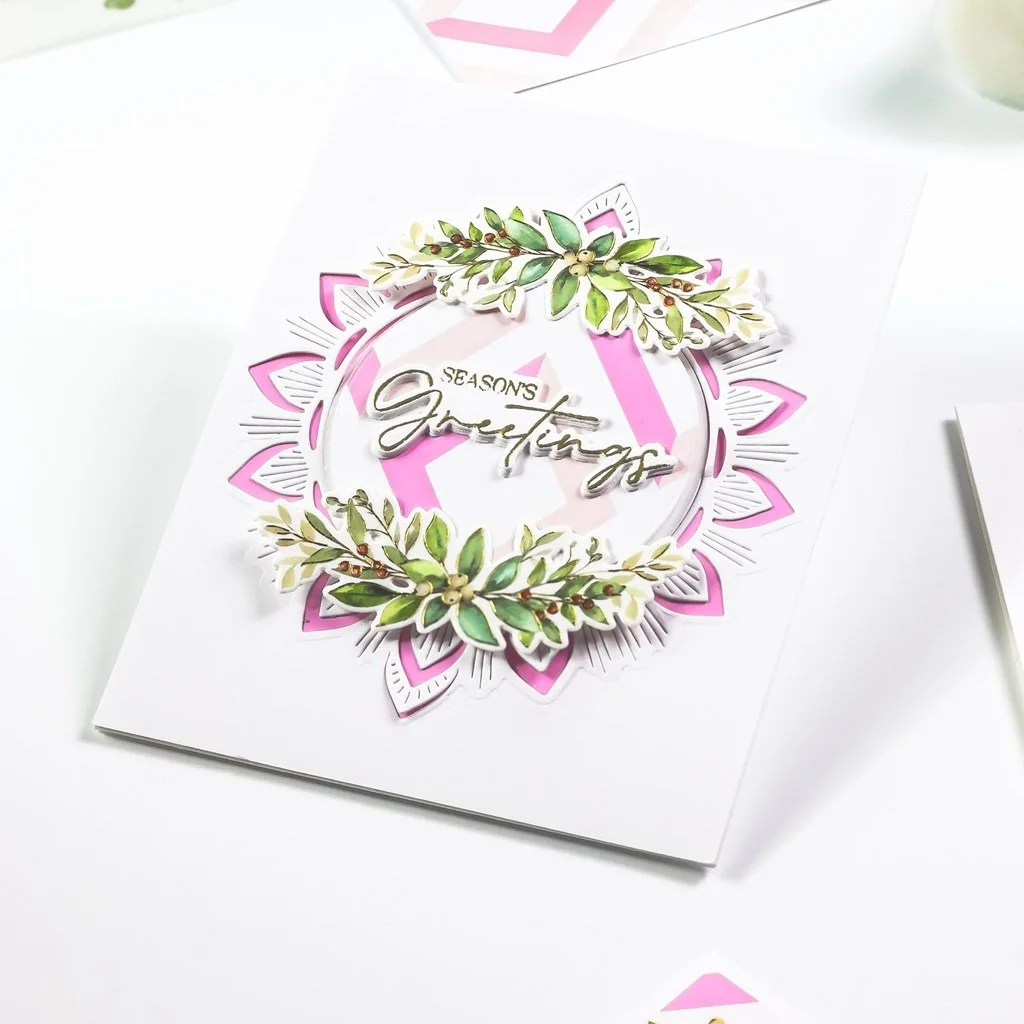
With that being said, I glued together the decorative panel to the inked panel, and then, I added dimension and glued the die-cutting circle that I got out of the second card to the center of the third card, as shown in the image above.
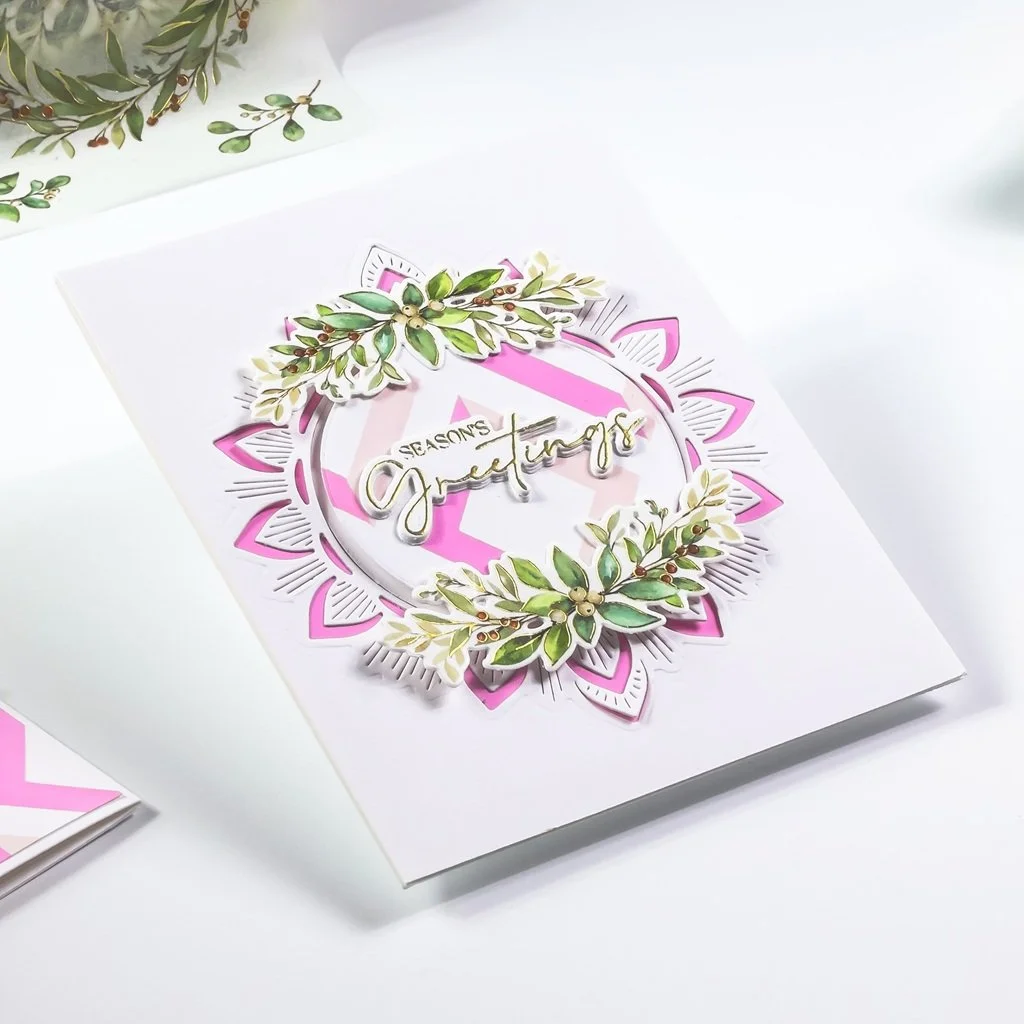
To finish the card off, I added the greenery pieces to the upper and lower of the card focal point, and then I added the layered sentiment in the center of the card design. Once the card background was completed, I got it glued together to an A2-size top folding white card base.
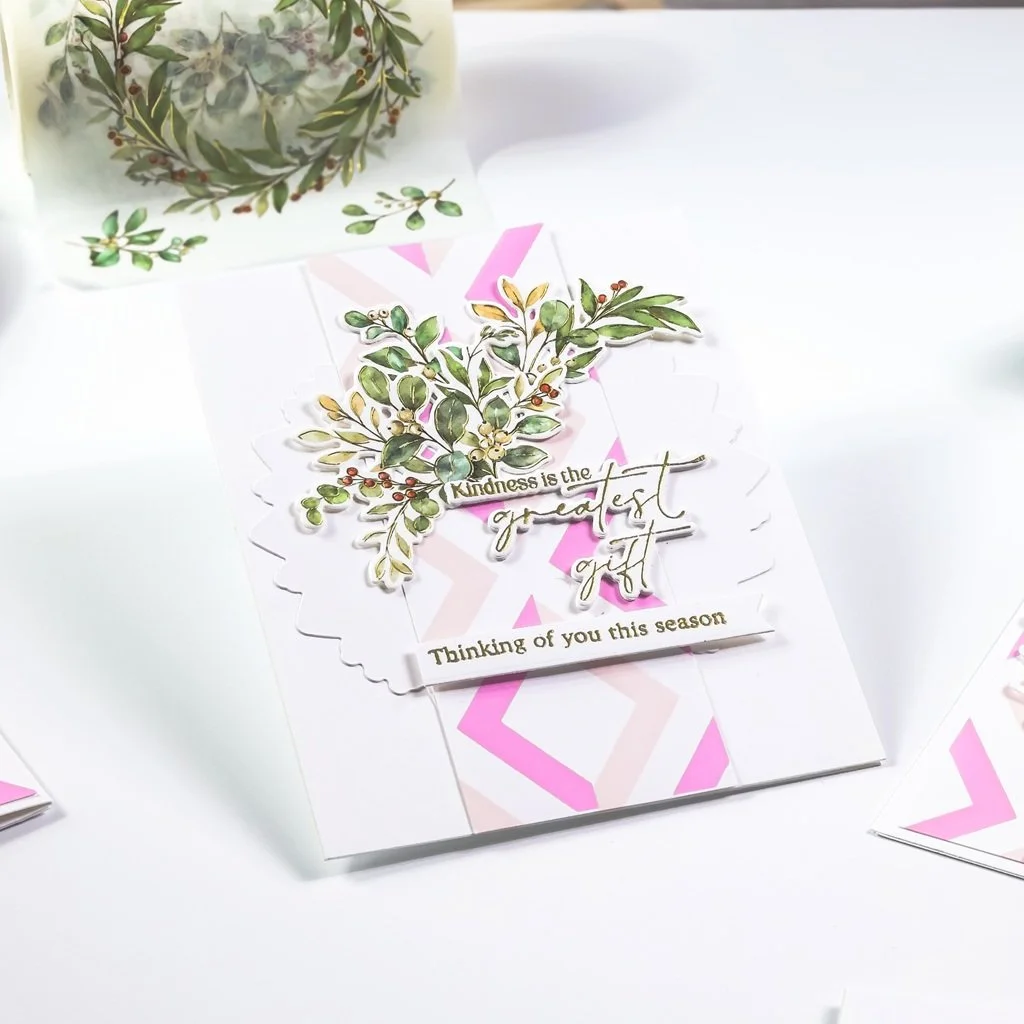
As for the fourth and last card, I honestly wasn’t planning on making in it, but hey! I got some left-over pieces, so I created a much simpler version, and to do that, I got the solid layer die-cut out of white cardstock using the same die as previous.
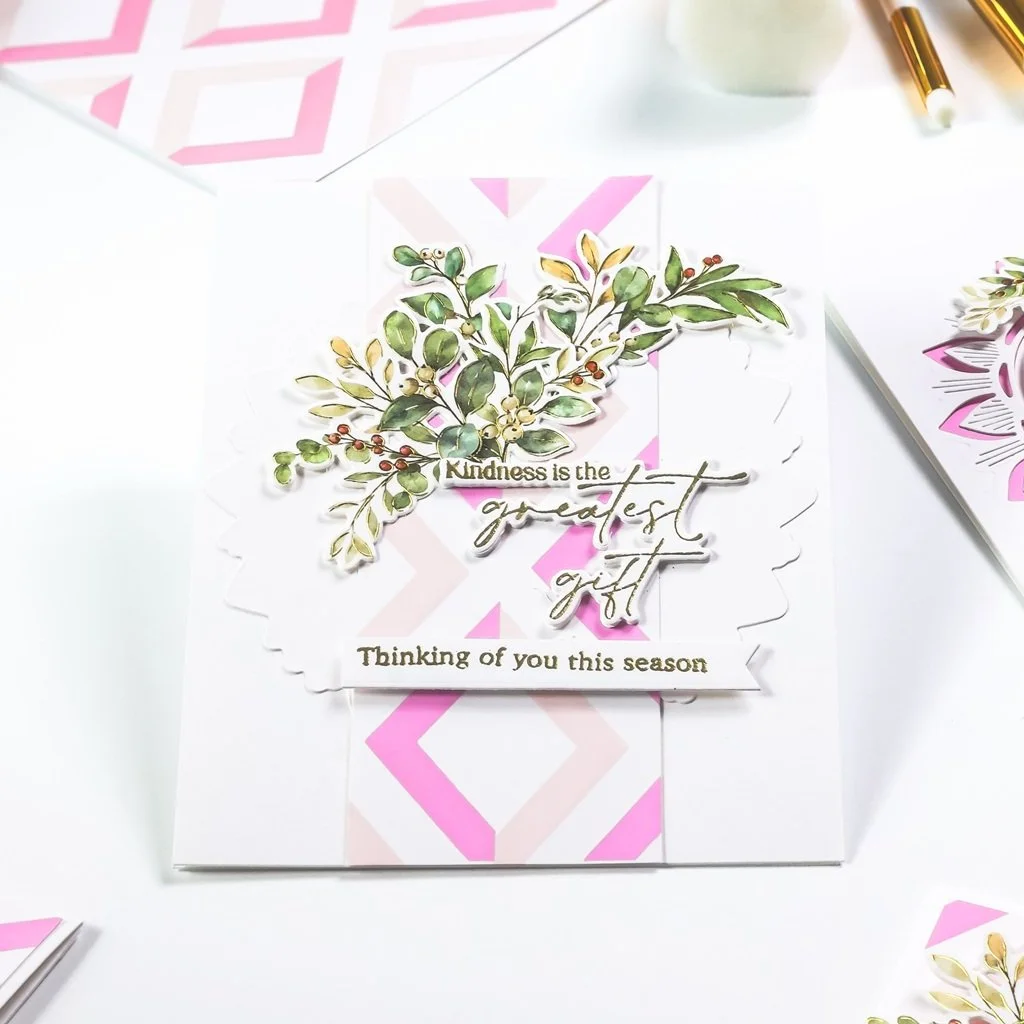
Then, for the card layering, I glued down the solid layer to the center of an A2-size top folding white card base, and then, I glued over it the left-over piece I had left from the last card background. Next, I added one of the greenery die-cutting pieces, and lastly dimensional die-cutting sentiments.
And, with that said, thank you so much for stopping by. I hope you have enjoyed reading the step-by-step for how I made this Pretty in Pink: 4 Holiday handmade cards with Chevron & Greenery design set.
And, if you get inspired by today’s project, don’t forget to tag me on Instagram ➝ @cardsandcraftsbyyaz so I can see your projects. Also, don’t forget to stop by my Instagram feed to see these cards in action when I share it in my Reels section.
Thank you and happy crafting.
Stay Awesome & Beautiful
— Today & Always —
Love,
Yasmin
Supply List
Seasonal Sprigs Washi
Seasonal Sprigs Stamp
Seasonal Sprigs Die
Seasonal Sprigs Stencil
Diamond Framework Stencil Set
Essentials: Ornate Circle Die
1” blending Brushes
EasyBlend Grip Mat Bundle
EasyBlend Grip Mat 8.5" x 11"
EasyBlend Grip Mat 6.5" x 8.5"
EasyBlend Grip Mat 4.75" x 6"
Glimmer II Hot Foil System
Glitter Drops: Blush
Rotary Cutter for Fabric
Glass Craft Mat
Empress Die Cutting Machine
Platinum Die Cutting and Embossing Machine
Gemini Junior Electronic Diecutting & Embossing Machine
BetterPress Letterpress Machine
Memory MISTI
Permanent Tape Runner
Double Sided Adhesive Foam Strips
Double Sided Adhesive Foam 1/4 Roll
Double Sided Adhesive Foam Roll 1'‘
Clear Double Sided Adhesive Roll - 1/4 Inch
6 Pack Flat top Craft Ink Blending Brushes
DMC Diamant Metallic Gold Thread
Precision Tip Scissors
Porcelain Watercolor Paint Palette
Silver Brush - Limited Black Velvet Master Travel Set
True Snow Craft Supply
Glitter Snow
Scor-Pal Eighths
Rhinestones Sunlight Gold
Comfort Paper Trimmer
Glossy Accent
Crystal Diamond Glitter
Nuvo Aqua Shimmer Pen
Mini Desktop Vacuum Cleaner
Recollections Gold Foil Cardstock
Craft Treat Teflon Bone Folder
Acrylic Heart Brush/Pen Holder
Mini Ink Blending Brushes
Tonic Studios Nuvo Media Spatulas
Viva Decor 3-Piece Palette Knife Set
Liquitex Basics Light Modeling Paste
Handy Art Designer's Palette Artist Acrylic Modeling Paste
6 Pack Flat top Craft Ink Blending Brushes
Sizzix - Big Shot Switch Plus Machine
VersaMark Ink Pad
Embossing Ink Reinker
Magic Powder Bag
Brutus Monroe Embossing Ink
Embossing Powder Ultra Fine Alabaster
Metallic Embossing Powder- Gilded
Magic Powder Bag - Refill
Inkadinkado Embossing Powder Tool
Wow Dual Speed Heat Tool
Glass Craft Mat
Desert Storm Heavy 100 lb. Cardstock
Hammermill Cardstock
Hammermill Cardstock 100lb - 100 Bright 8.5x11 6 Pack
Hammermill Cardstock 80lb -100 Bright 8.5x11 8 Pack
Hammermill Cardstock 100 lb - 100 Bright 17x11
Hammermill Cardstock 80lb - 100 Bright 17x11
Crafter's Essential Cutting and Alignment Mat
Your imagination is Your limit.
All photography provided by Yasmin Diaz
Creativity is contagious, pass it on.
–Albert Einstein
Disclosure
I am creating this blog post to share how I design my cards, the information provided here is based on my own opinion and creativity. I am not an expert by any means; I only share the way that I design my cards. Most of the products used for my blog posts are personally purchased by me. However, I did receive the products from Pinkfresh Studio.
Please keep in mind that all referral links are added for you to know from where I purchase or receive the items as all products shared and mentioned in each of my blog posts are simply because I use and genuinely love them.
However, I’d like to mention that links from Amazon Associates, and Scrapbook.com are affiliated links which means that I get paid a small commission when a purchase is made thru that particular link at no additional cost to you.
Also, I am not paid by any company to promote their products, nor any company sponsors my blog. I pay for my website, I take my photography, I type my blog post, enter links, and even better I make every single card. I try my best to work every day here and there, striving for professional and friendly use to you. With that said, your support is so much appreciated if you use those links your help will help me to keep this website running.
Thank you and have a wonderful crafty shopping!