
Praying For You Greeting Cards
Hi friends, welcome to another blog post! On today’s blog I’ll be sharing with you how I’ve made these two Praying for you cards featuring the new Comfort & Prayers stamp set from the new Blossom & Butterflies release by Simon Says Stamp.
So, without further ado, keep on reading the post ↓

To begin with there isn’t much explanation about how I achieved the alcohol inking for the card panel background, as I only mixed two different alcohol ink pearls with some alcohol blending solution. The colors that I used were:
— Villainous
— Tranquil
Once, I was happy with the ink blending, I let the background panel dry for about 3 minutes before I applied the foil over it.
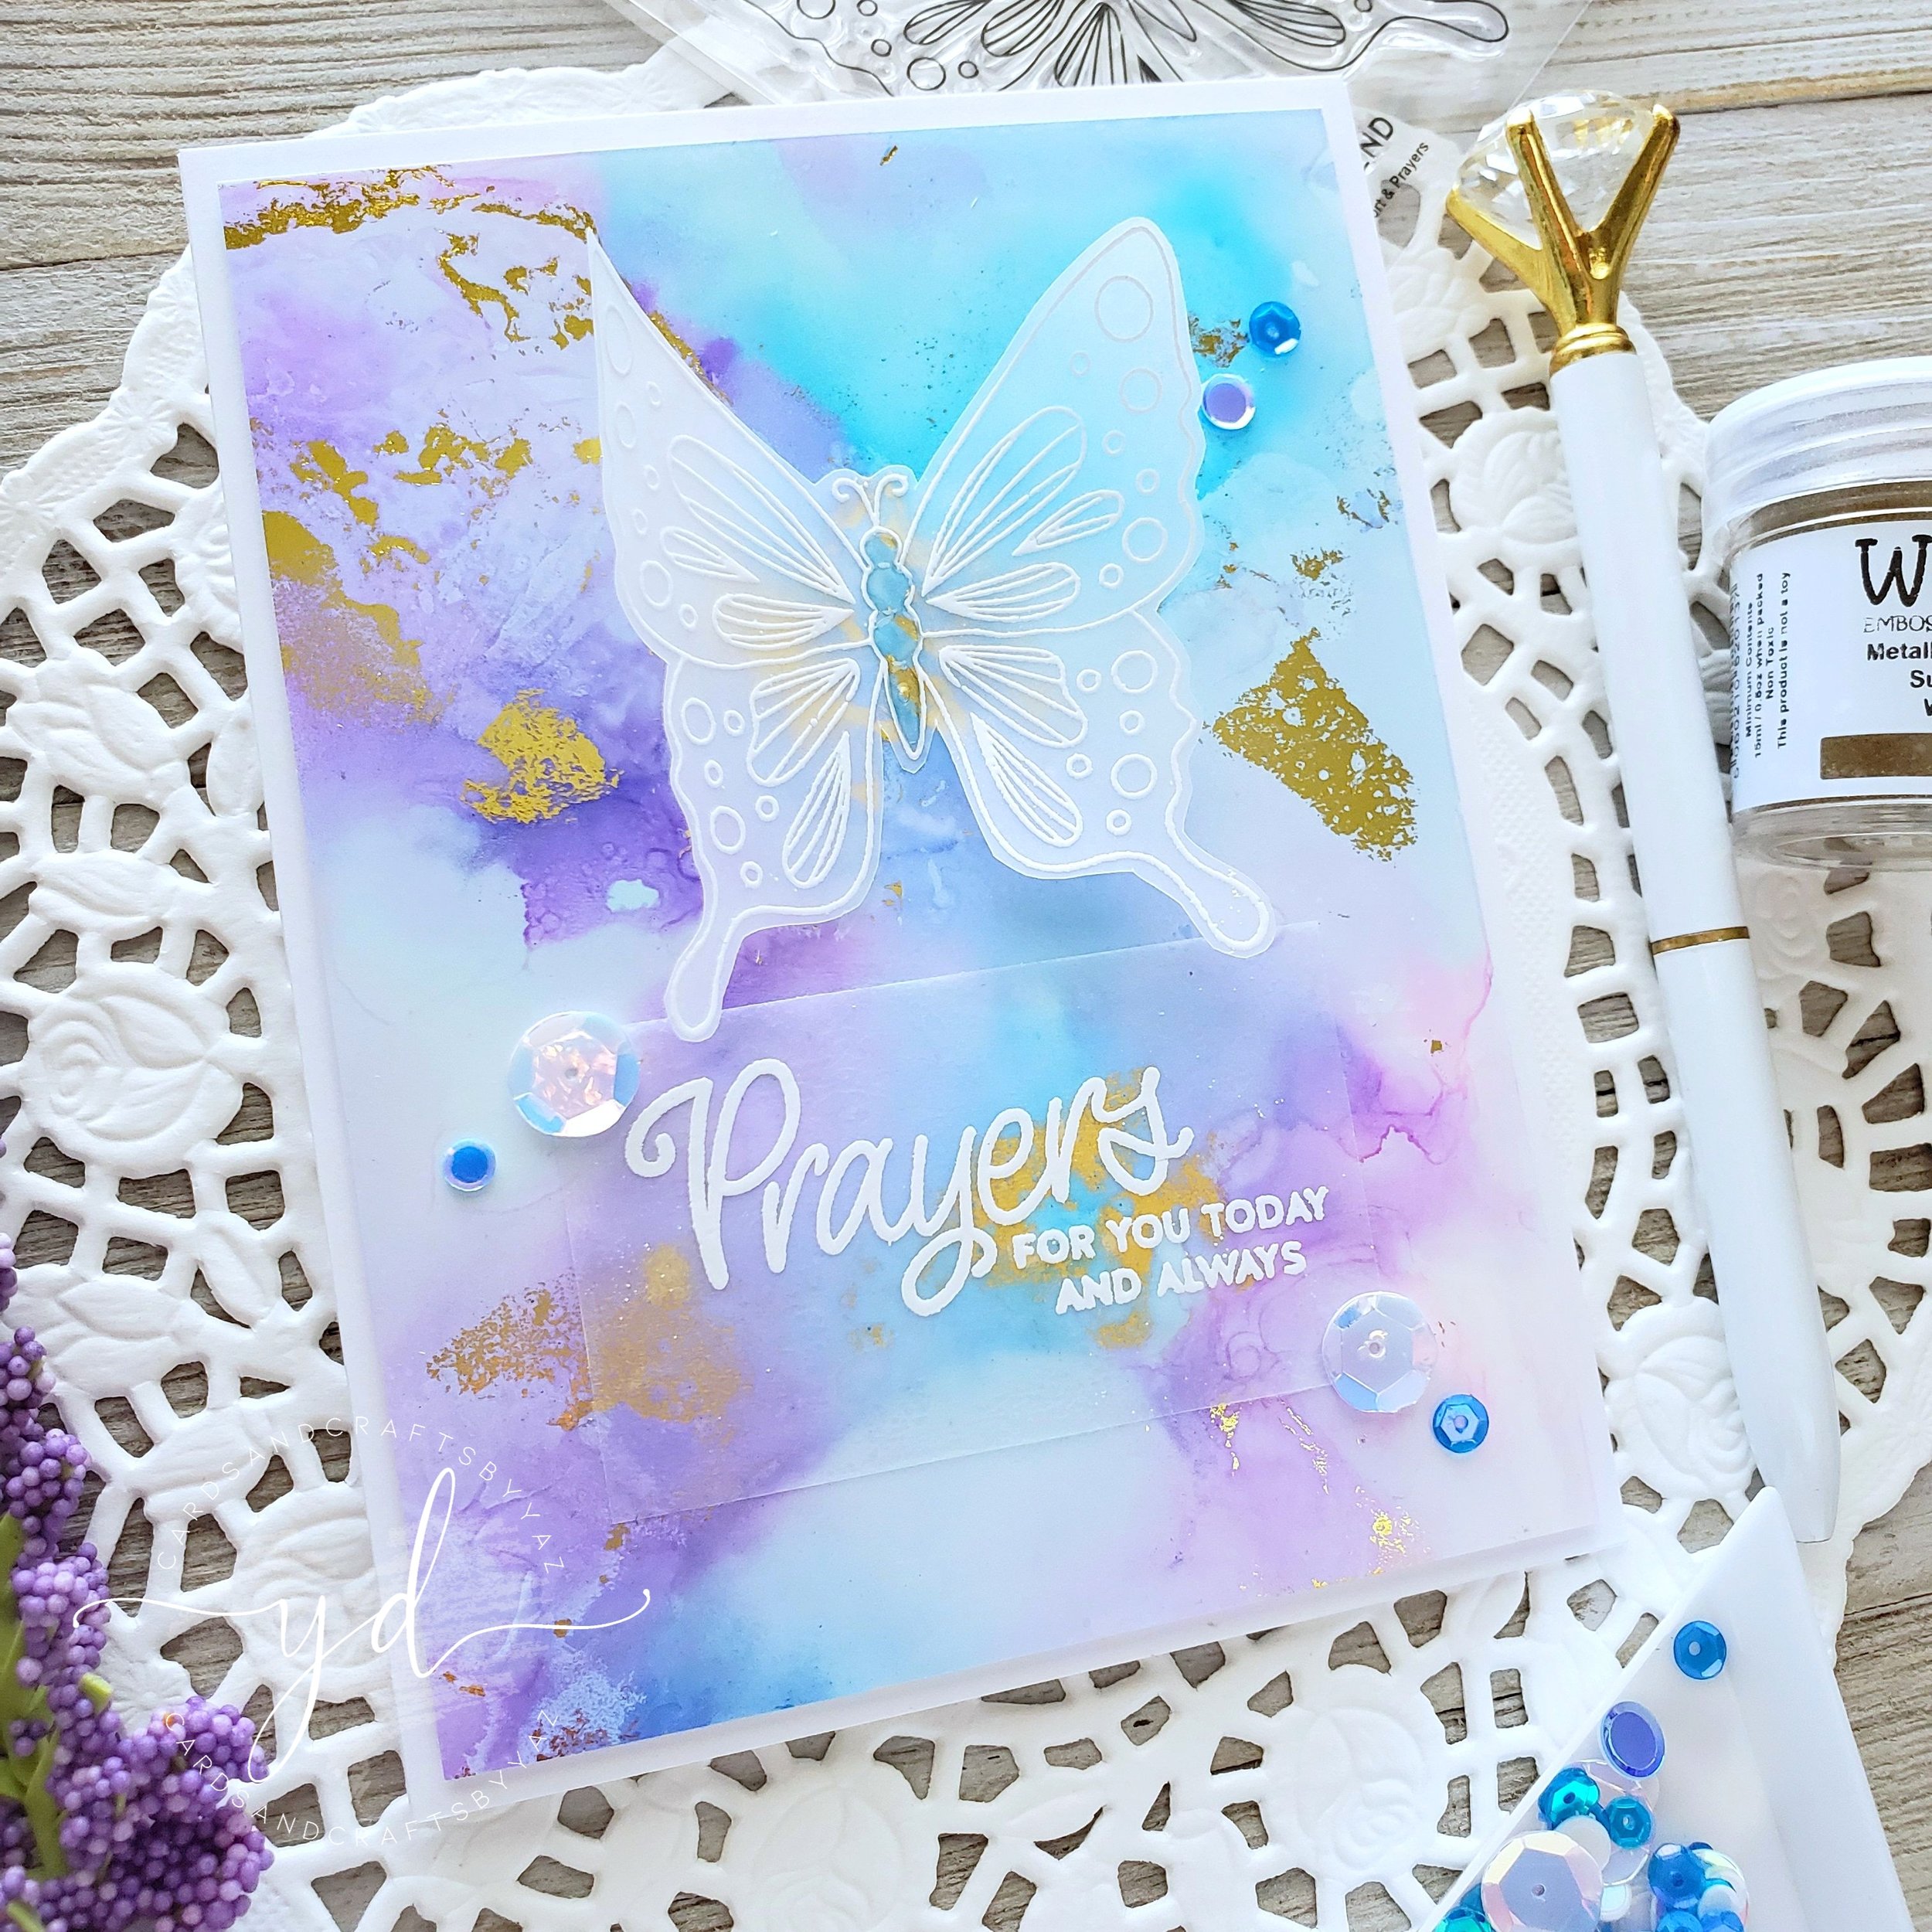
For the butterfly I used like I mentioned earlier the new Comfort & Payers stamp set, which I white heat embossed over heavy weight transparent vellum, as well as I white heat embossed a combination of two sentiments from the same stamp set. Soon after the butterfly and the sentiments were heat set it I fussy cut the butterfly, and I trimmed the edges of the embossed sentiment with the paper cutter.
To adhere the butterfly to the card panel first, I carefully folded the butterfly in half to curl the edges, then I used liquid glue that dries clear to only adhere the body to the card panel as I wanted the edges to have dimension, and some movement. As for the sentiment I used spray adhesive to adhered it to the card panel. And, to finish the card panel off I completely covered the butterfly with shimmer by using Nuvo Aqua Shimmer Pen. Last but not least I added glossy accent to the center part for a glossy look.

The second card was an easy clean and simple one, as all I did was using leftover pieces from the previous card panel. Without mention that the scallop white piece was also a leftover piece from a previous project. So, what I did was to adhere the pieces to a white card panel that measured H 5.5’’ X W 4.0’’ the scallop piece measurement was H 3.25’’ X W 4.0’’ and the alcohol piece was W 4.0’’ X H 0.75’’ Once, all of the pieces were adhered to the card panel I white heat embossed, and fussy cut it another butterfly from the same stamp set over a vellum piece. Which, I adhered it to one side of the card panel, as well as I repeated the same steps by covering the butterfly with shimmer and by adding glossy accent to the center part.

For the sentiment I decided to gold heat embossing the same combination of sentiments on the upper side of the card panel as you can see in the picture above.

Finally to finish the cards off I adhered each of the card panels to an A2 standard size white folding card base with foam mounting tape to add dimension.

I hope that you can see in this picture that I took from a different angle how dimensional the cards actually are, as well as you can see all of the details, and how much texture the cuts, the embossing powders, and the foil added to the card panels..
So, that’s all for today! I hope these card inspire you to give these designs a try, as always I appreciate the time you take to read my blog posts. Down below you’ll find the supply list for all the products used in this post, as a referral from where they were received or purchased from.
Thank you and happy crafting, your time is valuable.
Don't forget to keep spreading kindness, Today and Always.
Best,
Yasmin
Supply List
Comfort & Prayer Stamp Set
Classic Edgers Dies
Raindrops Sequins
Tranquil Alcohol Pearl
Villainous Alcohol Pearl
Nuvo Aqua Shimmer Pen
Yupo Paper
Vellum
Opaque Bright White Embossing Powder
Metallic Gold Rich Embossing Powder
Embossing Ink Pad
WOW! Heat Embossing Gun Tool
Neenah Classic Crest #110
Neenah Smooth Solar White #80
NOTE:
As WOW! Designer Team Member, WOW! has provided me a special code for all you my lovely Subscribers to use. So, please don’t forget to take the advantage of a 10% off all purchase for both WOW! US & UK online stores by simply using my code: WOWDTYD
‒ Here are the links for both websites weather you’re a US or UK user.
WOW! US
WOW! UK

Your imagination is Your limit.
All photography provided by Yasmin Diaz


Creativity is contagious, pass it on.
–Albert Einstein
Disclosure
I am creating this blog with the purpose of sharing how I design my cards, the information provided here is base in my own opinion and creativity. I am not an expert by any means, and I only share the way that I design my cards. All of the products used for this blog post were personally purchased by me. However, I did received some of the WOW! Embossing Powder products used in this blog. Please, keep in mind that all of the referral links were added for you to know from where I purchased or received the items from as all of the products shared, and mentioned in my blog posts are simply because I use and truly love them.