
Hi Leafy Branch Greeting Cards
Happy Thursday, friends! On today’s blog, I’d like to share with you the cards that, I created using the beautiful Leafy Branch Die by Pinkfresh Studio. I really like the way that this die is designed as, it really made it easy for me to die-cut a bunch of dainty leafy branches out of white card stock to create a card panel for one of the examples that you’ll see down below today! So…without further ado, please keep on reading this post ↓
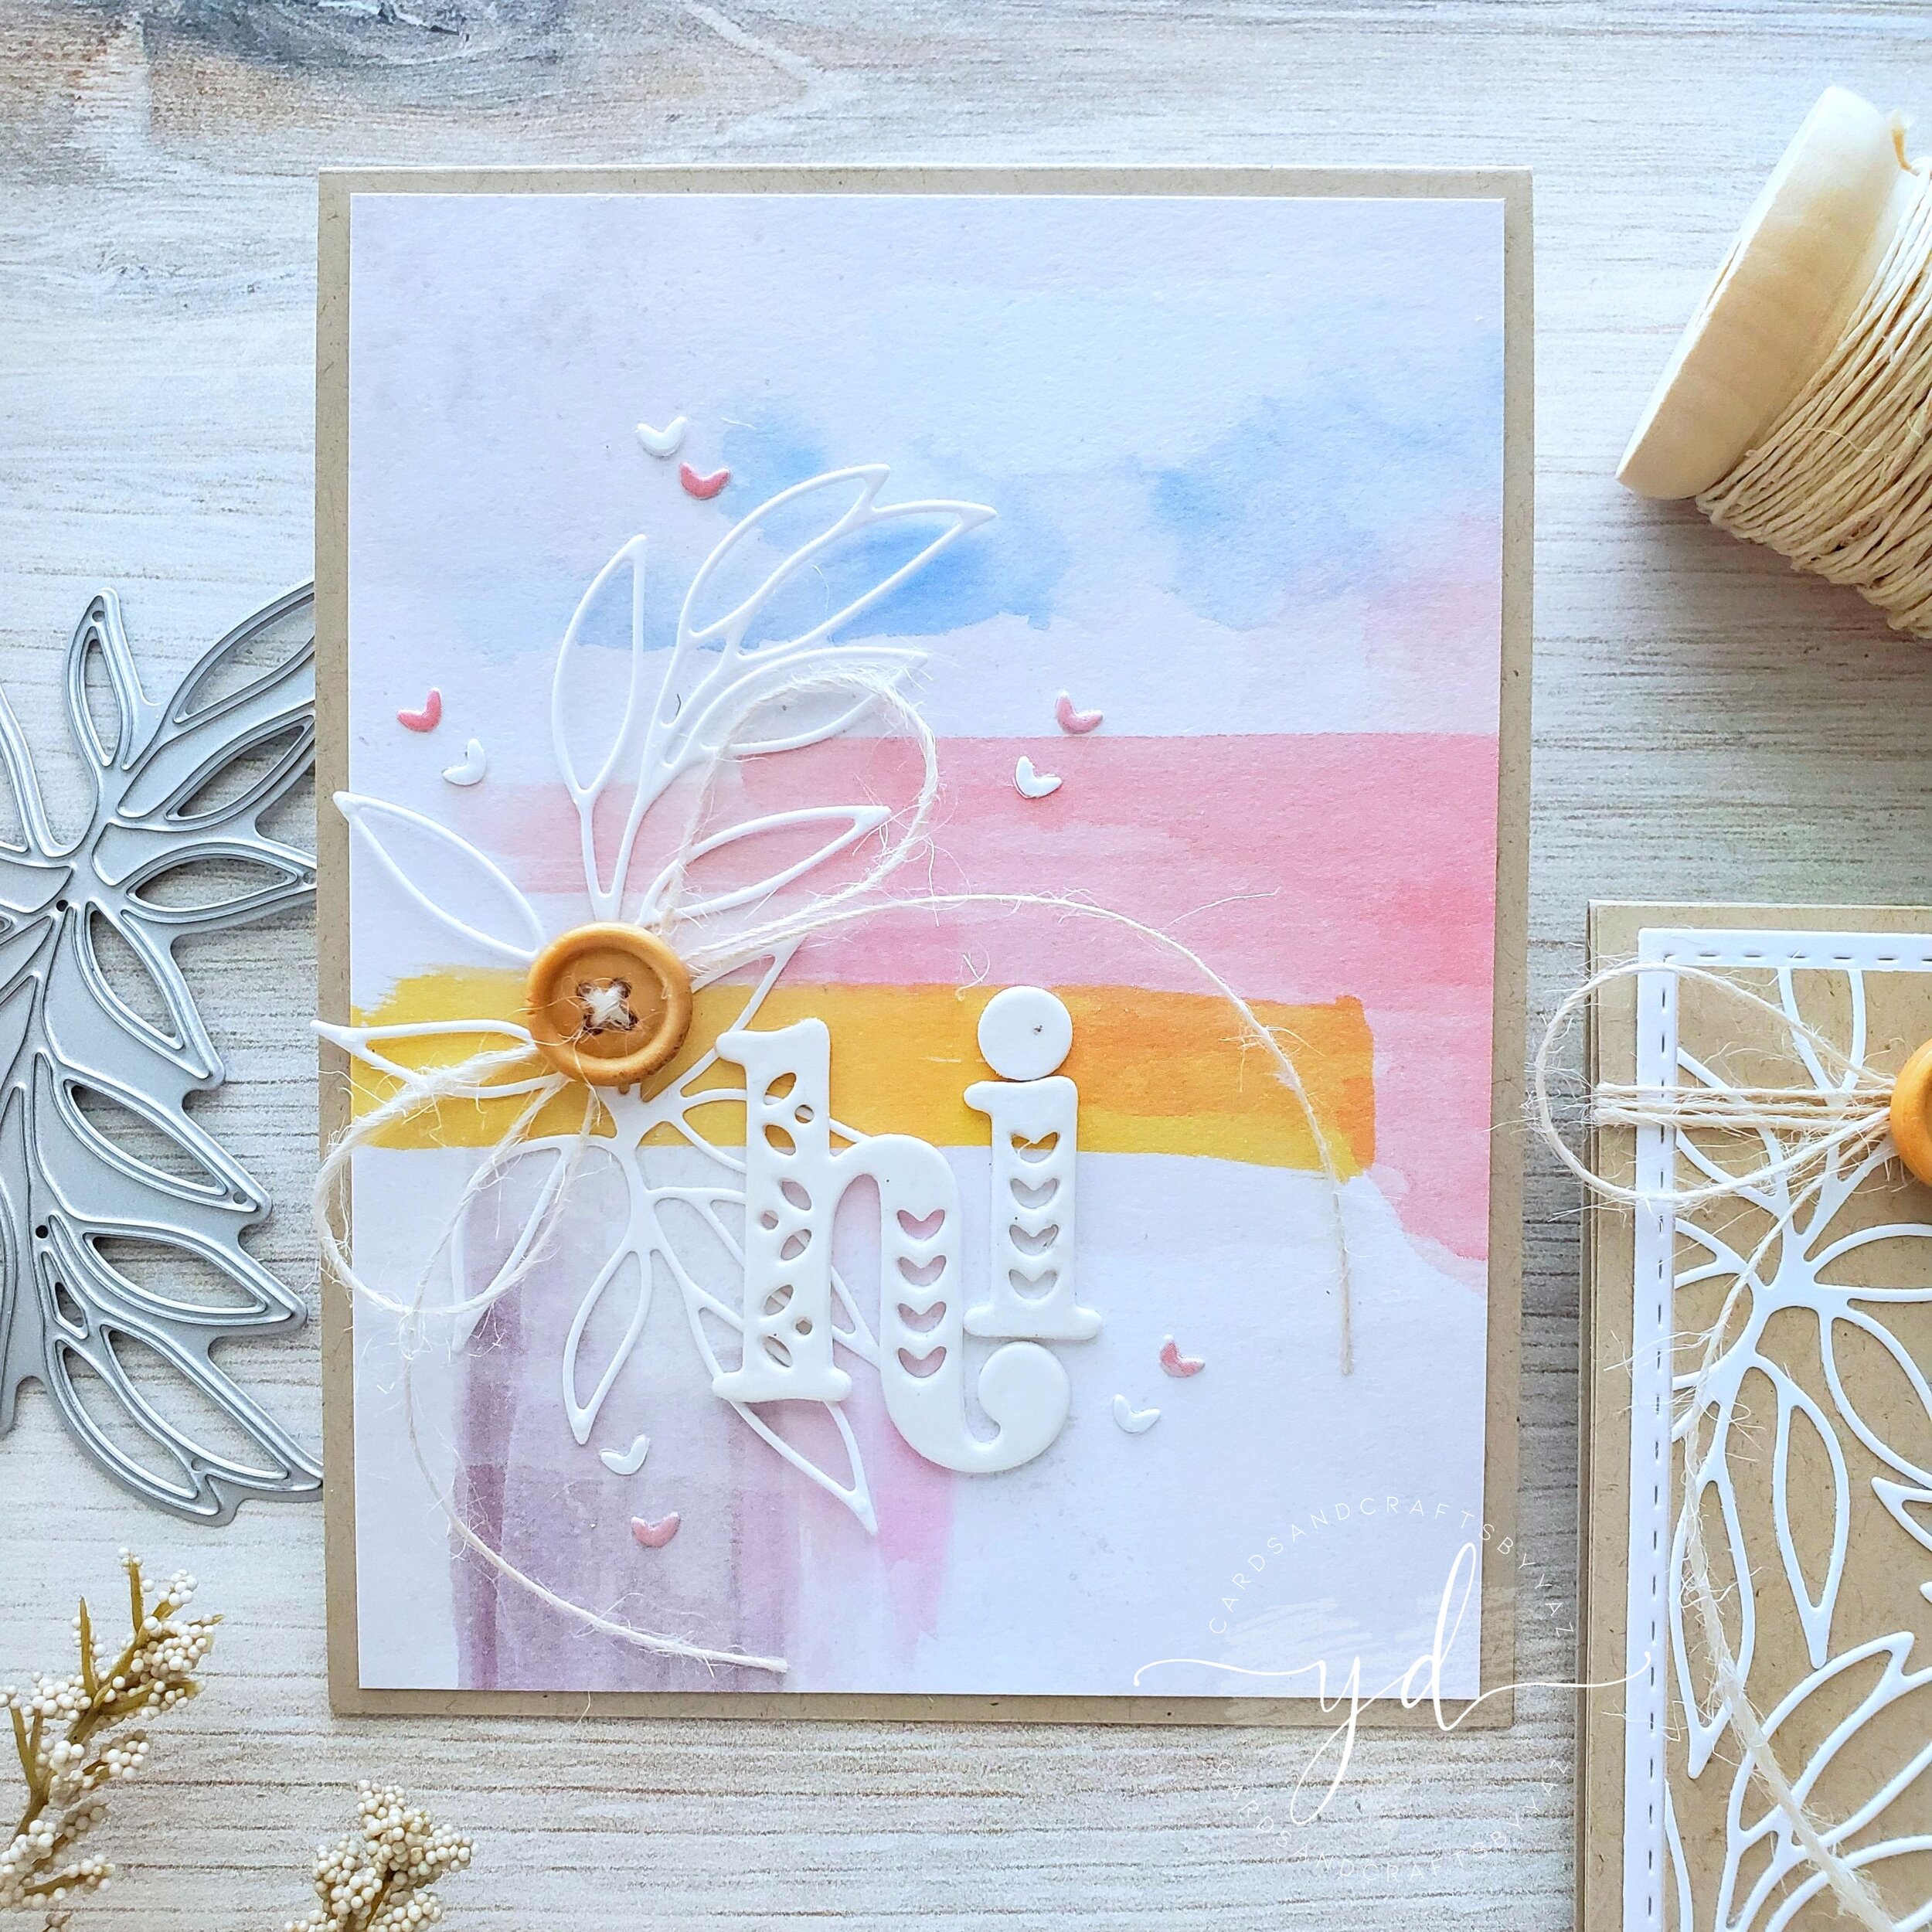
To begin with, I started by trimming the edges of one of the patterned sheets from the Just a Little Lovely 6X6 Paper Pad as, I was going to use the pattern from this sheet as the card panel. Once, the edges were trimmed down, I adhered the backing of the card panel to an A2 top folding Kraft card base with double-sided tape and, I set it aside.

In the meantime, I ran through the die-cutting machine the Leafy Branch Die along with a piece of white card stock to create the leafy die-cutting as, well as the h and i from the Kelly Alpha Lower Cases Die Set also with a piece of white card stock to die-cut them 3X because, I wanted to layering them up to add dimension. Right after when, I was done with die-cutting the pieces, I adhered the backing of the leafy branch on the left side of the card with liquid glue. Then, I fastened a wooden button with a piece of Ivory Burlap String which, I finished off with a tied bow and, I adhered the backing of the button to the center of the leafy branch with strong adhesive as, you can see in the picture above. Lastly, I stacked the letters and, I clear heat embossed them with Clear Gloss Embossing Powder for a shiny look. To finish the card off, I adhered the clear heat embossed letters on the lower side of the card and I set it aside.

For this example, as, I mentioned at the beginning of this post, I used die-cutting pieces to create the card panel. So, to begin with, I started by running through the die-cutting machine the Leafy Branch Die to die-cut the branch 5X out of white card stock. Next, after all die-cutting branches were cut out of the white card stock, I adhered the backing of them to a Kraft card panel with liquid glue creating that way the card panel for the card. Then, when I had a good amount of coverage, I trimmed the edges of the card panel to H 5.0’’ X W 3 3/4’’ because, I didn’t like the Kraft on Kraft look. So, to change that, I added a little contrast between by adding a white card panel between the card base and the card panel. For this step, I ran through the die-cutting machine a white card panel along with the largest die from the Stitched Rectangles Die Set just because, I wanted to add a little extra detail to the edges of the card panel. Last but certainly not least, I stacked the card panels up by adhering their backing with double-sided tape.

At this point, I was sure that I wanted to die-cut the letters out of white card stock as the first example. But I didn’t like it so, instead I die-cut them out of the scrap piece of patterned patter that I had leftover. As, you can see in the picture above that step not only gave the card a pop of color but, also gave me some colored tiny heart which, I used as embellishments and… that was so cool as, those were unexpected. So, to concluded the final touches of this card, I wrapped around a few times a piece of Burlap String on the top side of the card panel and, I fastened a wooden button and a piece of Burlap String in the same way as I did in the previous example. Lastly, I also clear heat embossed the letters for a shiny look, and I adhered the backing of them right in the center of the card as you can see in the picture above.

Finally, to finish the cards off I adhered those die-cutting cute little heats here and there and, covered them all with Glossy Accent to give them a puffy shiny look as if they were puffy stickers. With that being said friends, that’s all I have for today, I hope you were inspired with the cards that; I had shared today. Down below, you’ll find the supply list for the products used for this post ↓
Thank you and happy crafting, your time is valuable.
Don't forget to keep spreading kindness, Today and Always.
Best,
Yasmin
Supply List
Leafy Branch Die
Just a Little Lovely 6X6 Paper
Kelly Alpha Lower Cases Die Set
Stitched Rectangles Die Set
Glossy Accent
Ivory Burlap String
Desert Storm Card Stock
Cougar 110# Heavy Weight Card Stock
WOW! Clear Gloss Embossing Powder
WOW! Embossing Ink Pad
WOW! Embossing Ink Pad Refill
WOW! Heat Embossing Gun Tool
PLEASE NOTE
As part of the WOW! Designer Team, WOW! has provided me a code for all my lovely Subscribers to use. So, don’t forget to take the advantage of a crafty 10% off all purchase for both WOW!
US and UK by simply by using my code: WOWDTYD
Here are the links for both websites weather you’re a US or UK user.
WOW! Embossing Powder US
WOW! Embossing Powder UK

Your imagination is Your limit.
All photography provided by Yasmin Diaz


Creativity is contagious, pass it on.
–Albert Einstein
Disclosure
I am creating this blog with the purpose of sharing how I design my cards, the information provided here is based in my own opinion and creativity. I am not an expert by any means, and I only share the way that I design my cards. Most of the products used for my blog posts are personally purchased by me. However, I did receive some of the Pinkfresh Studio & WOW! Embossing Powder products used for this blog post. Please, keep in mind that, all referral links were added for you to know from where I purchased or received the items from as, all of products shared and mentioned in each of my blog posts are simply because I use, and truly love them.