
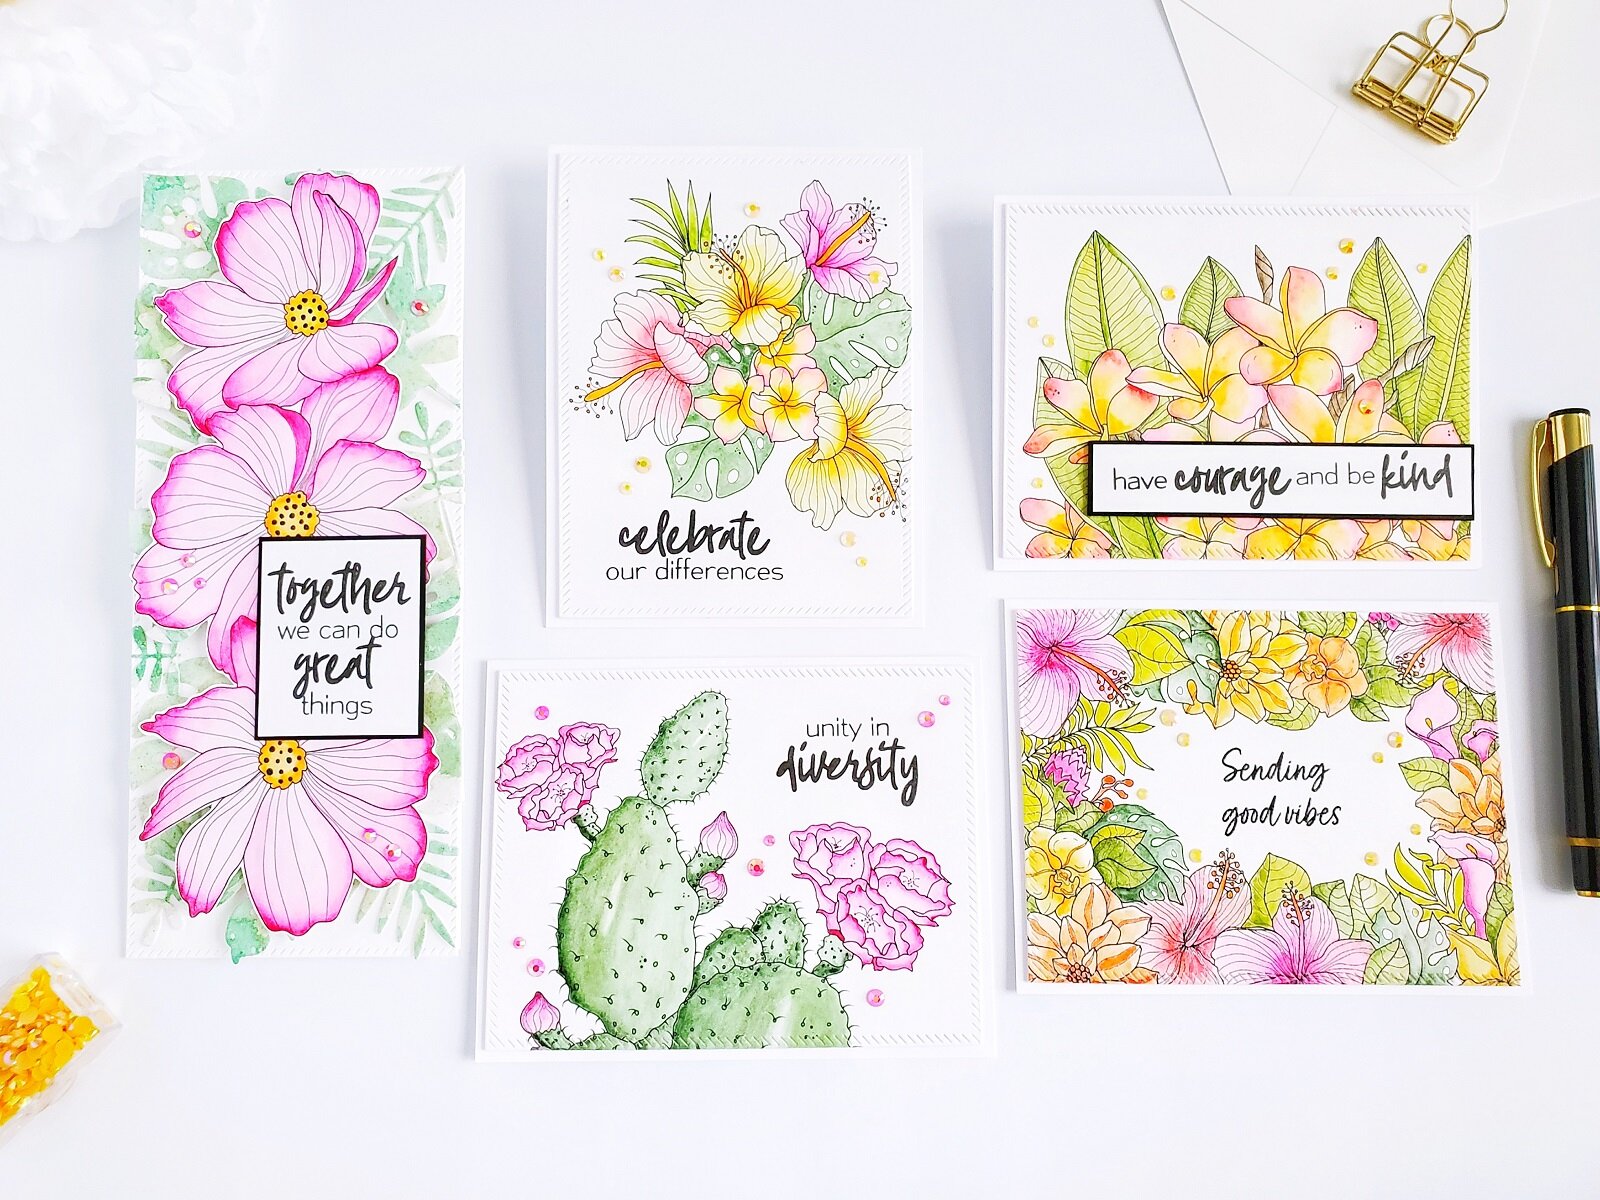
Happy Friday, Friends! Today, I’d like to share with you this beautiful & colorful “Tropical” inspiration card set that, I’ve created with newest Alex Syberia Designs July-2020 Digital Stamp Release. Besides sharing the details on how I made these cards using some of the digi-stamps from this release… I also would like to invite you to hop over my Instagram feed, as these cards are part of the fabulous Instagram Hop Release so don’t miss this opportunity to win 1 out of 5 $10.00 gift certificates, I’ll be adding a direct link at the end of the post in case you want to hop along with us. So, without further ado let’s jump right into the step by step on how I made them ↓

As per usual in every digital stamp release, I started by downloading and printing each image so, for the first example, I’ve got the Tropical Frame Card Panel printed on Strathmore Smooth Bristol Paper.

That said, after I’ve got the image printed, I placed the printed sheet over my Make Art Mini Stay-Tion All-in-One Magnetic Surface and I secured it with the magnets. Therefore, soon after that I went ahead to get the water-coloring done on each of the flowers using different vibrant hues.
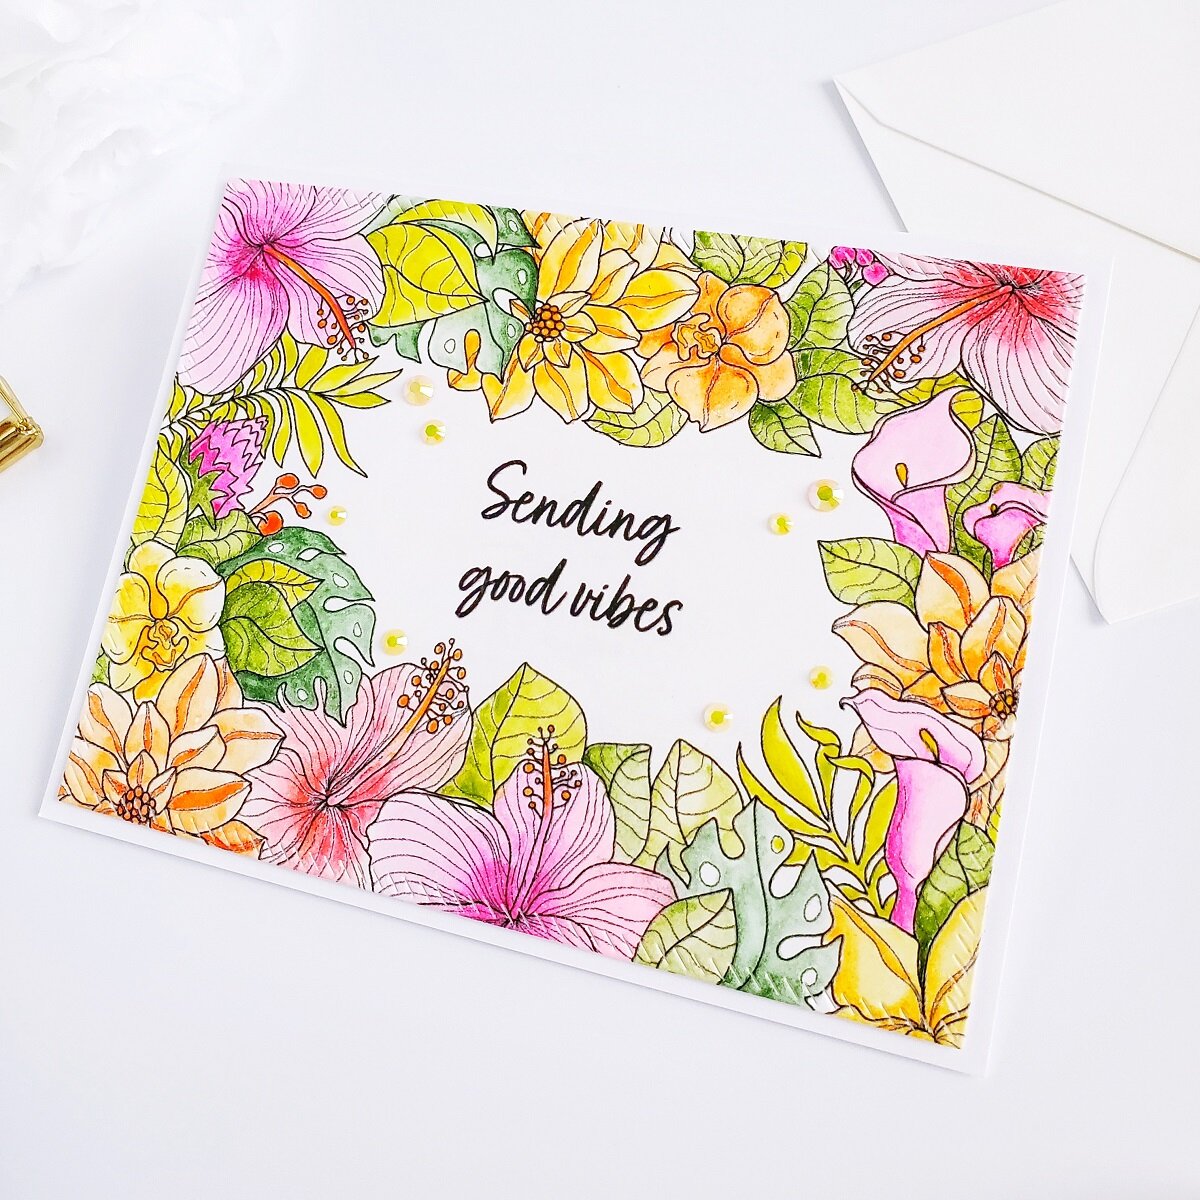
Right after that, I had done water-coloring the card panel and it was completely dry, I lined up over it the largest die from the Essentials: Diagonal Stitched Rectangles Die Set and I ran them through my Platinum 6 Die Cutting and Embossing Machine to add the stitching detail to the edge of the frame, and thus after I had that done, I mounted the card panel to a side-folding white card base with craft foam and double-sided tape to add dimension. Last, but not least as finishing touches, I glued down here and there with liquid glue yellow jewels to add a touch of shine.
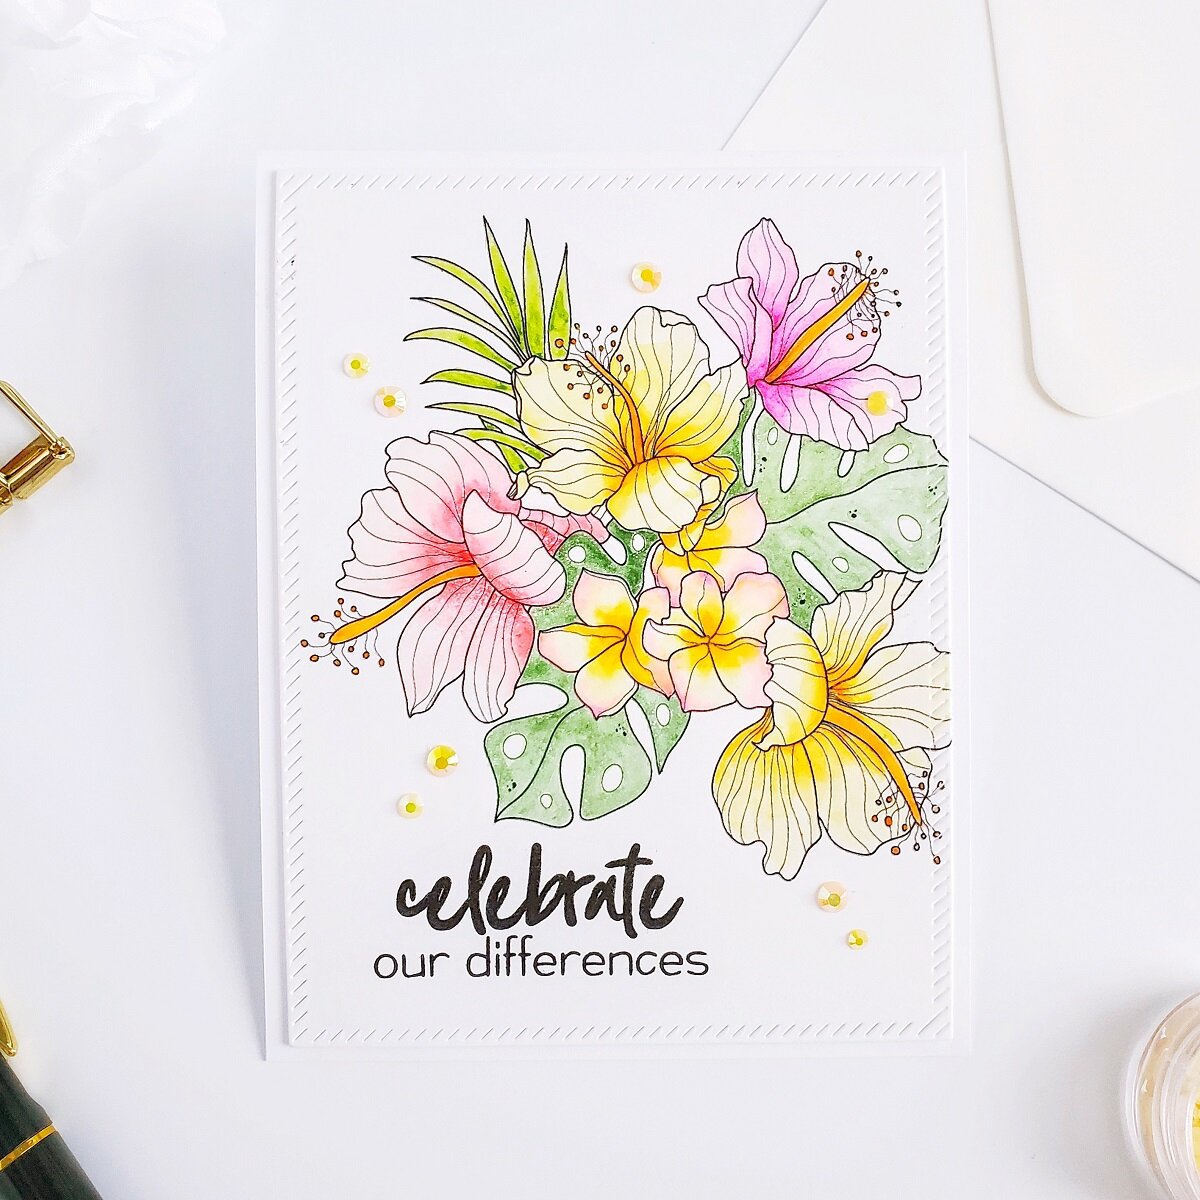
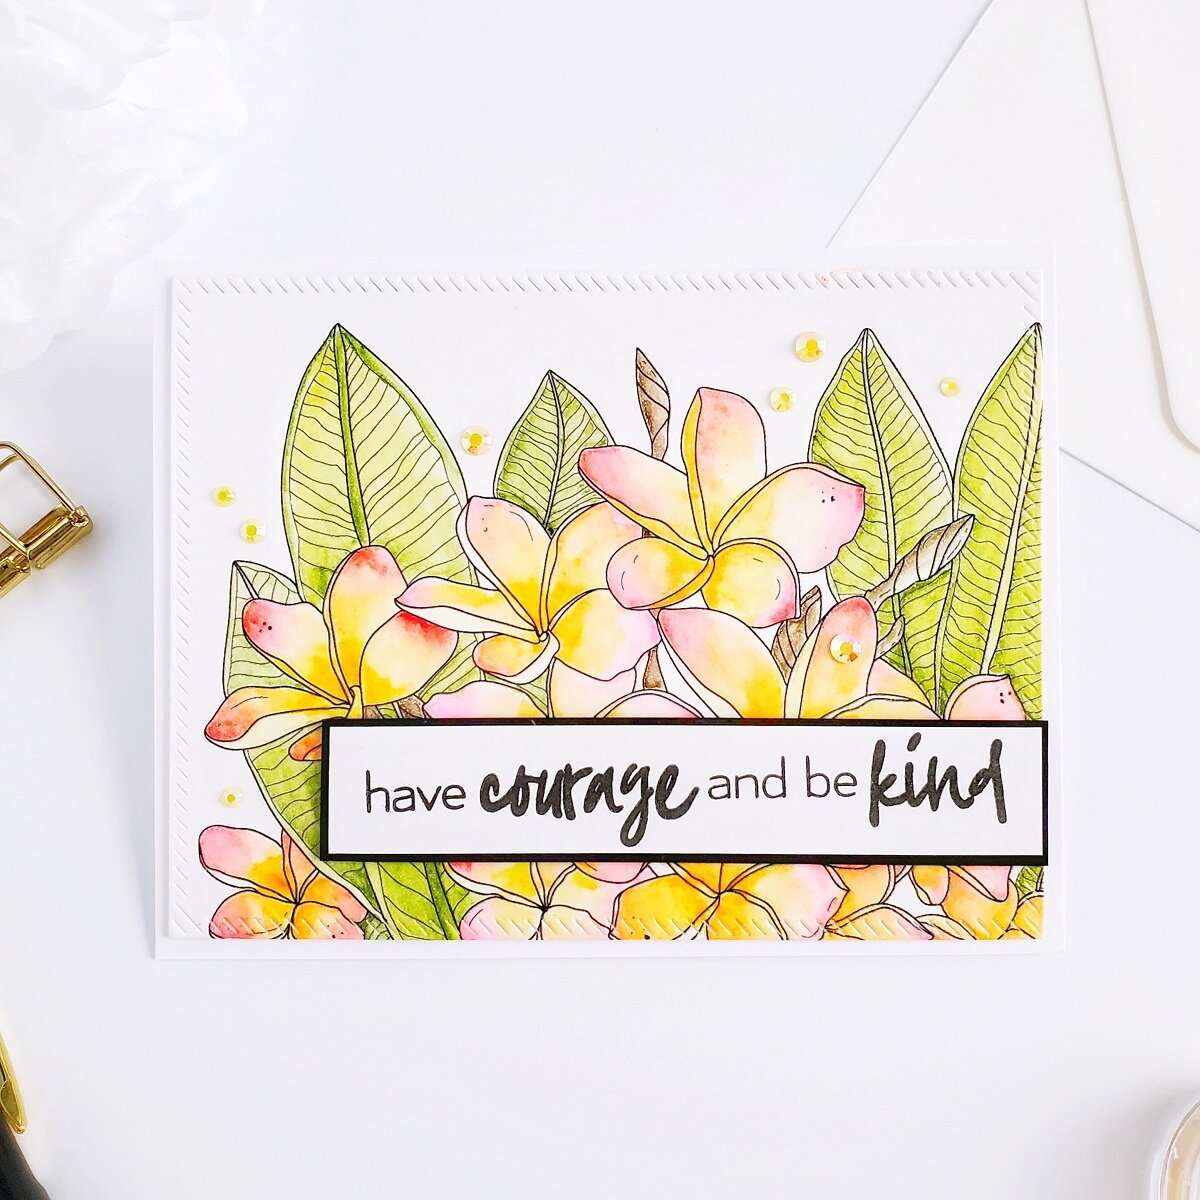
For the second example, I made a card in portrait form using the Tropical Bouquet digital stamp.
So therefore, to keep it simple I used the same hues that I used on the previous example to watercolor the tropical bouquet in.
Then, after I had water colored the card panel in and the panel was completely dry, I lined up the same die that I used in the previous example to die-cut the frame out of the paper sheet and to add the stitching details. So, after adding the stitching details, I placed the card panel inside my stamping tool and I went ahead to lined up a sentiment from the Better Together Stamp Set in the lower left side on the card panel, and then right after that I got it stamp with Detail Black Ink. Lastly, after I had the sentiment stamped, I mounted the card panel with craft foam and double-sided tape to add dimension to a top folding white card base, and to finish the card off I glued down here and there with liquid glue a few jewels to add a touch of shine.
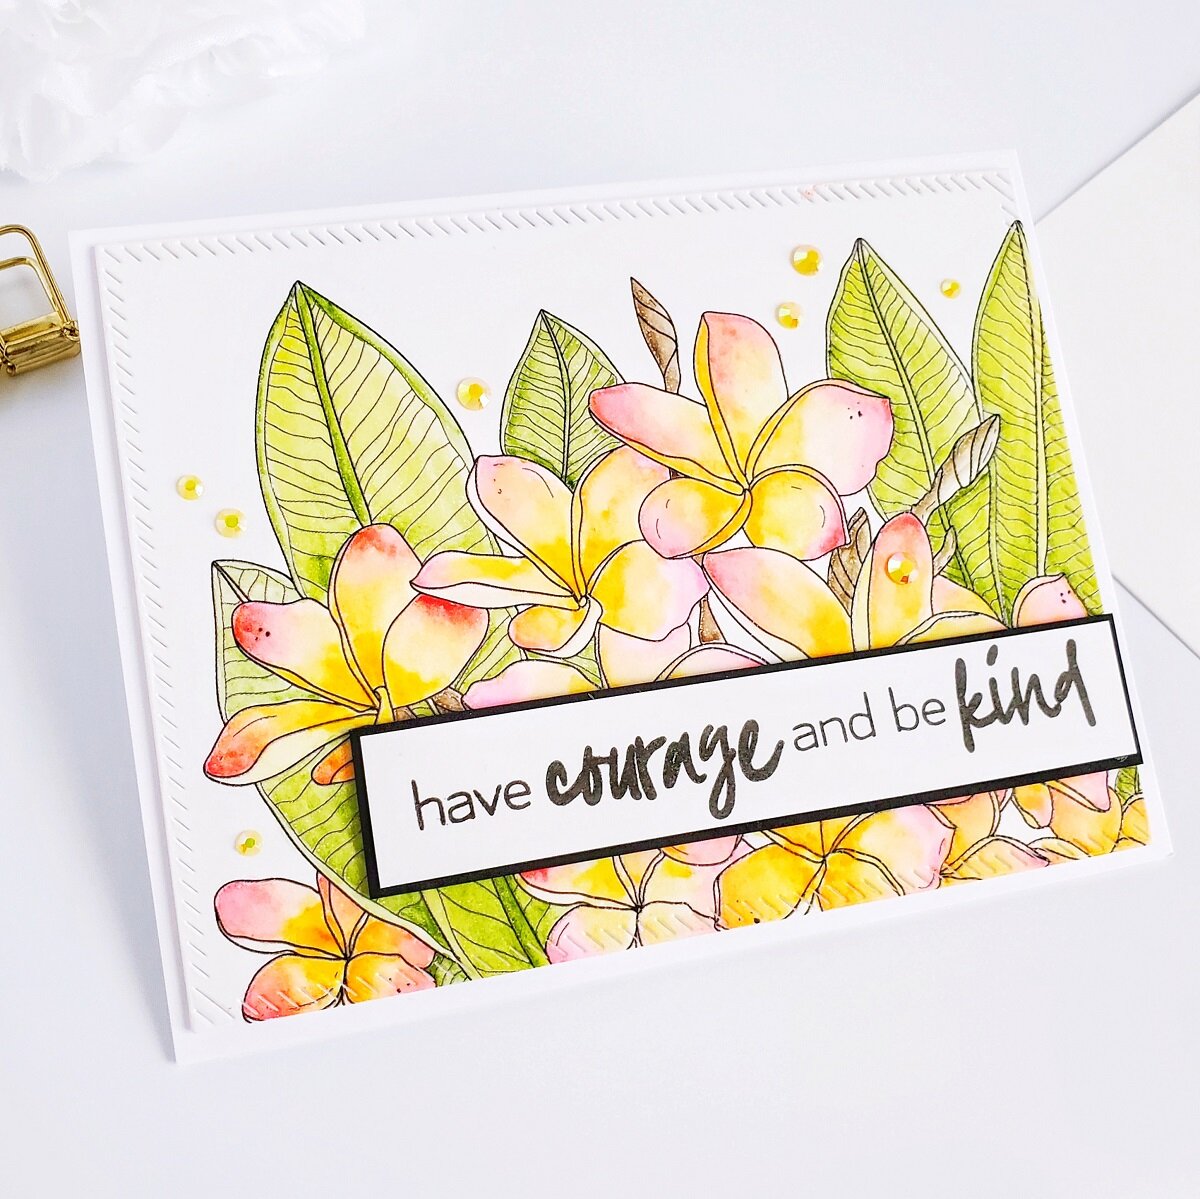
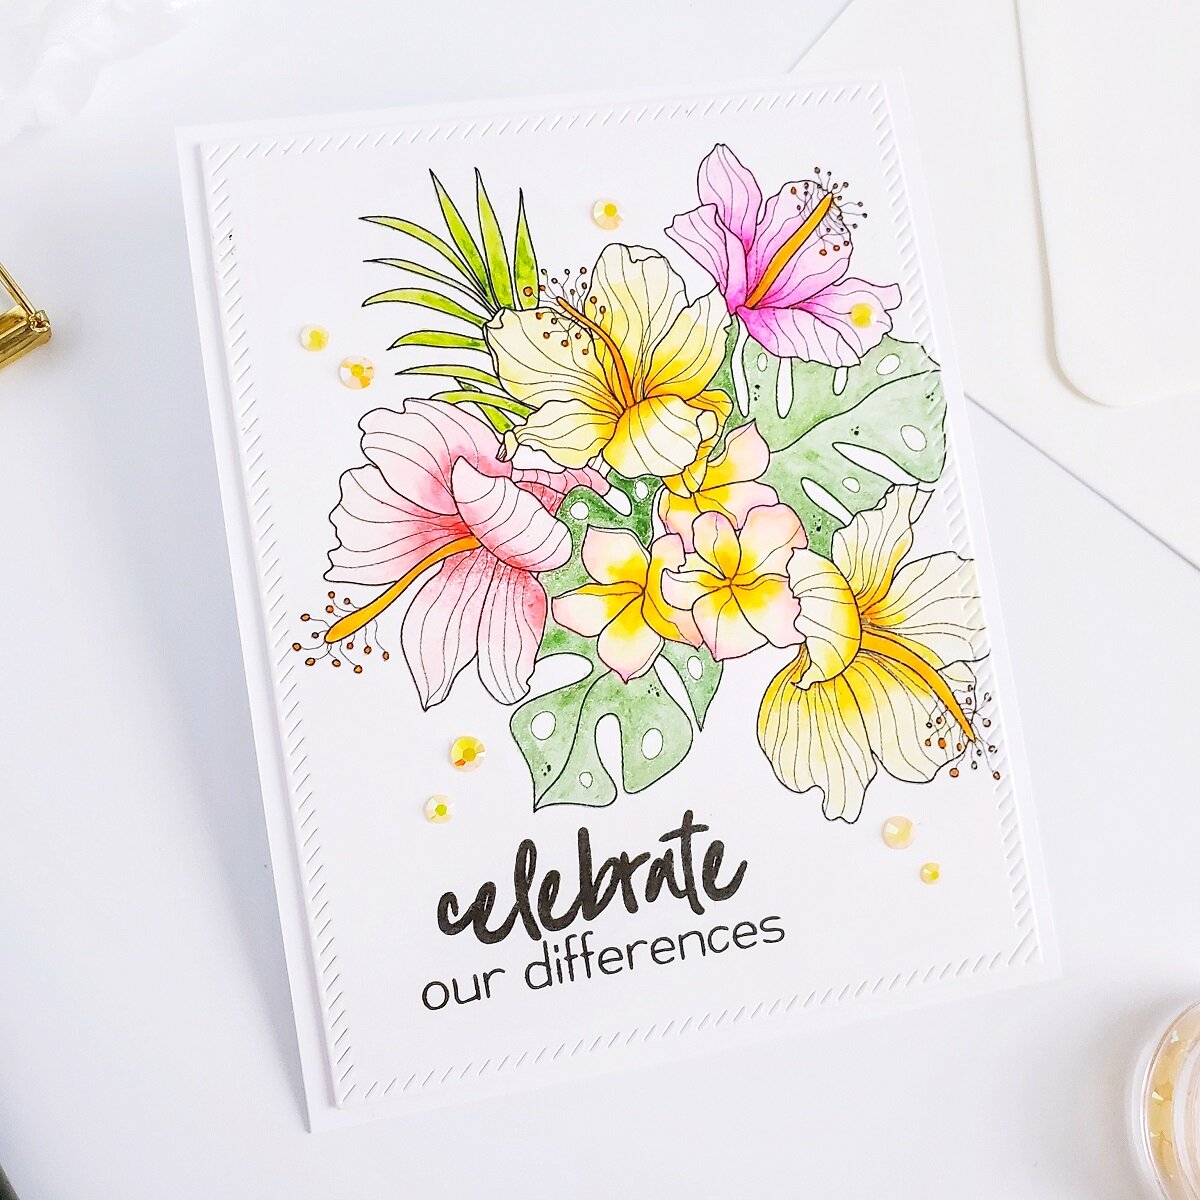
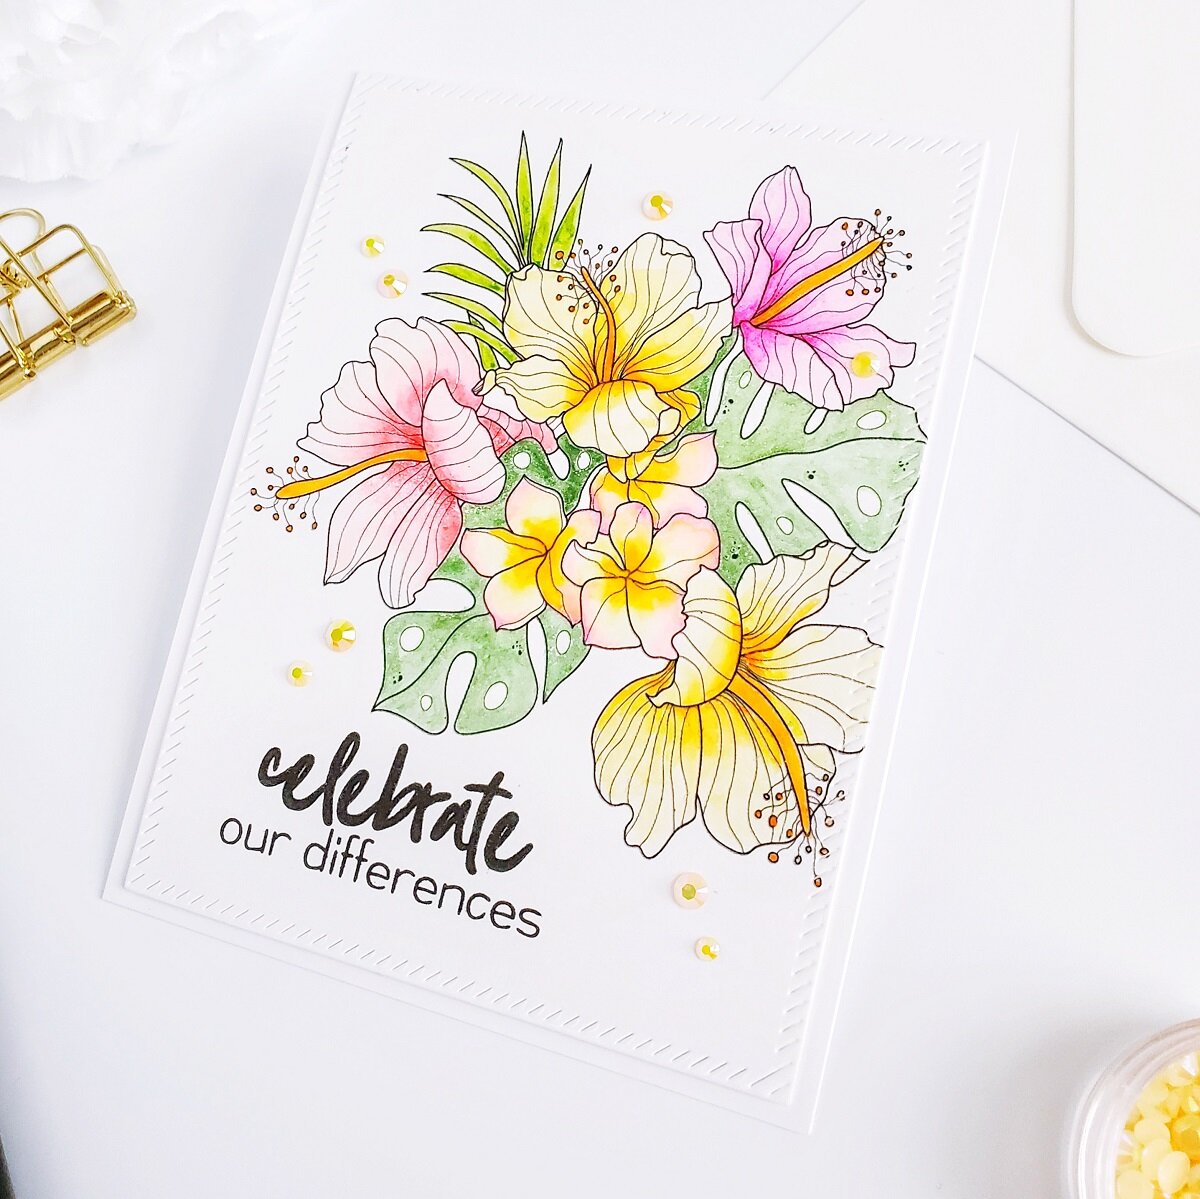
Moving along, for the third example I made another card in landscaping form using the Plumeria Card Panel digital stamp.
So therefore, same as the previous examples I went ahead to watercolor the flowers in with the same hues. With that said, after the card panel was completely dry, I lined up a bit offset to the right once again the frame die to add the stitching details.
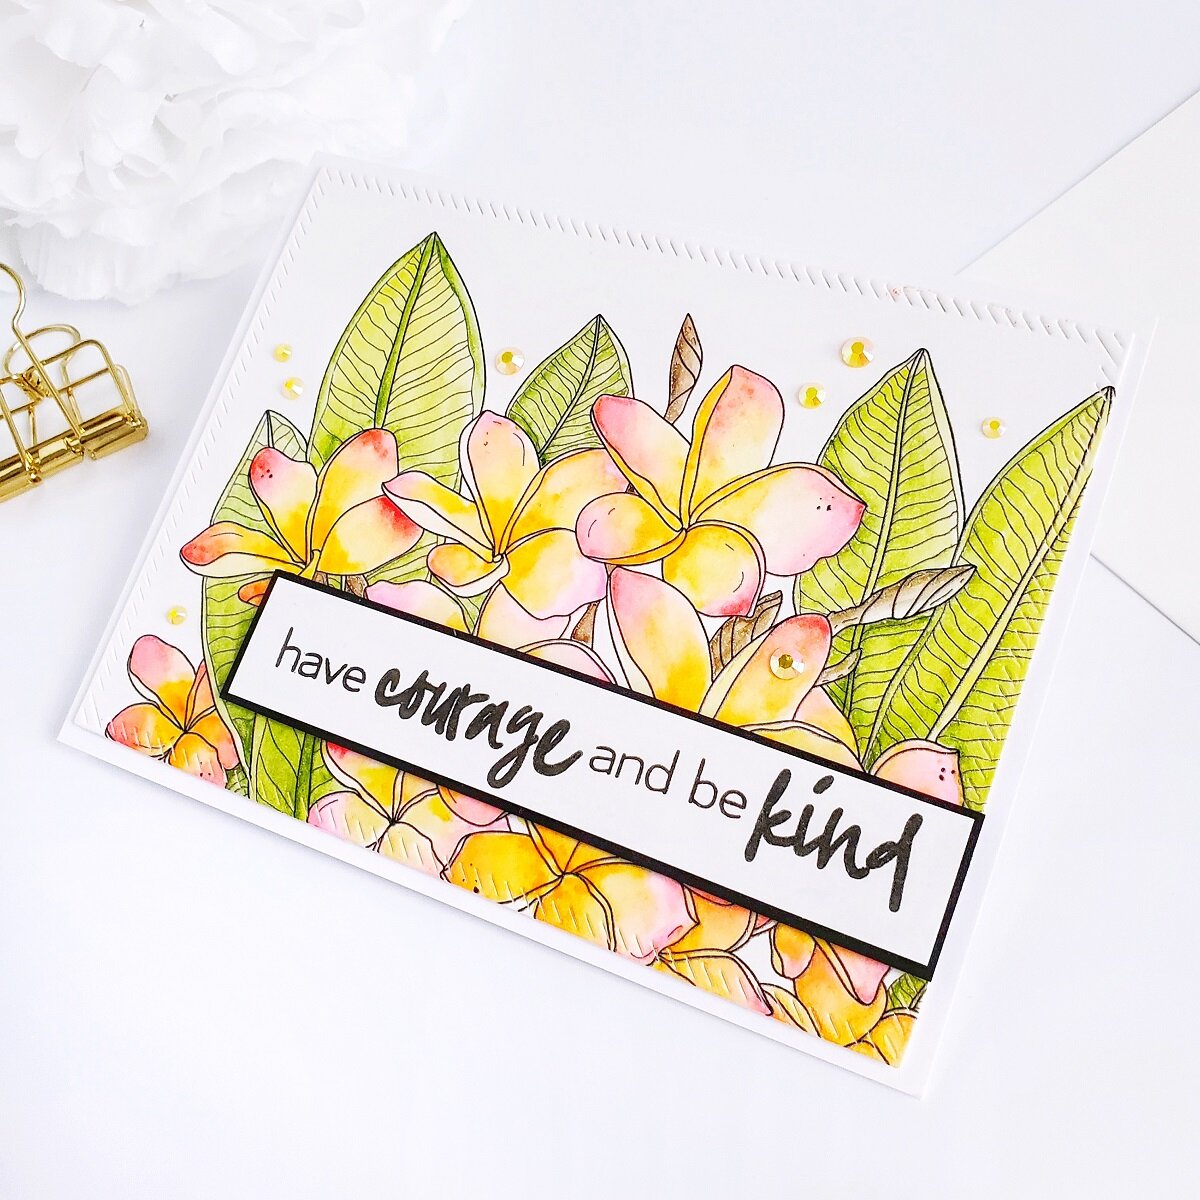
And, once the stitching details were added to the card panel, I mounted the card panel with craft foam and double-sided tape to add dimension to a side folding white card base, and last but certainly not least, I mounted a sentiment which, I had previously stamped with black ink over a piece of white cardstock, and which I had layered over black cardstock. To finish the card off, I glued down with liquid glue once again yellow jewels to keep the shine on in the card set.

To change thing a bit, I used cool hues to create the fourth and fifth examples so therefore, for the fourth example I made a landscaping card using the Pretty Cactus digital stamp.

Although the water-coloring is still vibrant, I got the image water-colored in with cool hues skipping the warm hues that I used on the previous examples.
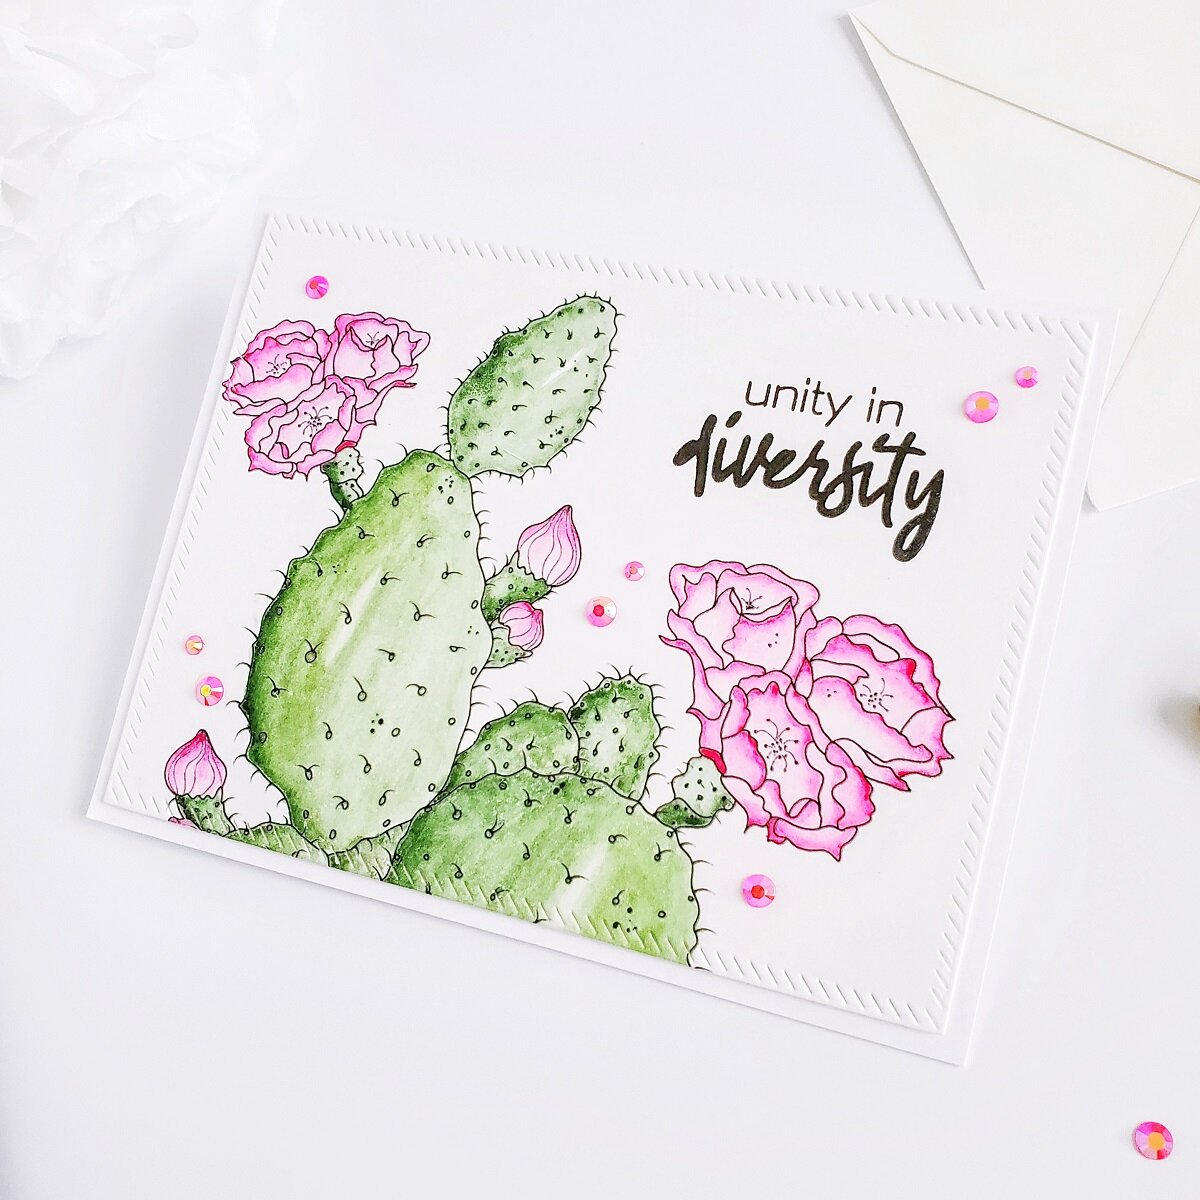
Other than that, I kept it simple by using the same stitching die to add the stitching detail to the frame. With that said, after I had the die-cutting card panel out from the paper sheet, I placed inside my stamping tool, and I went ahead to get a sentiment stamp in the upper right side of the card panel. Then, after the sentiment was stamped I mounted the card panel with craft foam and double-sided tape to add dimension to a side folding white card base, and lastly to finish the card off I glued down with liquid glue hot pink jewels to add a touch of sparkle.

For the fifth and last example, I made a slimline card using the Beautiful Flowers Slimline digital stamp.

So therefore, after I had water-colored the flowers in with the same cool pink hue and they were completely dry, I went ahead to fussy cut them out from the paper sheet using a sharp scissors. Once, the fussy cutting part was done, I set them aside and I went ahead to line up each leaf die from the Tropical Bouquets | Honey Cuts over a watercolor sheet that I had painted using green hues. So, after I was done lining the dies up, I ran them through the die-cut machine and once I was done die-cutting each leaf I went ahead to start the assembling for the card.
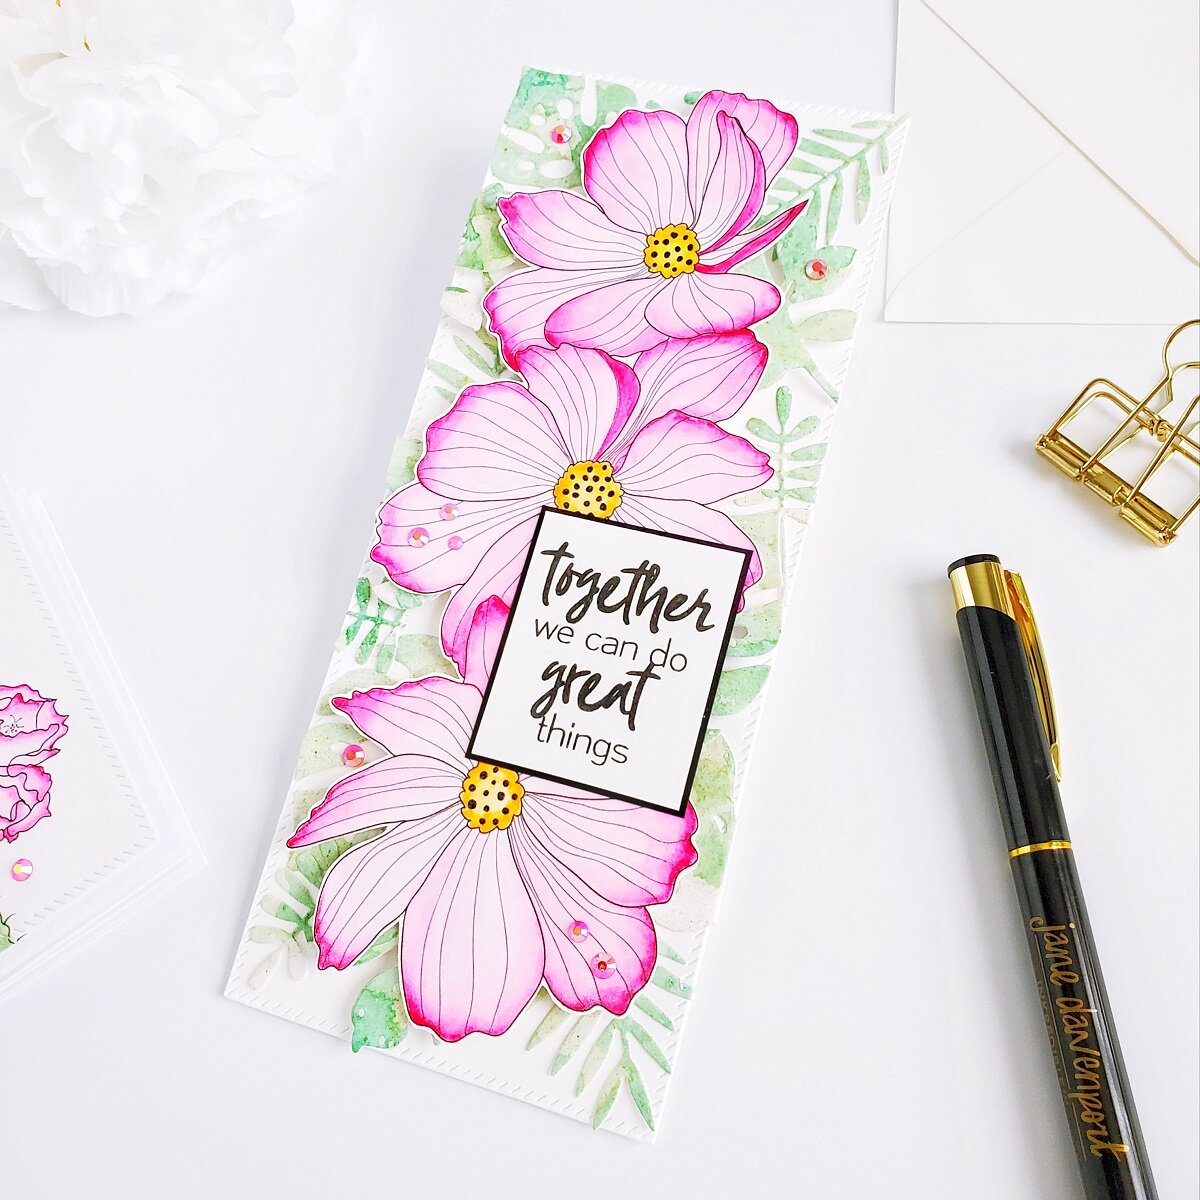
For the assembling, I went ahead and I lined up over a large piece of white cardstock the largest die from the Slim Diagonal Stitched Rectangles Die Set, and I ran it though the die-cut machine to die-cut and add stitching details to the frame. Then, after that I adhered down with liquid glue each leaf over the card panel creating that way a leafy background. So, after I created the card panel background, I trimmed the excess off from the leaf that were hanging out from the card panel and I adhered the backing of it down with double-sided tape to a slimline size white card base. Lastly, I mounted with dimensional square adhesives the flowers and last, but not least I finish the card off by gluing down with liquid glue hot pink jewels to add the last touch of sparkle.
So, that’s all friends! I hope you’ve enjoyed reading the step by step on how I’ve created this “Tropical” inspiration card set with newest Alex Syberia Designs July-2020 Digital Stamp Release. As always, I appreciate the time that takes you to read my blog posts. Below, you’ll find the supply list for the products used on today’s blog post. If, you get inspired by today’s project be sure to tag me on Instagram➝@cardsandcraftsbyyaz I’d love to see what you’re creating.
Thank you and happy crafting, your time is valuable.
Don't forget to keep spreading kindness
Today and Always.
Love,
Yasmin
Supply List
Alex Syberia Designs July-2020 Digital Stamp Release
Essentials: Diagonal Stitched Rectangles Die Set
Slim Diagonal Stitched Rectangles Die Set
Detail Black Ink
Tropical Bouquets | Honey Cuts
Better Together Stamp Set
Watercolor 36 Pan Set
Cougar 110# Heavy Weight Card Stock
Strathmore 300 Series Smooth Bristol Paper
Make Art Mini Stay-Tion All-in-One Magnetic Surface
Platinum 6 Die Cutting and Embossing Machine
Your imagination is Your limit.
All photography provided by Yasmin Diaz


Creativity is contagious, pass it on.
–Albert Einstein
Disclosure
I am creating this blog post with the purpose of sharing how I design my cards, the information provided here is base in my own opinion and creativity. I am not an expert by any means, and I only share the way that I design my cards. Most of the products used for my blog posts are personally purchased by me. However, I did receive the Digital Stamps by Alex Syberia Designs. Please, keep in mind that, all referral links are added for you to know from where either, I purchase or receive the items from as, all products shared and mentioned in each of my blog posts are simply because I use, and truly love them.